
VIDEO GUIDE
QUICK ROUTE
Do it in this order
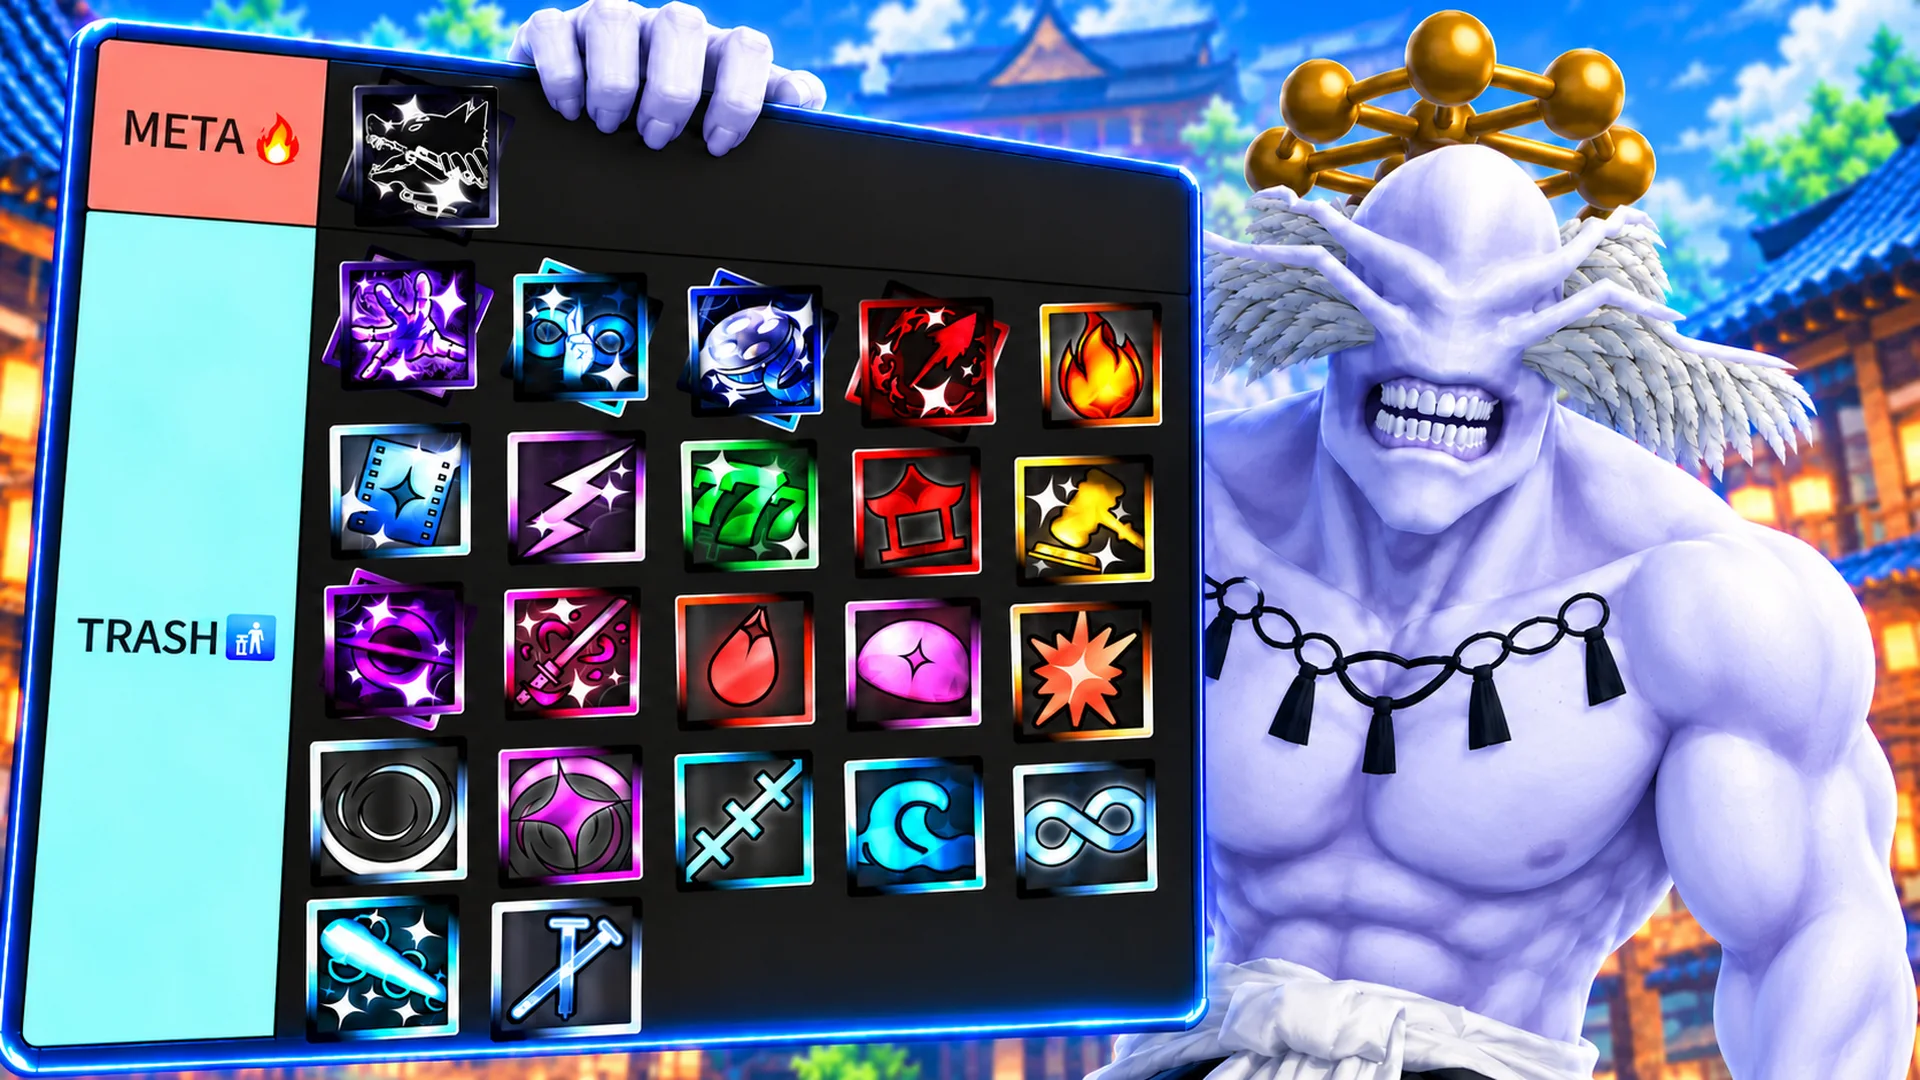
All 23 cursed techniques ranked
Upgrading a technique can take hours of farming. The useful question is both how strong the finished build becomes and how soon it helps you progress. Copy is my first recommendation for a developing account, even though the highest tier contains techniques with stronger finished setups.
This ranking weighs progression, farming convenience, damage and support. META placements reflect developed builds with their important upgrades; unlocking a technique alone does not give you that performance. Solo Forbidden Area earns its place through team support.
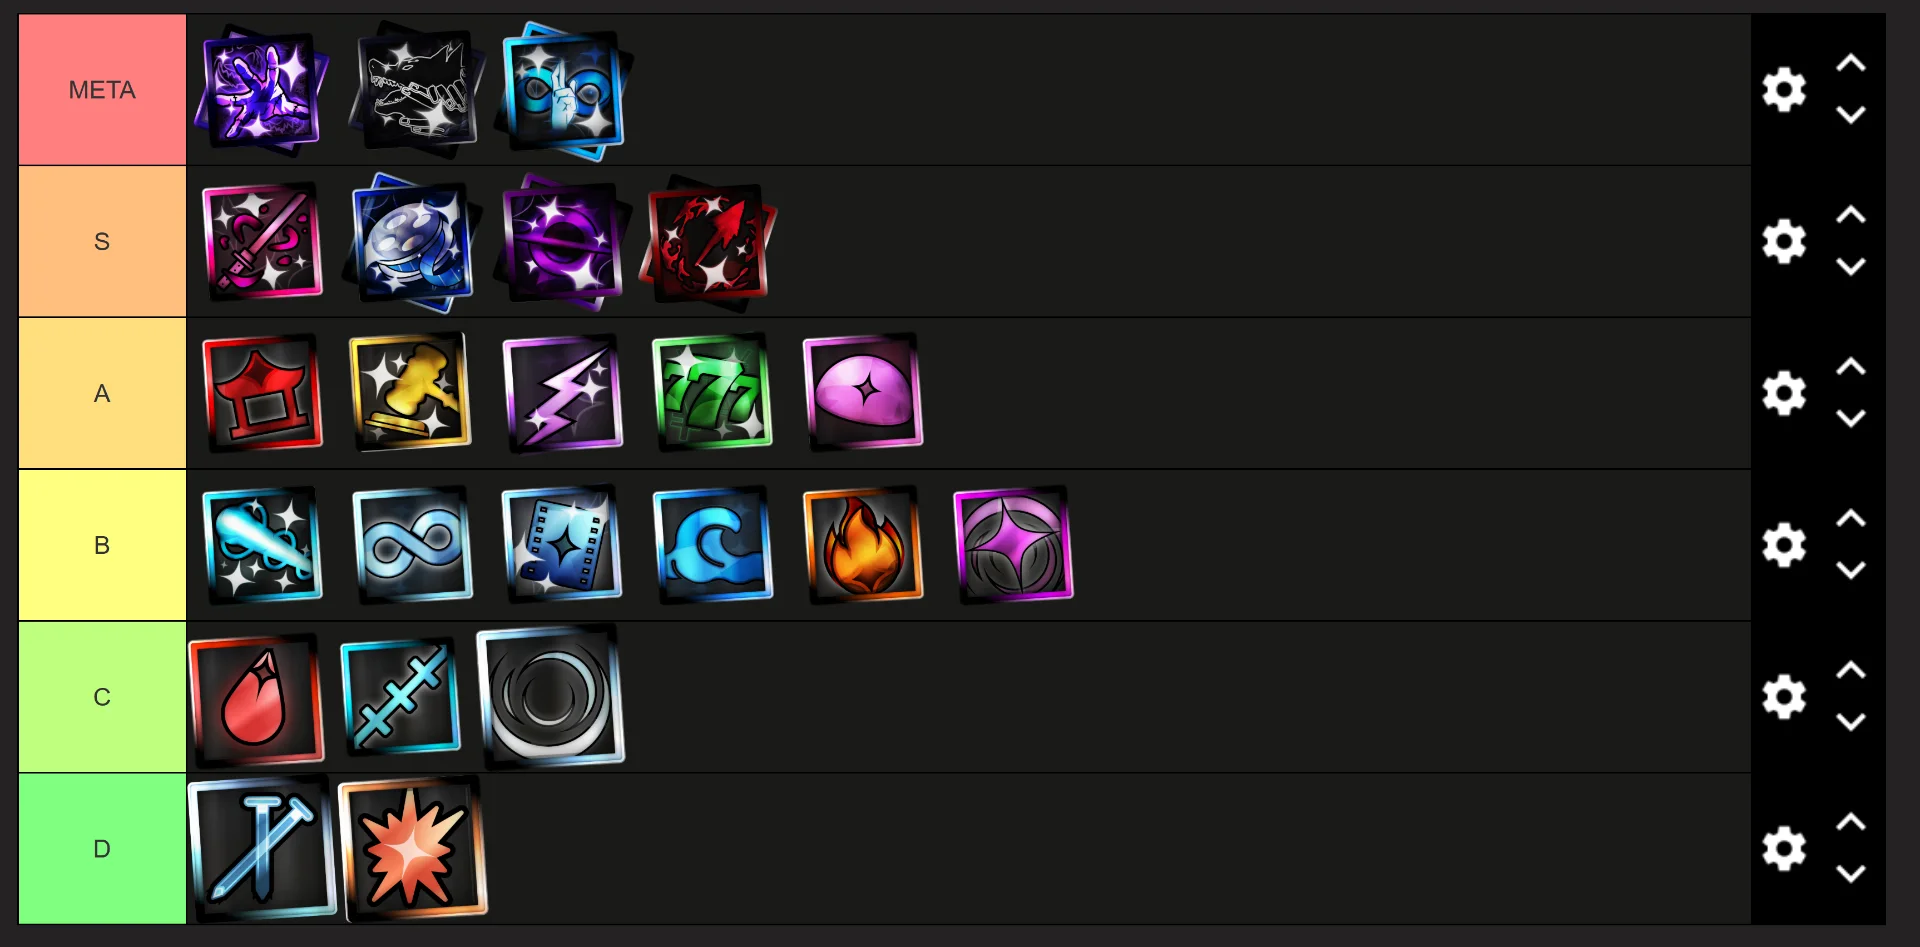
- META — Idle Transfiguration, Ten Shadows, Awakened Limitless.
- S — Copy, Awakened Projection, Awakened Star Rage, Awakened Blood Manipulation.
- A — Shrine, Judgeman, Beast Amber, Love Train, Solo Forbidden Area.
- B — Cursed Energy Discharge, regular Limitless, regular Projection Sorcery, Disaster Tides, Disaster Flames, regular Star Rage.
- C — regular Blood Manipulation, Ratio, Cursed Speech.
- D — Straw Doll, Exploding Flesh.
D and C tiers: starter techniques
Straw Doll and Exploding Flesh sit in D tier. They can handle your first quests, but I would look for an upgrade early instead of spending a long time developing either for later content.
Regular Blood Manipulation, Ratio and Cursed Speech are C-tier options. They can carry early progression, but they are lower priorities for a long-term build. Regular Blood Manipulation is separate from Awakened Blood Manipulation, which has much more to offer and ranks in S tier.
B tier: use them while preparing your next build
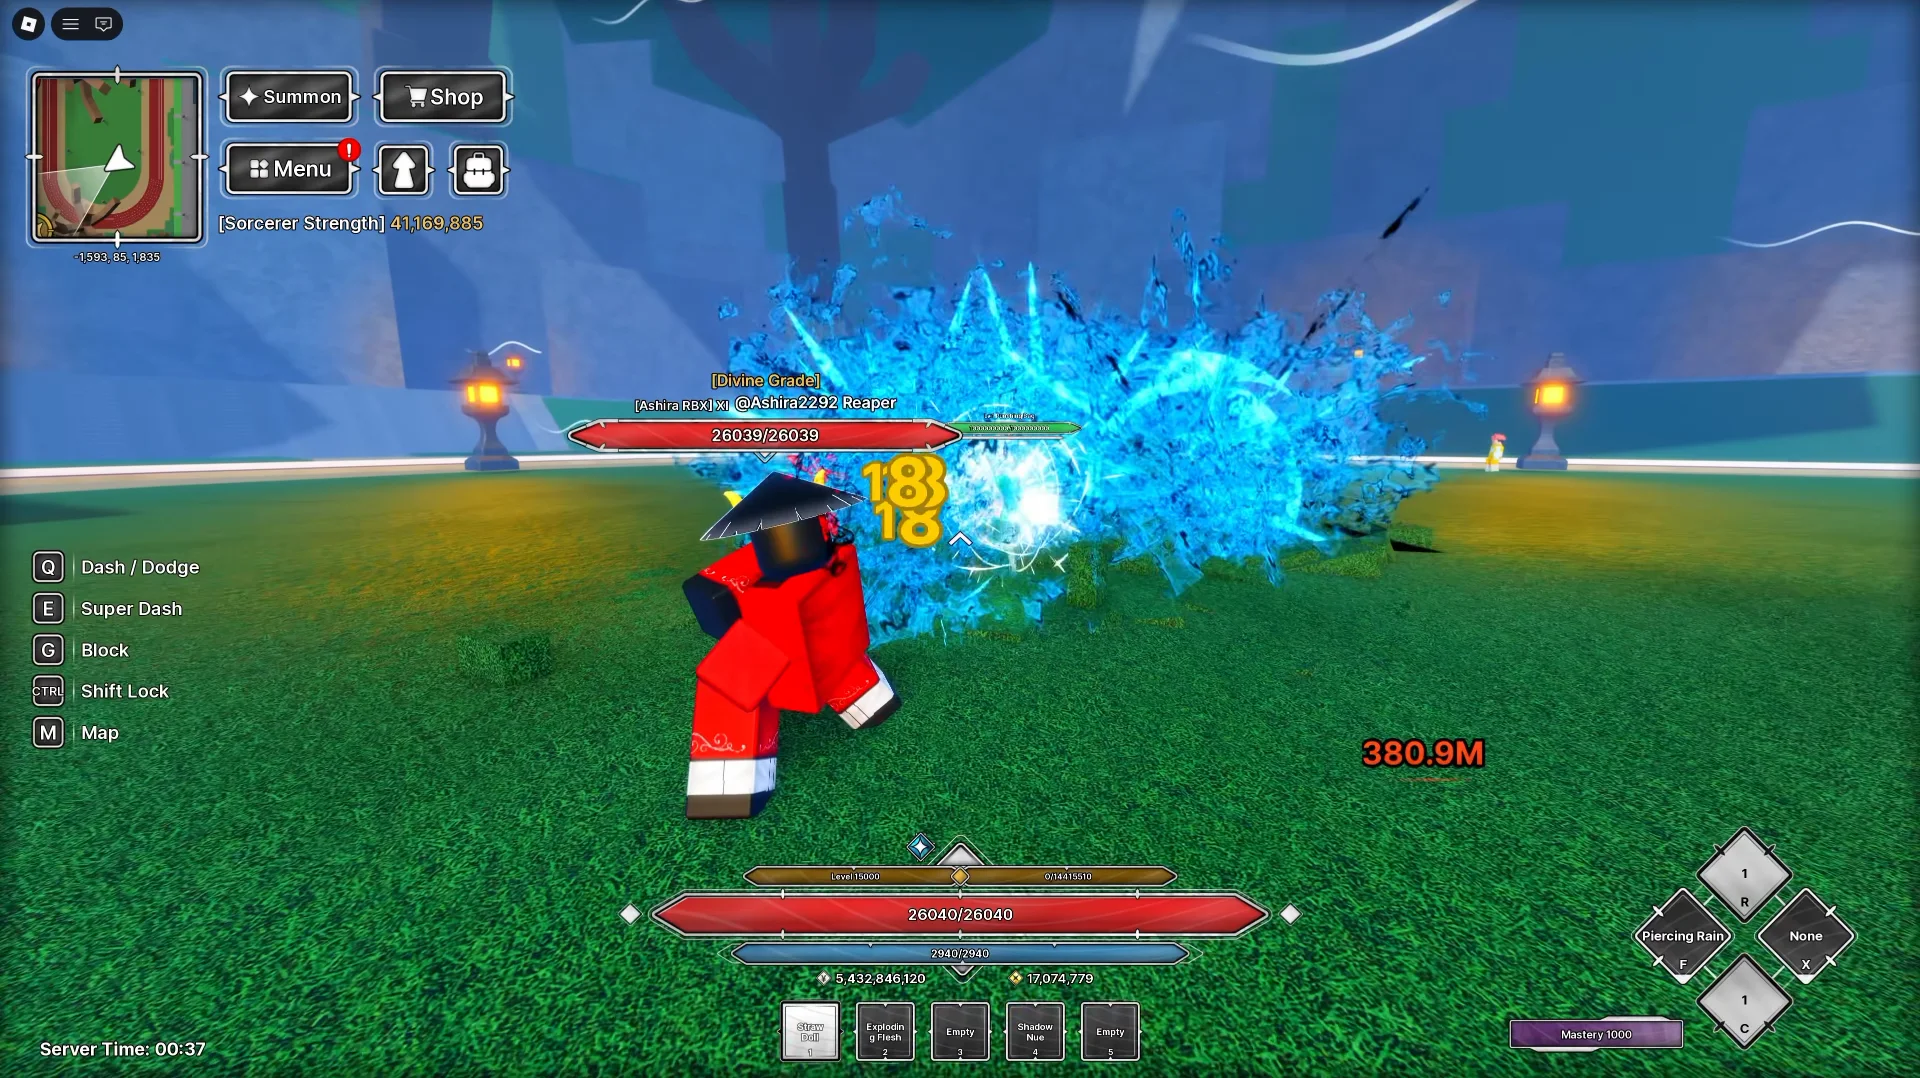
Cursed Energy Discharge, regular Limitless, regular Projection Sorcery, Disaster Tides, Disaster Flames and regular Star Rage are usable progression options. If one already clears your quests comfortably, keep using it while gathering resources for the technique you want next.
Cursed Energy Discharge offers straightforward cursed energy blasts. Disaster Tides and Disaster Flames can get you through quests, while regular Star Rage has useful attacks such as Black Hole. The awakened versions of Limitless and Projection Sorcery have separate progression and are much stronger.
Before starting a long material grind, choose a higher-tier technique you expect to keep. That gives the farming you do now a clear destination.
A tier: damage options and team support
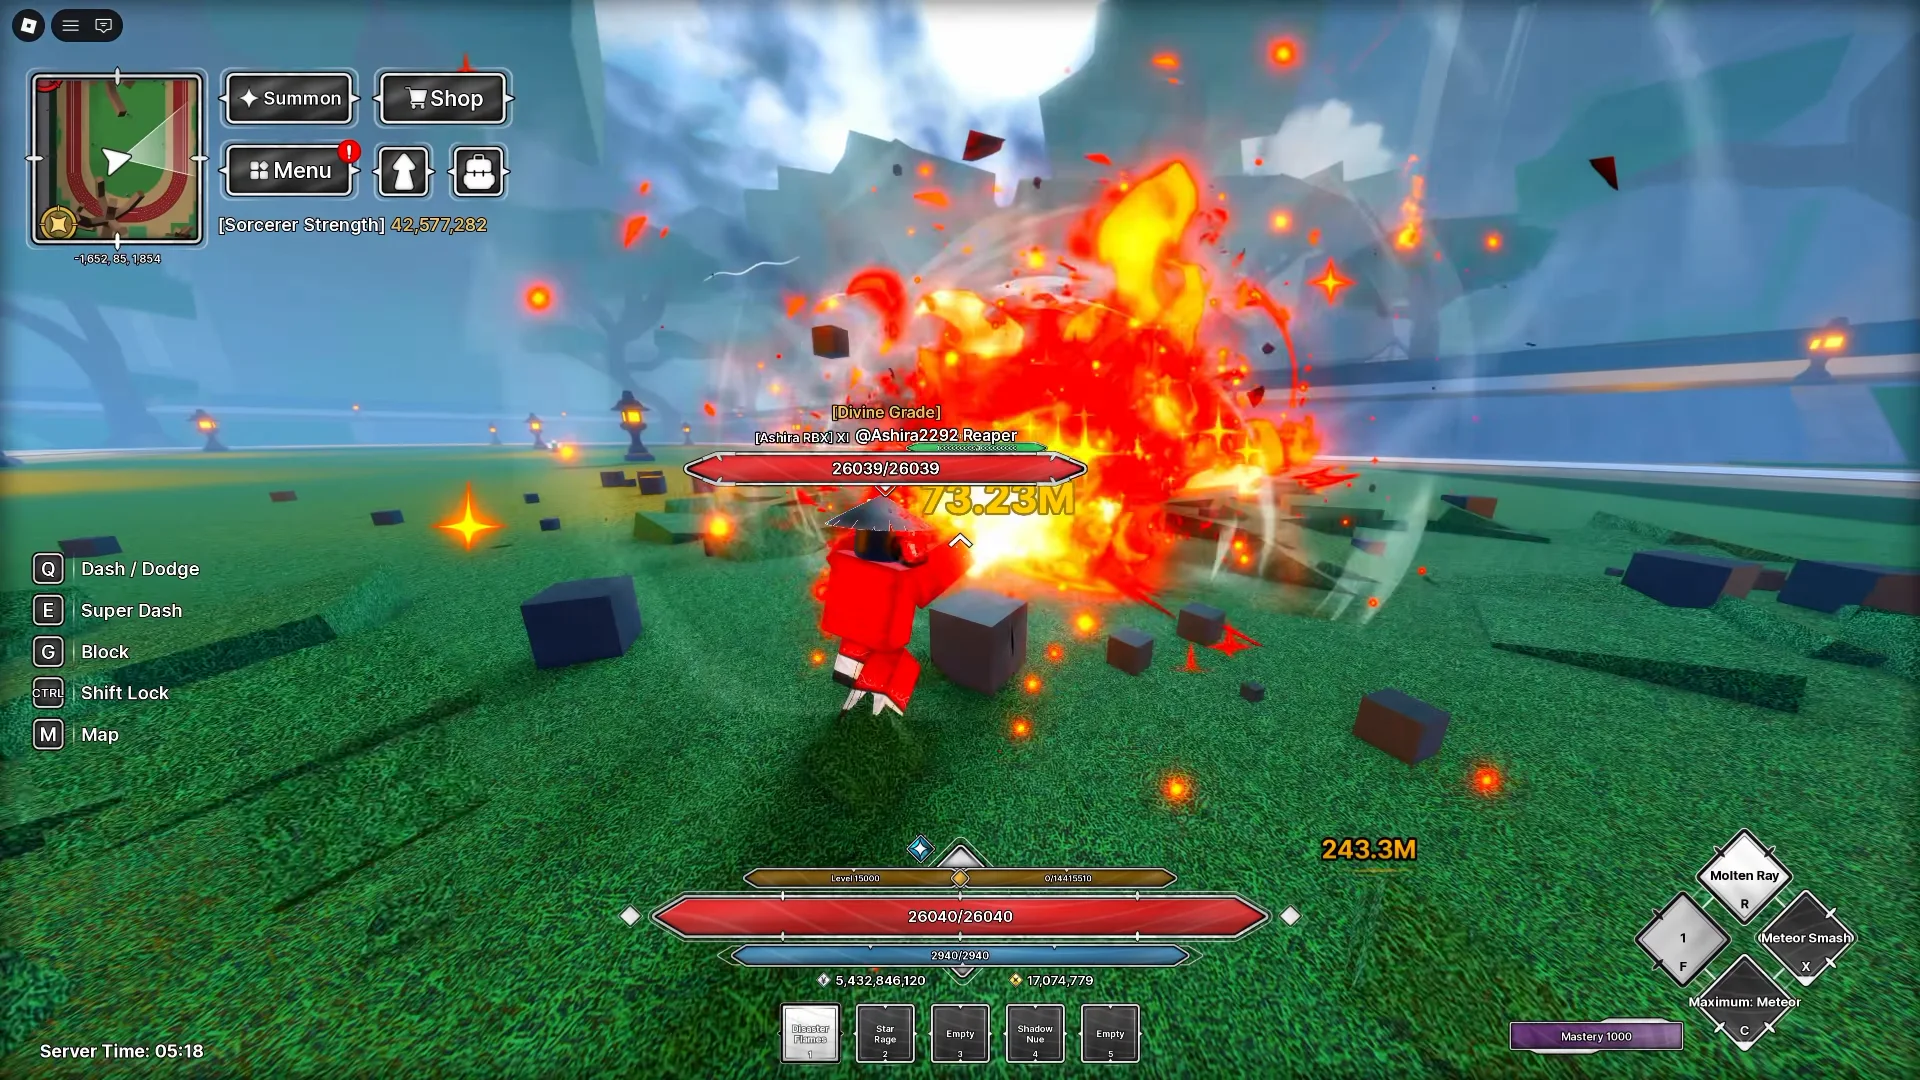
Shrine, Judgeman, Beast Amber, Love Train and Solo Forbidden Area have more long-term value. Their strengths differ, so choose around the role you want to play.
- Shrine — build around Sukuna's Mark and work toward Open Shrine. Fuga provides continuing damage for repeated farming in one location. An already-developed Shrine build can keep helping while you work on a stronger awakened technique.
- Judgeman — gavel attacks and the Deadly Sentencing domain provide a progression goal. S and META options would be my main priorities for a new endgame build.
- Beast Amber — a damage-focused lightning option that can serve you during progression.
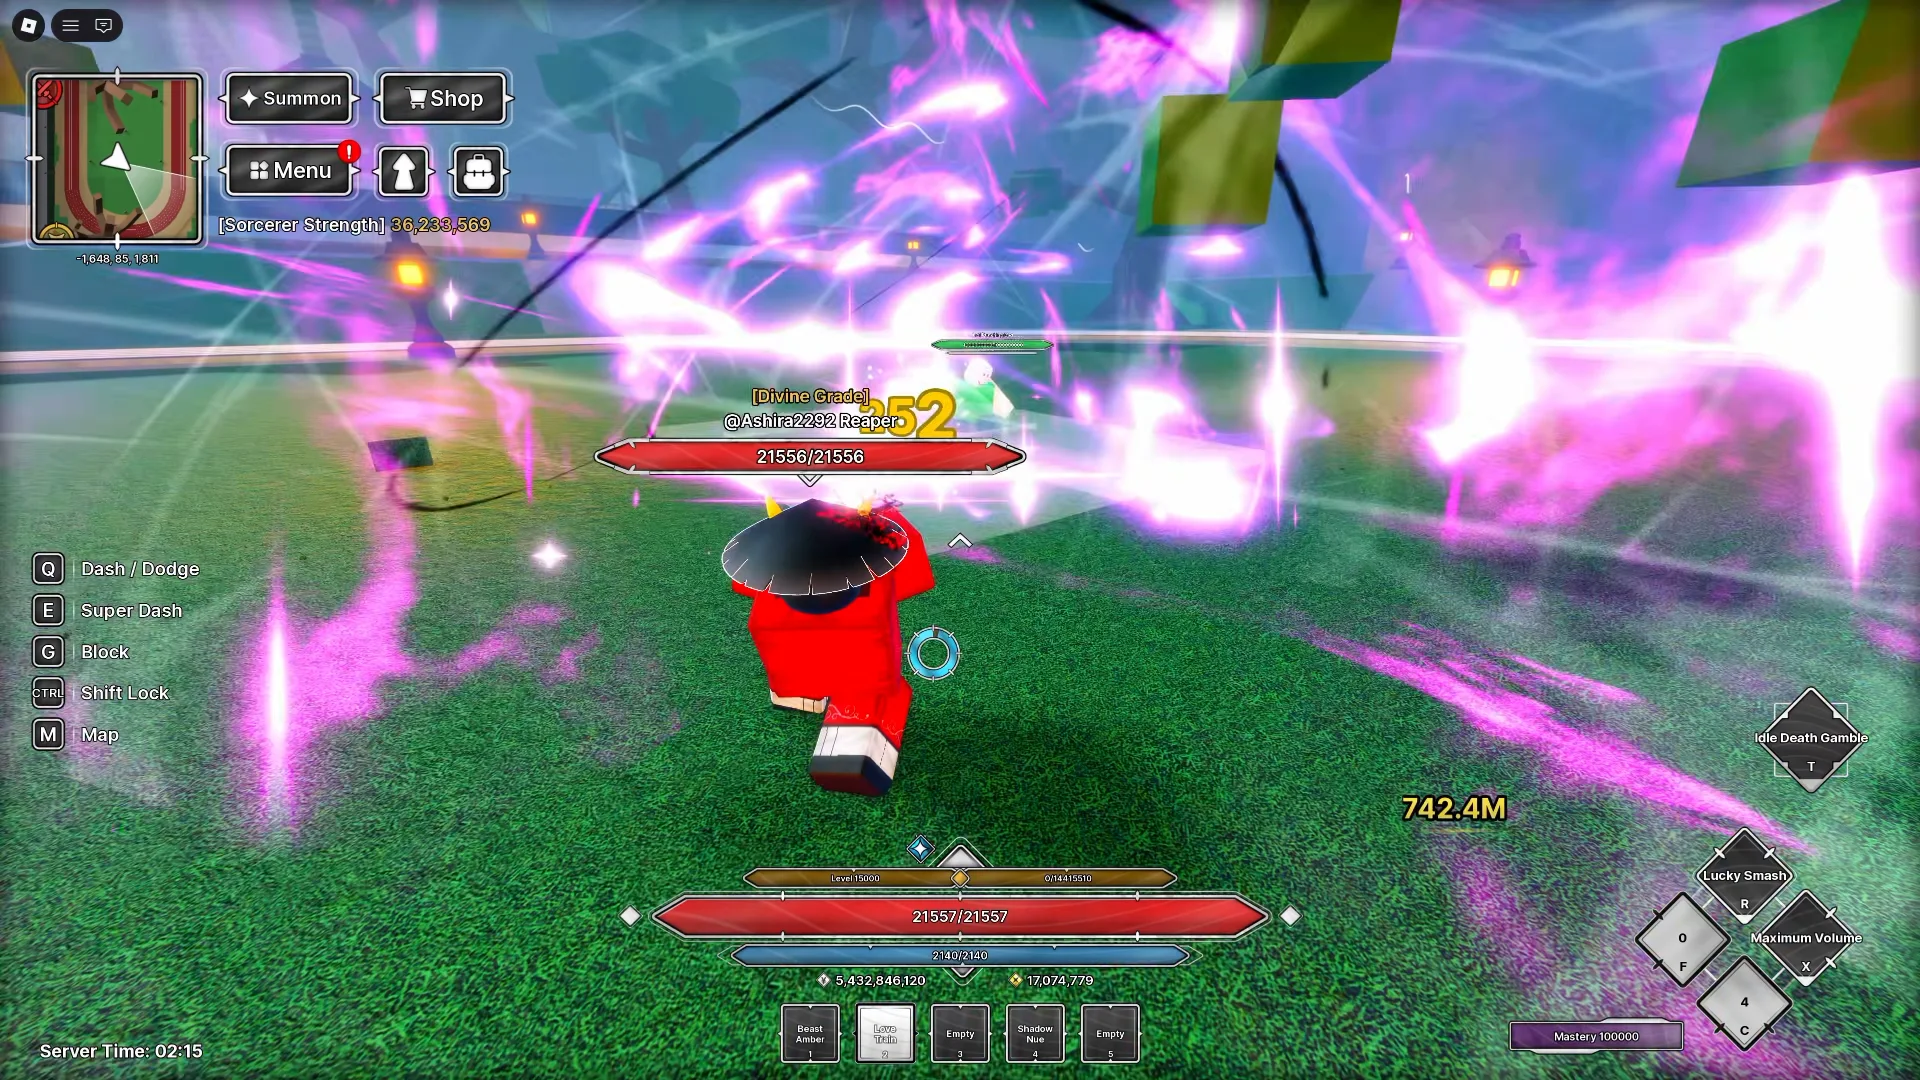
- Love Train — random outcomes make performance vary between attacks. Keep that in mind if you prefer a predictable farming rotation.
- Solo Forbidden Area — buffs, healing and cooldown resets make it valuable for a team. For solo damage, prioritize another option.
S tier — Copy: the first progression recommendation
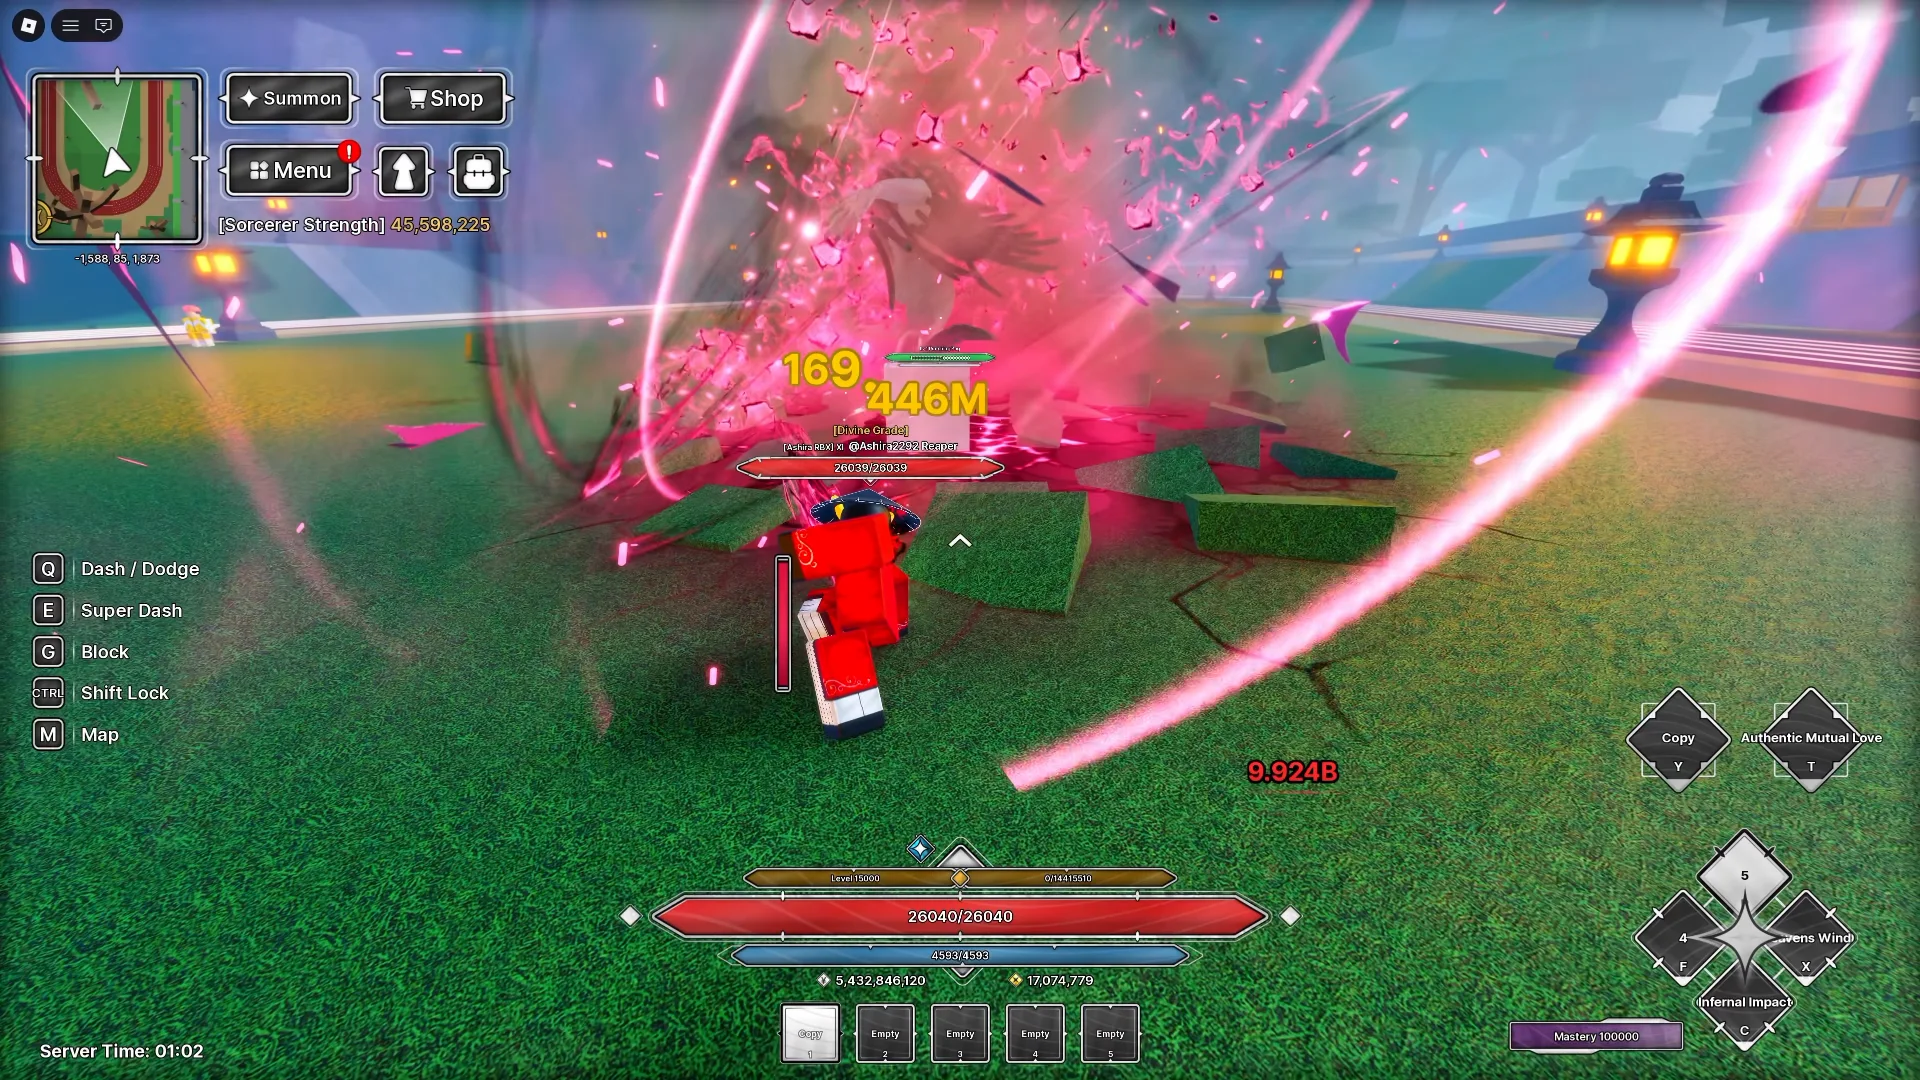
Copy is one of my favorite techniques and my strongest recommendation for progression. Its single progression branch gives you a straightforward route: unlock the nodes in order and add more of the kit as your account develops.
Rika attacks enemies for you while you use your own skills. That makes repeated quests and farming more convenient. Copying enemy skills adds more setup options, with Awakened Toji a good place to start collecting useful moves.
Inside Copy's domain, Jacob's Ladder deals damage based on a percentage of the enemy's health. That is especially useful when you reach enemies with large health pools before your own damage has fully developed.
You can also work toward the Rika Passive: it has a 2% drop chance from the Yuta mini-boss in Memories Four of the Past Rika questline. The summon, copied moves, percentage-based damage and clear upgrade route make Copy a useful technique while you build toward harder content.
S tier — Awakened Projection: strong active boss damage
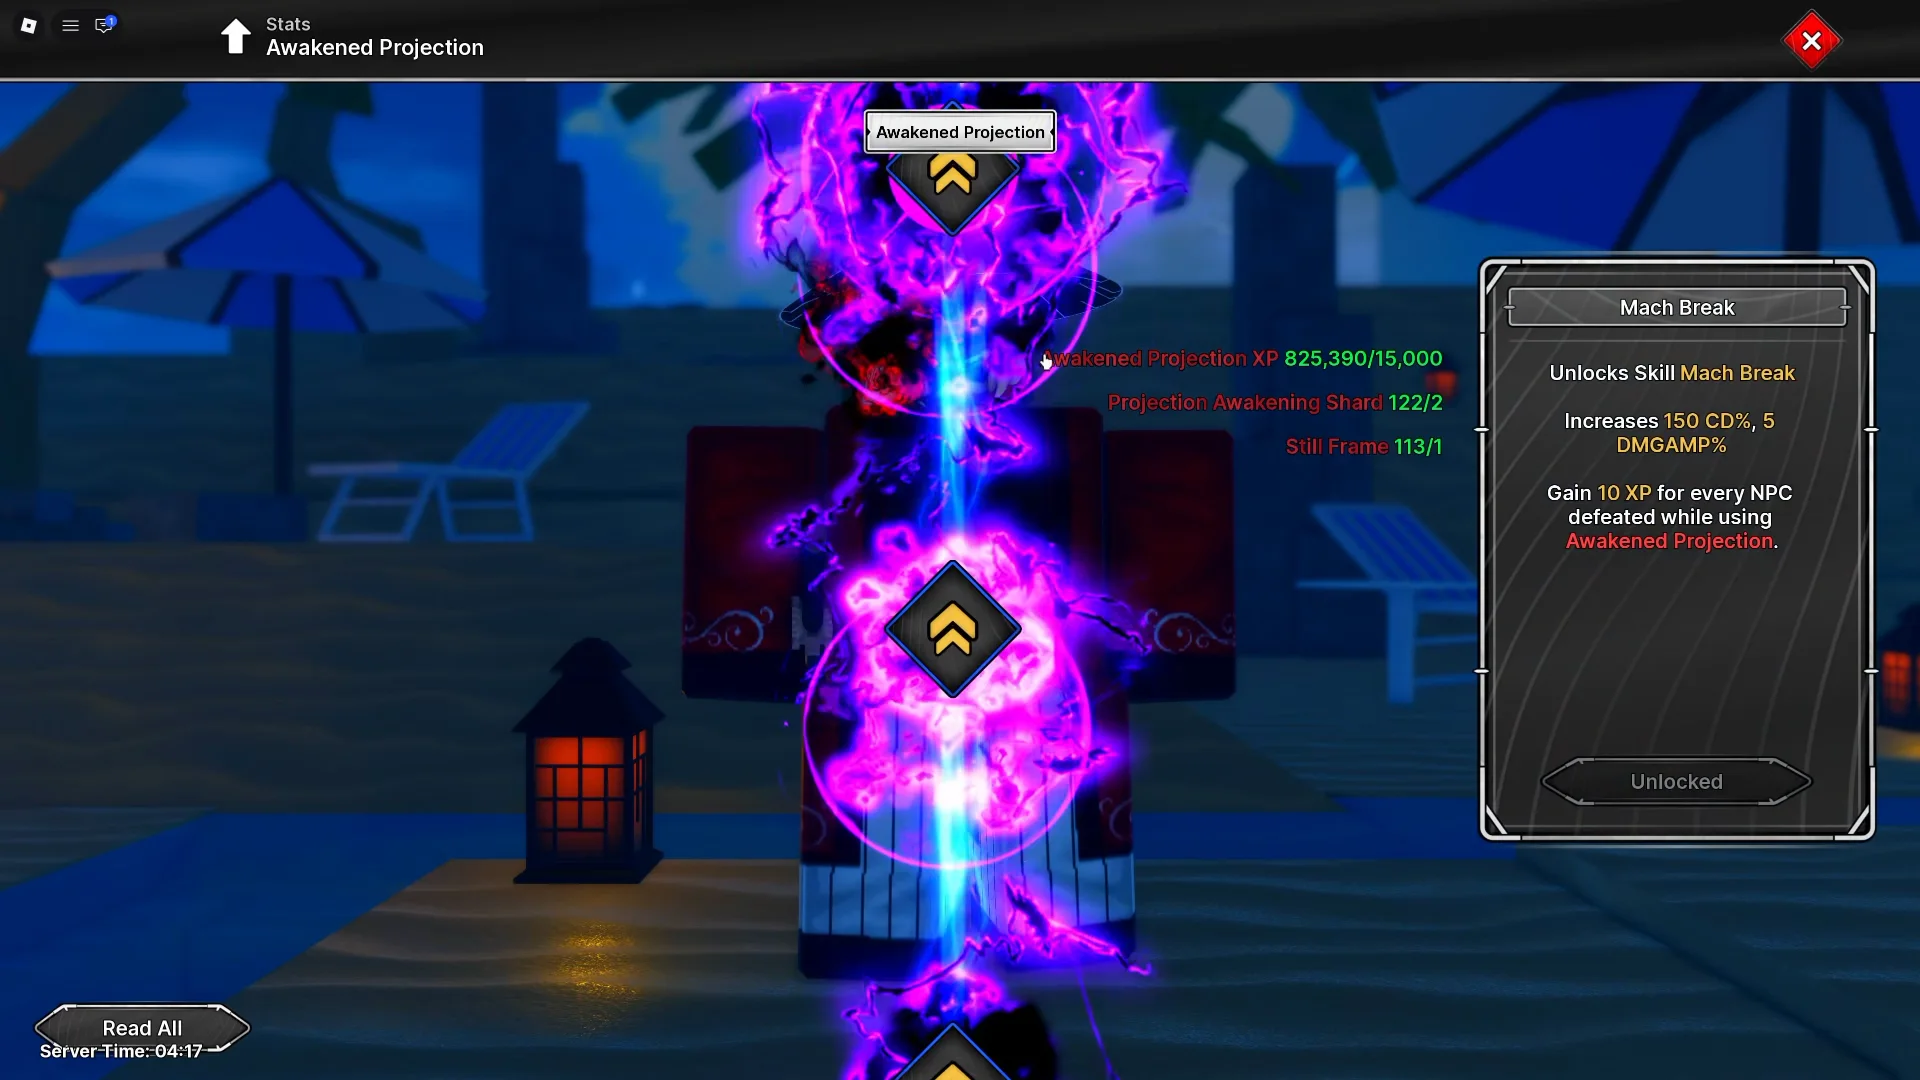
Awakened Projection has strong damage, but its cast times and target focus affect farming convenience. The first four nodes provide important buffs and the early kit, including Frame Freeze. Continue through the later nodes to unlock the remaining skills.
During Frame Freeze, landing enough hits triggers Frame Snap. Later attacks expand your rotation, and casting Time Palace resets your cooldowns so you can follow with another round of skills.
Many attacks concentrate on one enemy, and several take a long time to finish. That can work well against a boss, but it feels slower when enemies are spread out. Choose it if you enjoy actively fighting individual targets; wider area attacks are generally more comfortable for clearing groups.
S tier — Awakened Star Rage: range and early farming value
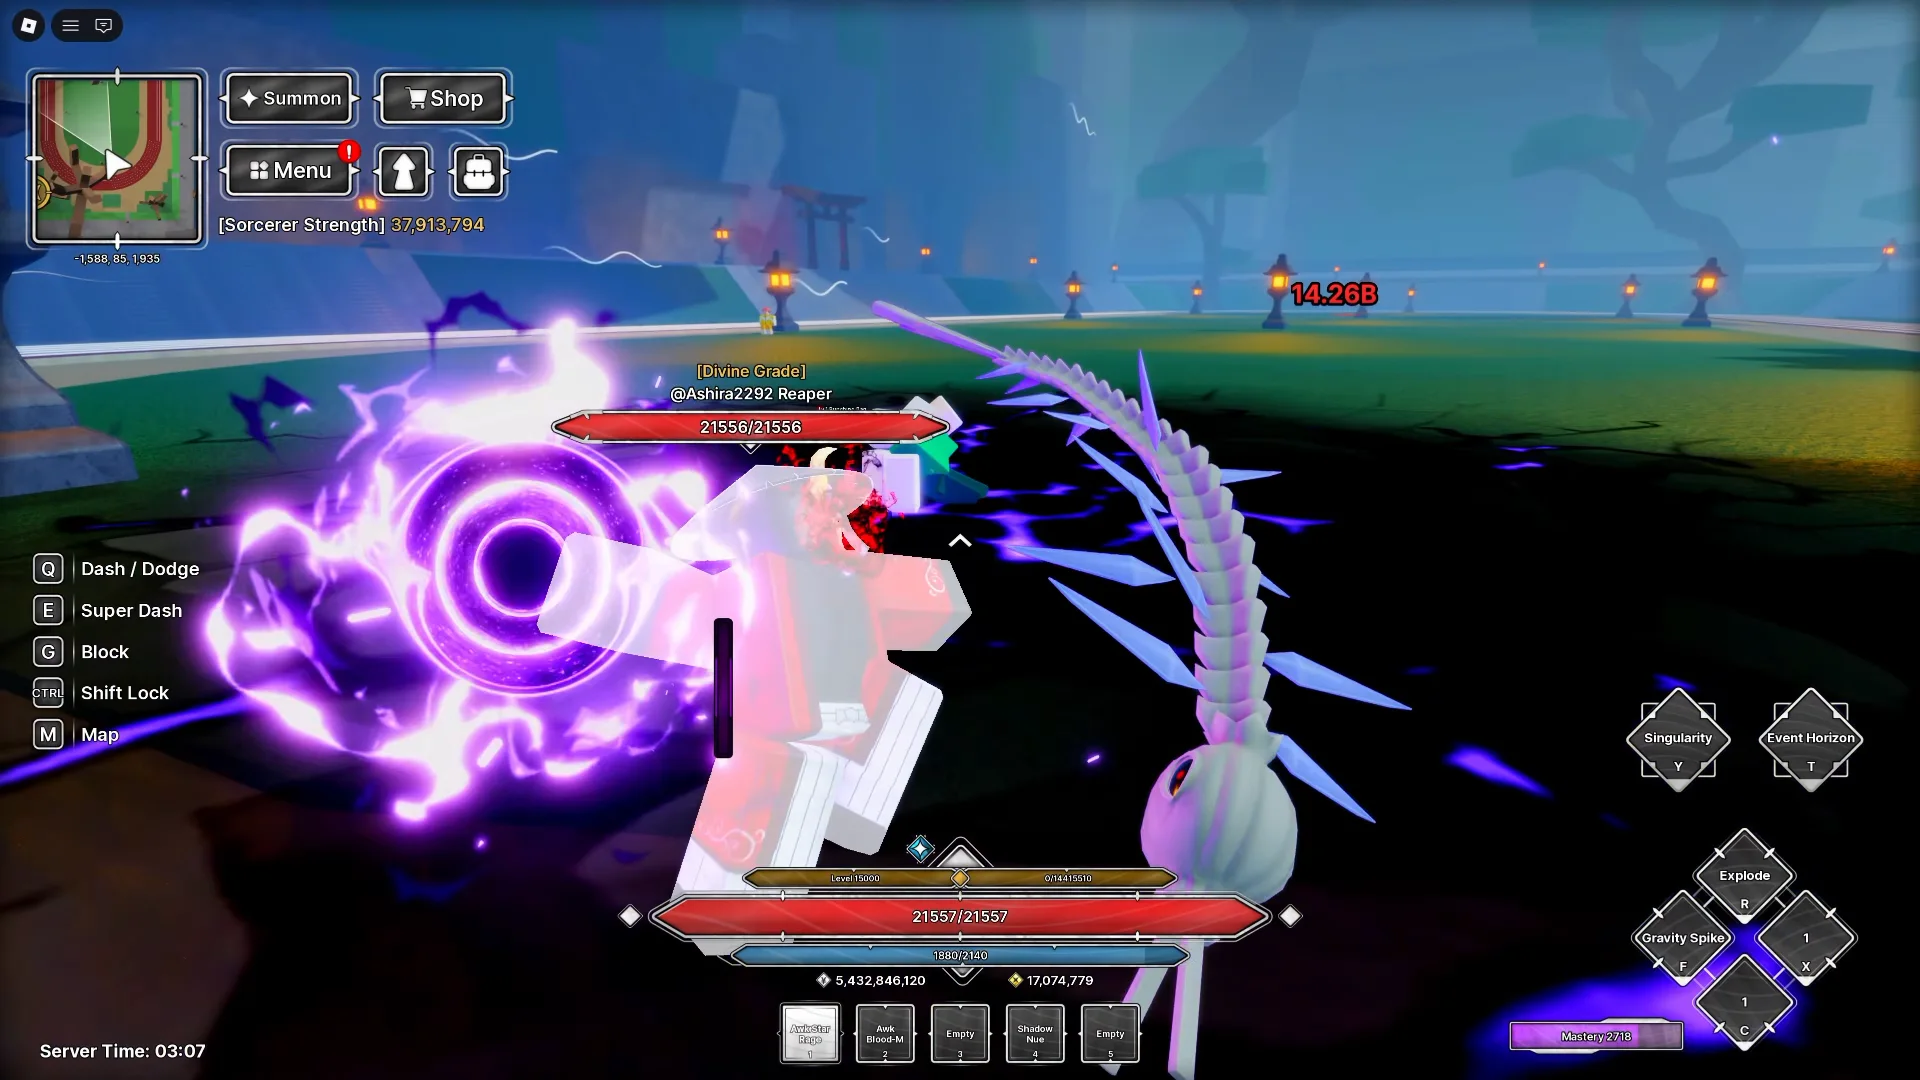
Awakened Star Rage combines good damage with excellent range. Black Hole and Gravity Spike cover a large area, which helps when enemies are spread out or you repeatedly farm the same location.
Prioritize the first path for farming or the second path for damage per second. You can get useful farming performance before completing a huge number of upgrades, then continue improving the technique as you collect materials.
Its range and area coverage share some of Awakened Limitless's advantages, but its damage is lower in this comparison. It stays in S tier as a practical awakened option that starts helping relatively early.
S tier — Awakened Blood Manipulation: area damage with room to grow
Awakened Blood Manipulation offers good damage and strong area attacks without needing every upgrade before it becomes useful. Choose the second path for farming or the first path for damage.
Scarlet Horizon is especially useful for repeated farming because it continues dealing damage. Early upgrades already give you something useful to farm with, and later upgrades improve the setup across more content.
Alongside Awakened Star Rage, it is a good choice when you want an awakened technique to start paying off before a long upgrade process is finished.

META — Awakened Limitless: a major investment in wide area damage
Awakened Limitless delivers great damage across a wide space. That combination makes it convenient for farming and places it above Awakened Star Rage in this ranking. Its full performance comes with substantial progression.
There are three branches to develop for the full kit. Start with a few upgrades in the blue and red trees, then move into the purple tree. Continue through the remaining nodes until all three branches are finished.
Work toward Six Eyes and then True Six Eyes alongside those trees. The developed setup gives you wide area damage, a domain and useful cooldown resets that bring important skills back into your rotation. Choose it as a long-term project when you are ready for the material grind.
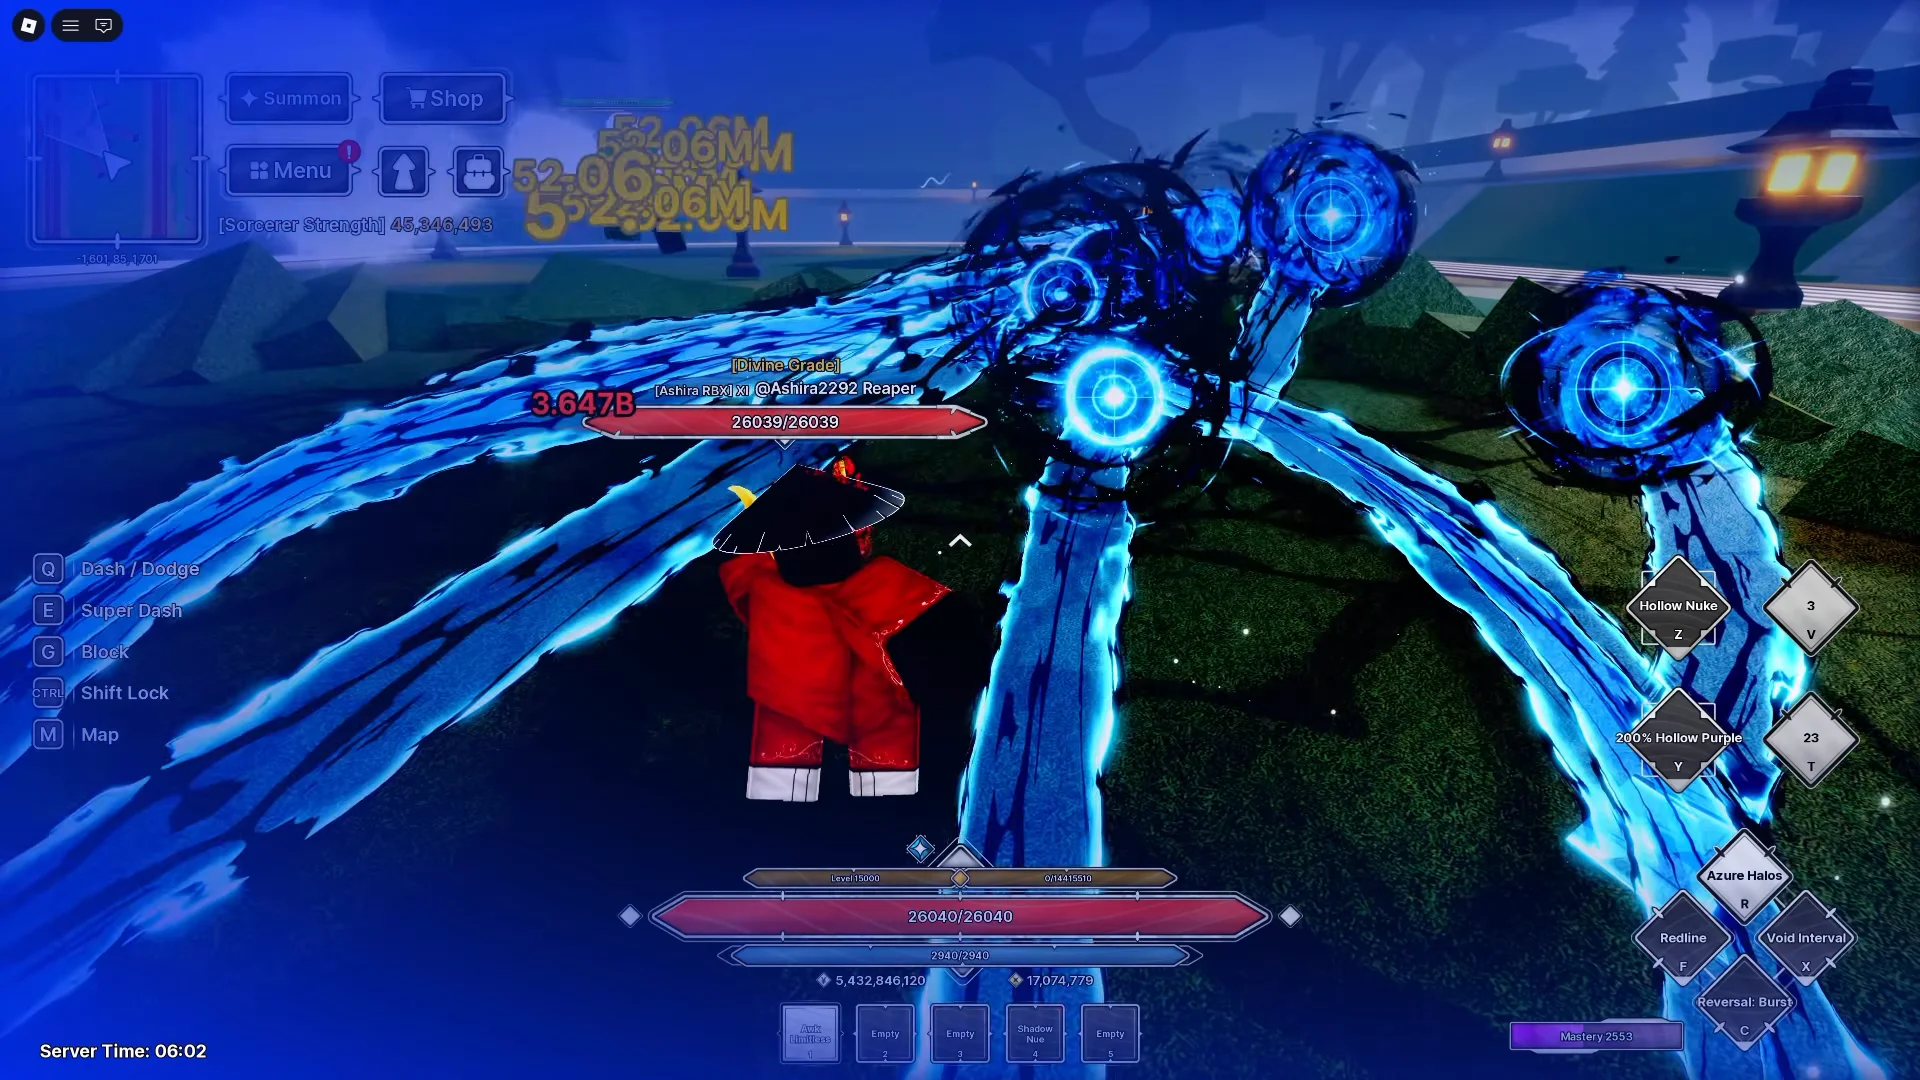
META — Ten Shadows: convenient farming after a long progression
Ten Shadows becomes extremely convenient once developed. Shikigami attack nearby enemies automatically, helping with repeated quests, bosses and material farming. Reaching that stage takes time because there are several summons to unlock and upgrade.
Mahoraga's fifth node is a major milestone: it allows five summons to be active at the same time. Several developed Shikigami fighting together are a large part of what earns the technique its META placement.
Eventually work on all the Shikigami, with that fifth Mahoraga node as a key target. Copy can help you clear content and gather the materials while you gradually develop Ten Shadows, so your account keeps progressing during the longer grind.
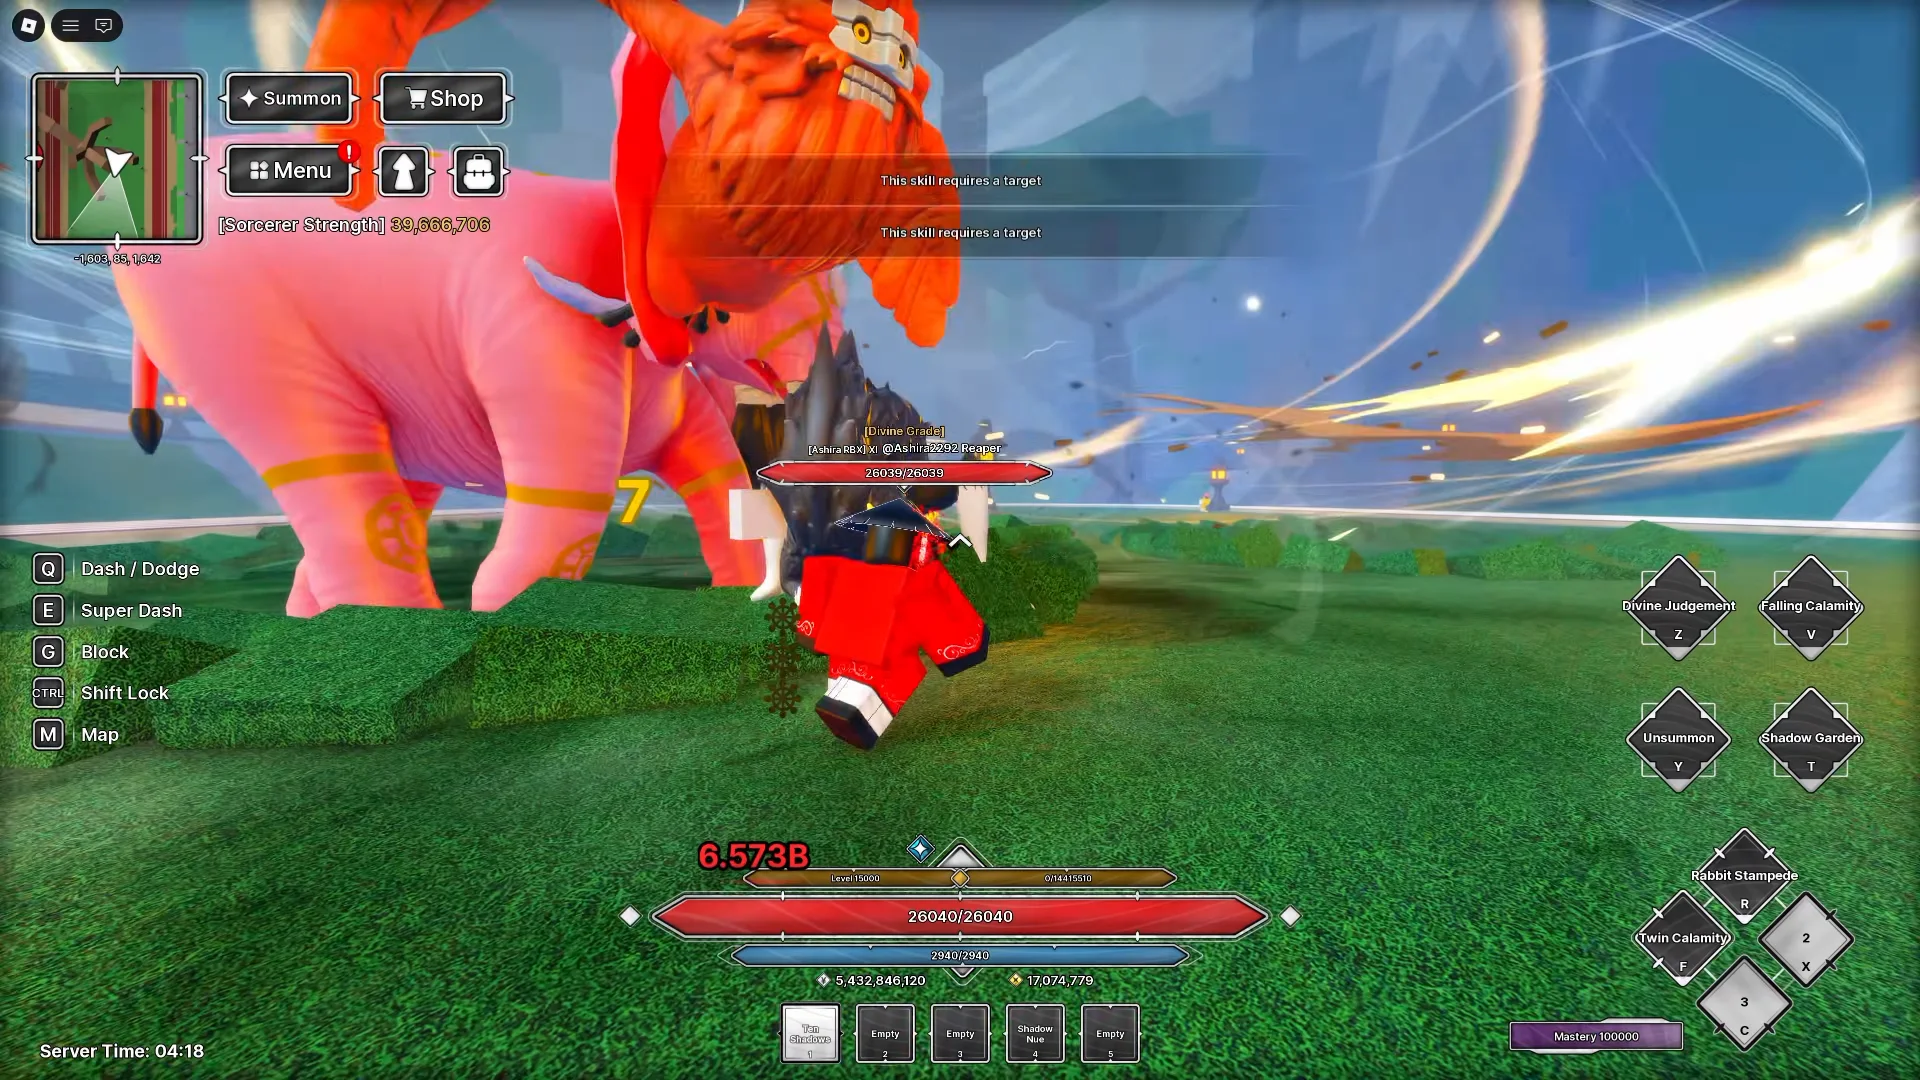
META — Idle Transfiguration: high damage during Halloween progression
Idle Transfiguration's strengths are extremely high skill damage and attacks that pull enemies together. A strong build can reach billions of damage with a single skill, while the pulling effects help bring groups into the area of your attacks.
For the main damage setup, choose the first or second path. Path 1's bar mechanic can trigger double damage for the next hit or hits. Path 2 boosts damage by 50% when focused, with longer cooldowns as the trade-off. Pick the attack rhythm you prefer: a triggered damage window or stronger attacks with a longer wait between uses.
Soul Ring lets you claim souls from defeated bosses and summon them to fight for you. Those summons inherit part of your ATK, giving you another benefit from improving the rest of your build.
As of Halloween Part 2, the technique is still unfinished and its Domain has not been released. Most upgrade materials are currently tied to the Halloween event, so use the available event content to collect them. Completing the final Curtain Night quest rewards a copy of Idle Transfiguration.
It is one of the strongest choices for current skill damage, enemy grouping and event progression. The event grind may be more manageable than fully developing Ten Shadows, but keep the remaining kit and event materials in mind before committing everything.
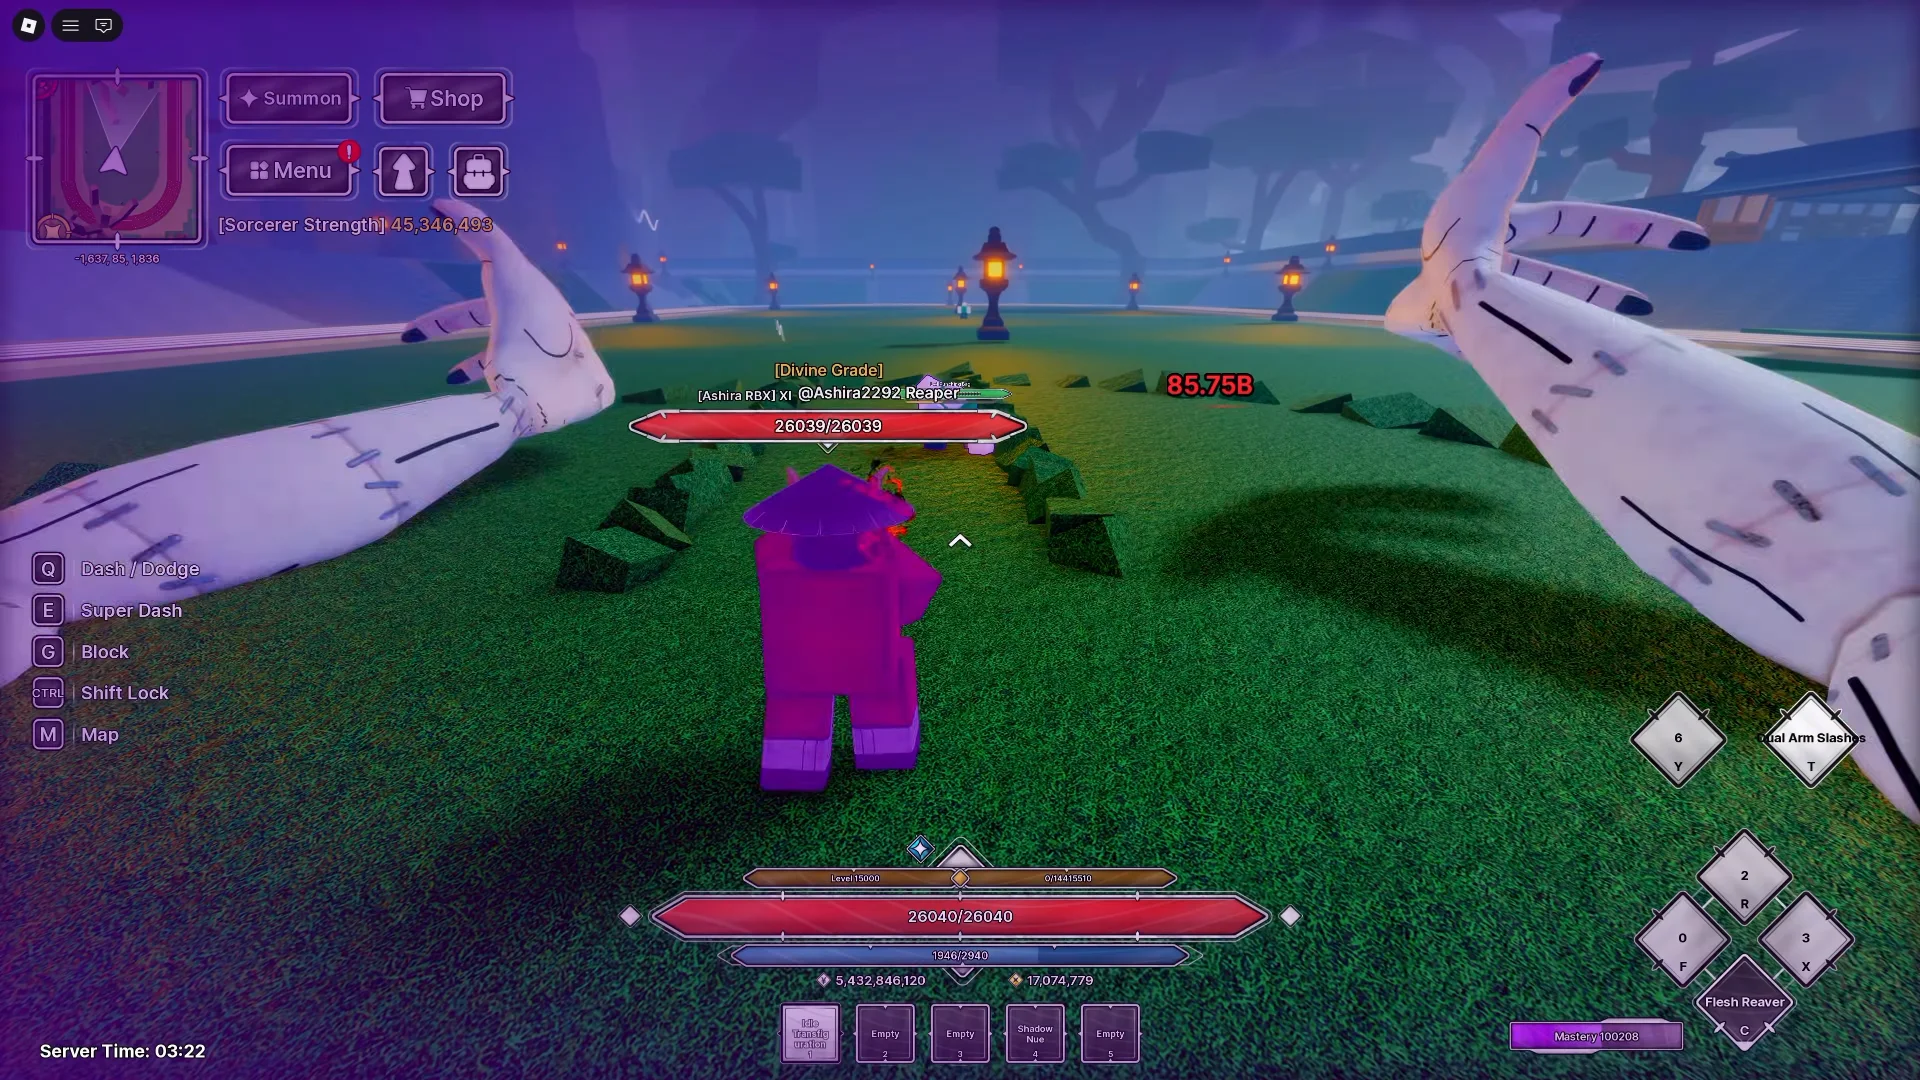
Which technique should you invest in first?
Choose around what helps your account now as well as the finished build you want later. A technique that clears your current content reliably lets you keep earning materials while developing a more expensive option.
- Still progressing — start with Copy for its clear upgrade route, Rika and Jacob's Ladder.
- Want useful awakened area damage sooner — choose Awakened Star Rage or Awakened Blood Manipulation.
- Enjoy active boss fights — consider Awakened Projection and its strong single-target rotation.
- Want a larger long-term farming project — develop Ten Shadows or Awakened Limitless.
- Want high skill damage during the current event — work on Idle Transfiguration and collect its Halloween materials.
- Play a team support role — consider Solo Forbidden Area for buffs, healing and cooldown resets.
Keep a useful farming setup while upgrading the next one. The best finished build is only helpful once you can actually use it.

Copy Catch-Up Progression and Build Route
Turn a returning account into a focused Copy build by unlocking Rika and Copy Cat, stealing Awakened Toji skills, farming the Yuta route for a domain, Mimic gear and Yuta’s Sheath, then adding passives, Sorcery Heavenly Restriction, an ailment, and faction buffs.
7 min readRead guide →
Complete Ten Shadows Progression Guide: Shadow Island Through Part 2
Unlock Ten Shadows, reach Shadow Island, turn Shadow Essence into Shikigami progress, and continue through Max Elephant, Totality, Shadow Chimera Garden, and Mahoraga's Part 2 upgrades.
7 min readRead guide →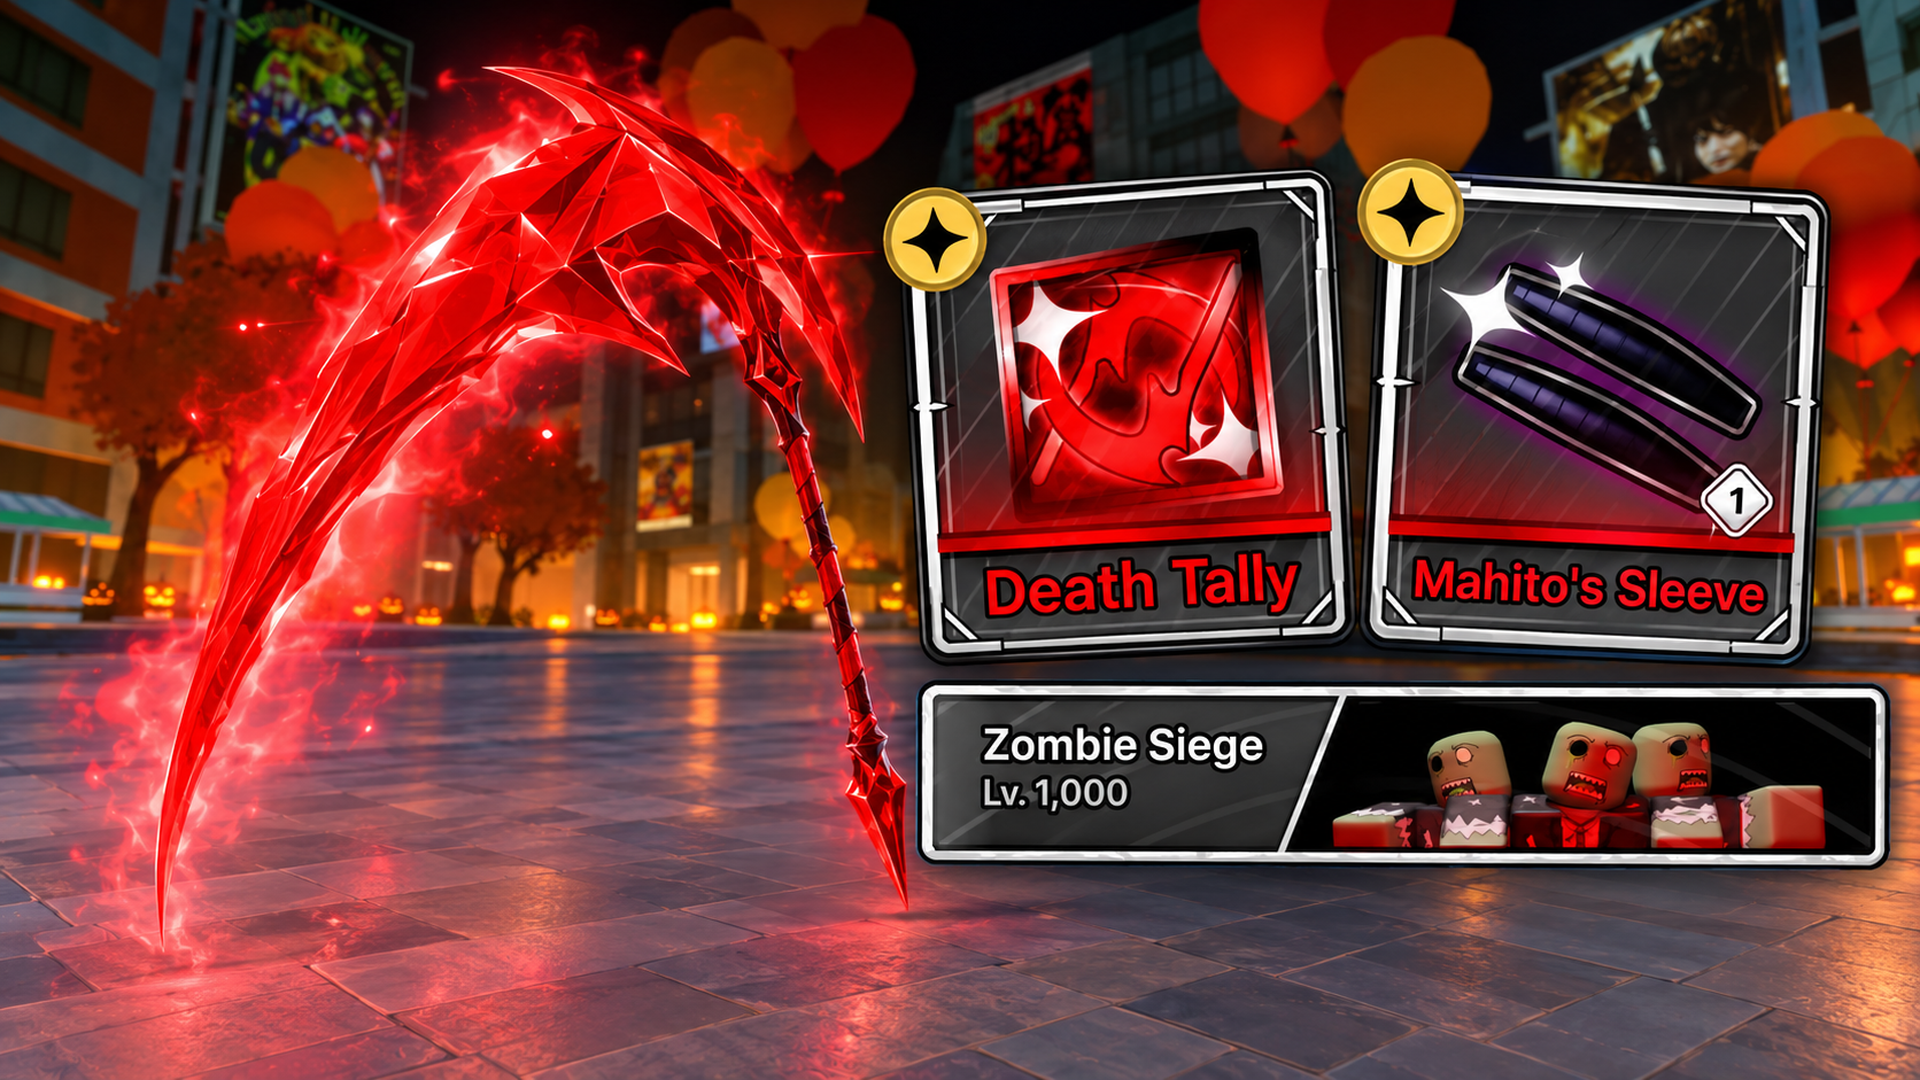
Jujutsu Zero Halloween Part 2: Hallo Scythe, Death Tally and Mahito
Upgrade Hallo Scythe, compare all five Soul Harvest breakpoints, unlock Idle Transfiguration through Curtain Night, and find the new Mahito raid, Candy Collection and Halloween rewards.
9 min readRead guide →