
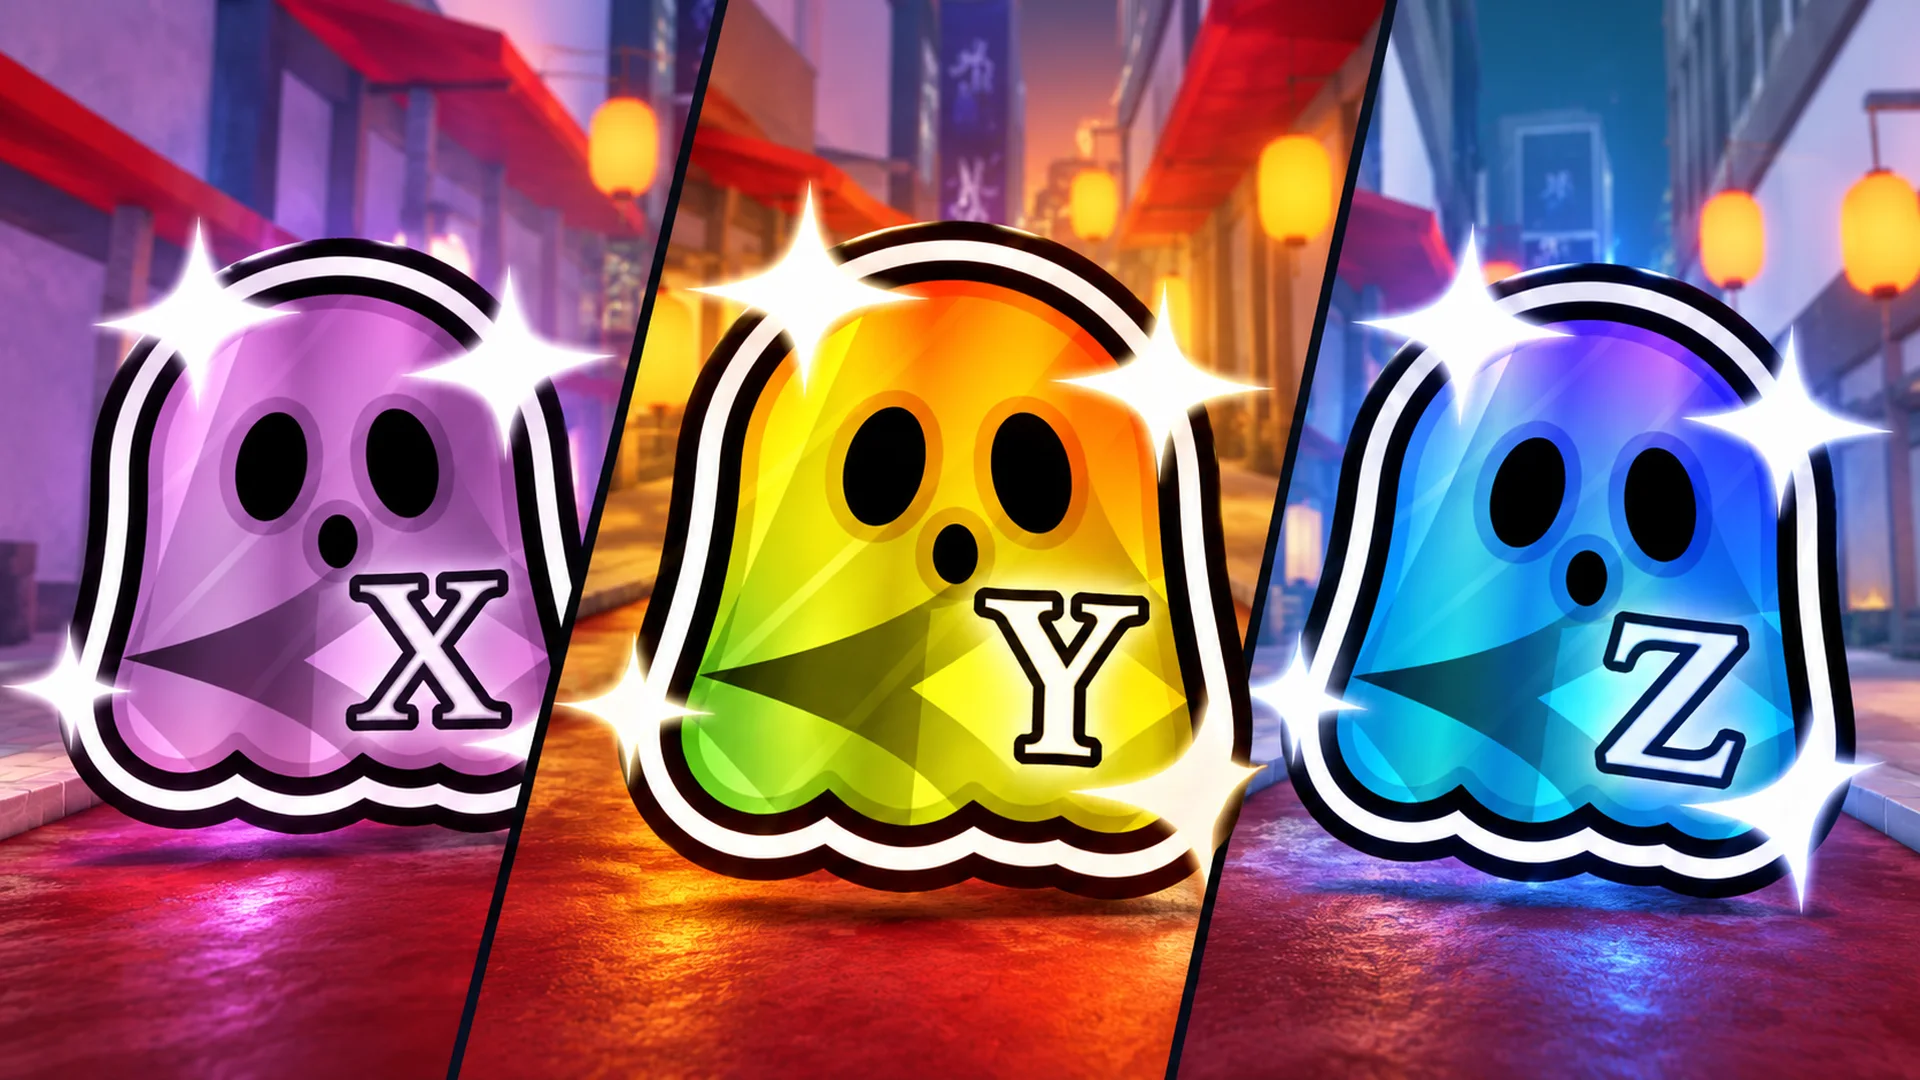
VIDEO GUIDE
QUICK ROUTE
Do it in this order
How to get all six Halloween gear pieces
Spooky Yellow, Orange, Red, X, Y and Z all come from Hallow Crates. They are only obtainable during the 2026 Halloween Event, so collect the pieces you want while the event is available.
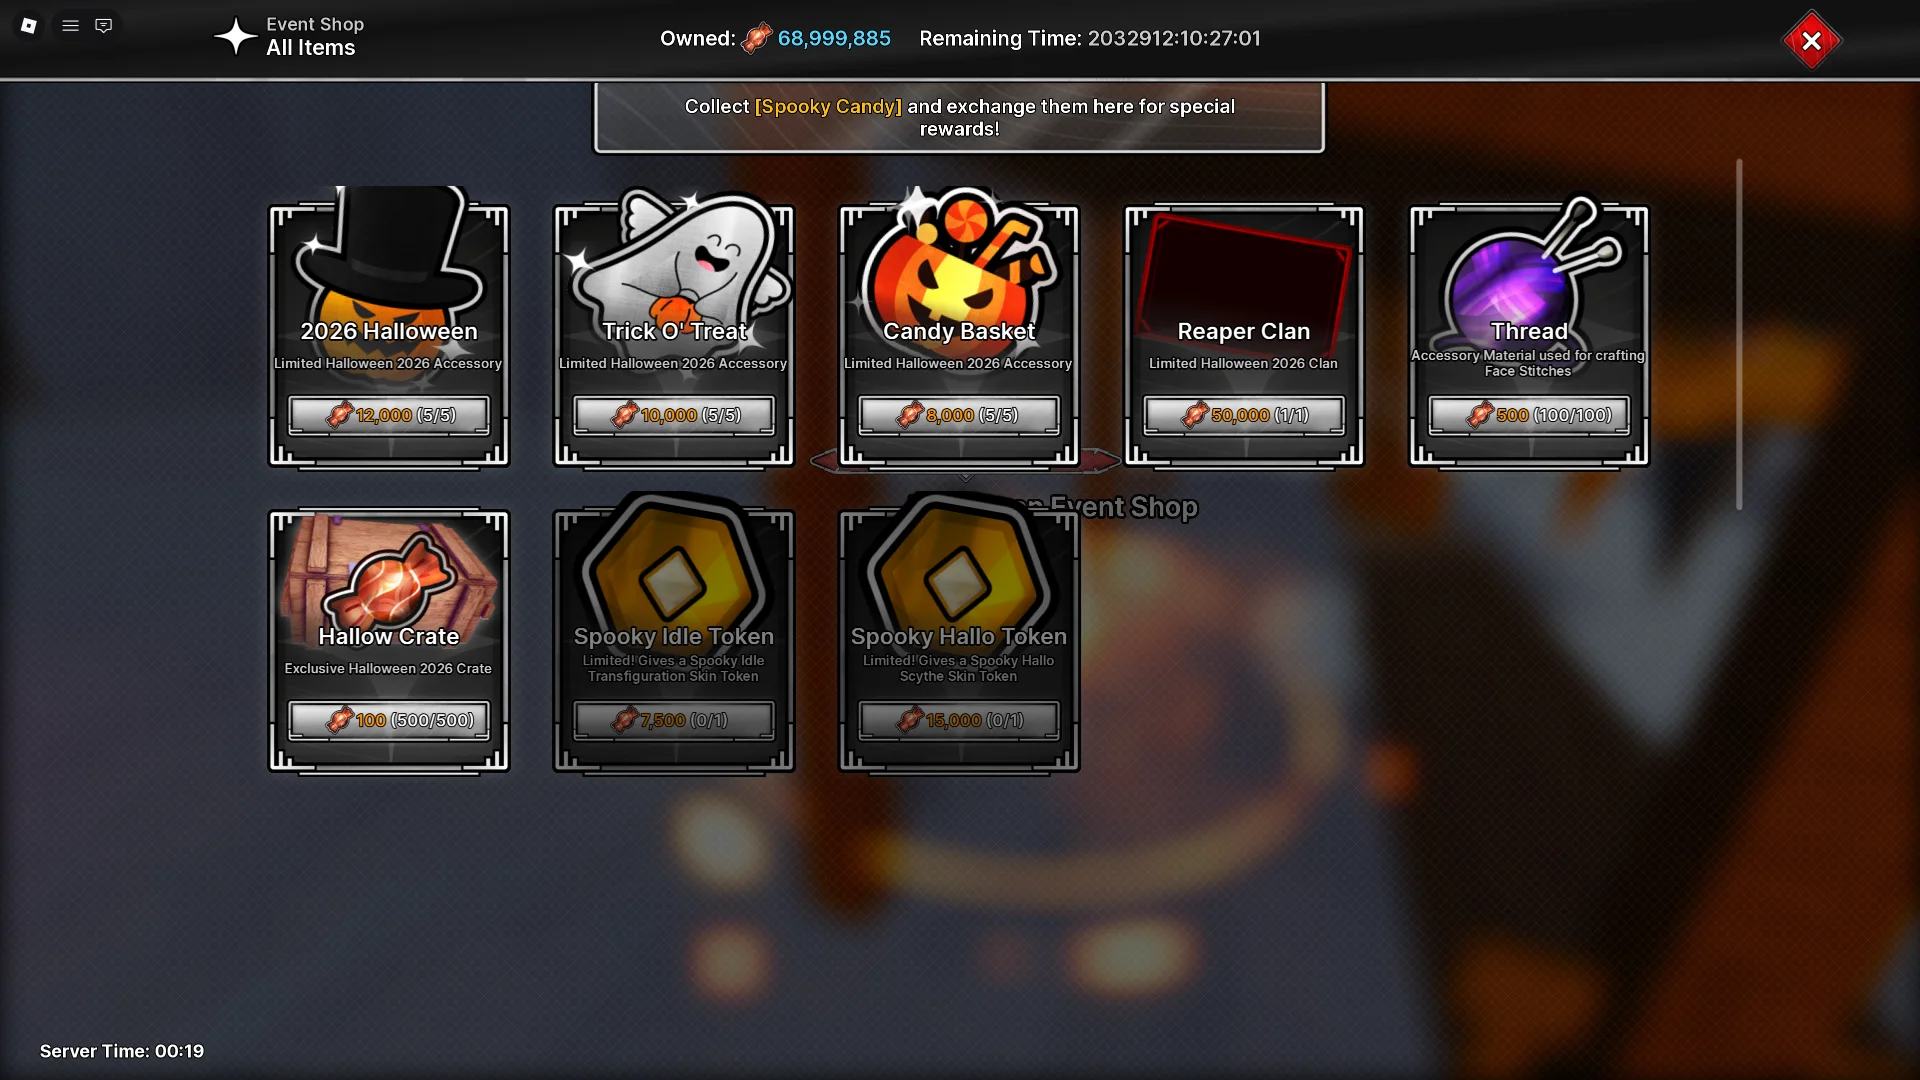
Spooky Raid rewards 15 Hallow Crates per clear. Hosting costs 150 Spooky Candy, and the boss has 30 trillion health. Bring a group to make the runs more manageable. If your group can clear it comfortably, you can collect gear crates alongside the other raid rewards.
You can also buy Hallow Crates from the Event Shop for 100 Spooky Candy each. This is an alternative when you have saved candy, but large batches can quickly use up your balance.
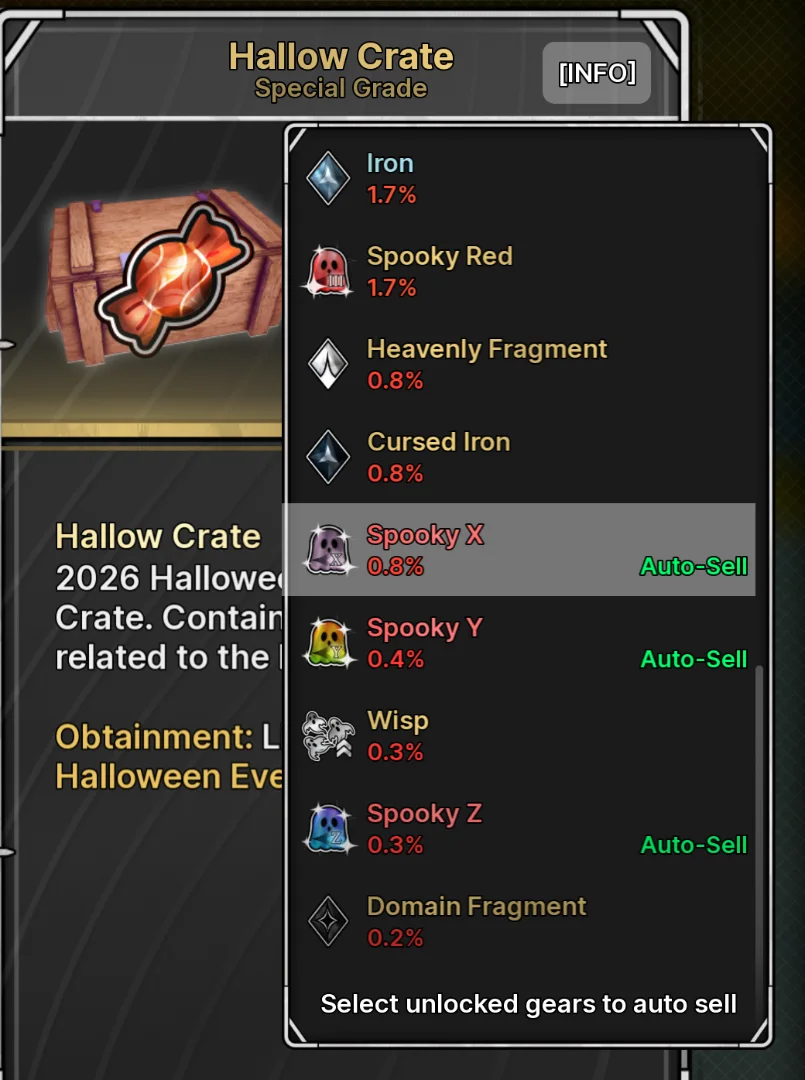
Hallow Crate gear drop rates
These are the listed chances for the six gear pieces in Hallow Crates. Z is the rarest, but the damage comparison below shows why rarity alone should not decide your entire setup.
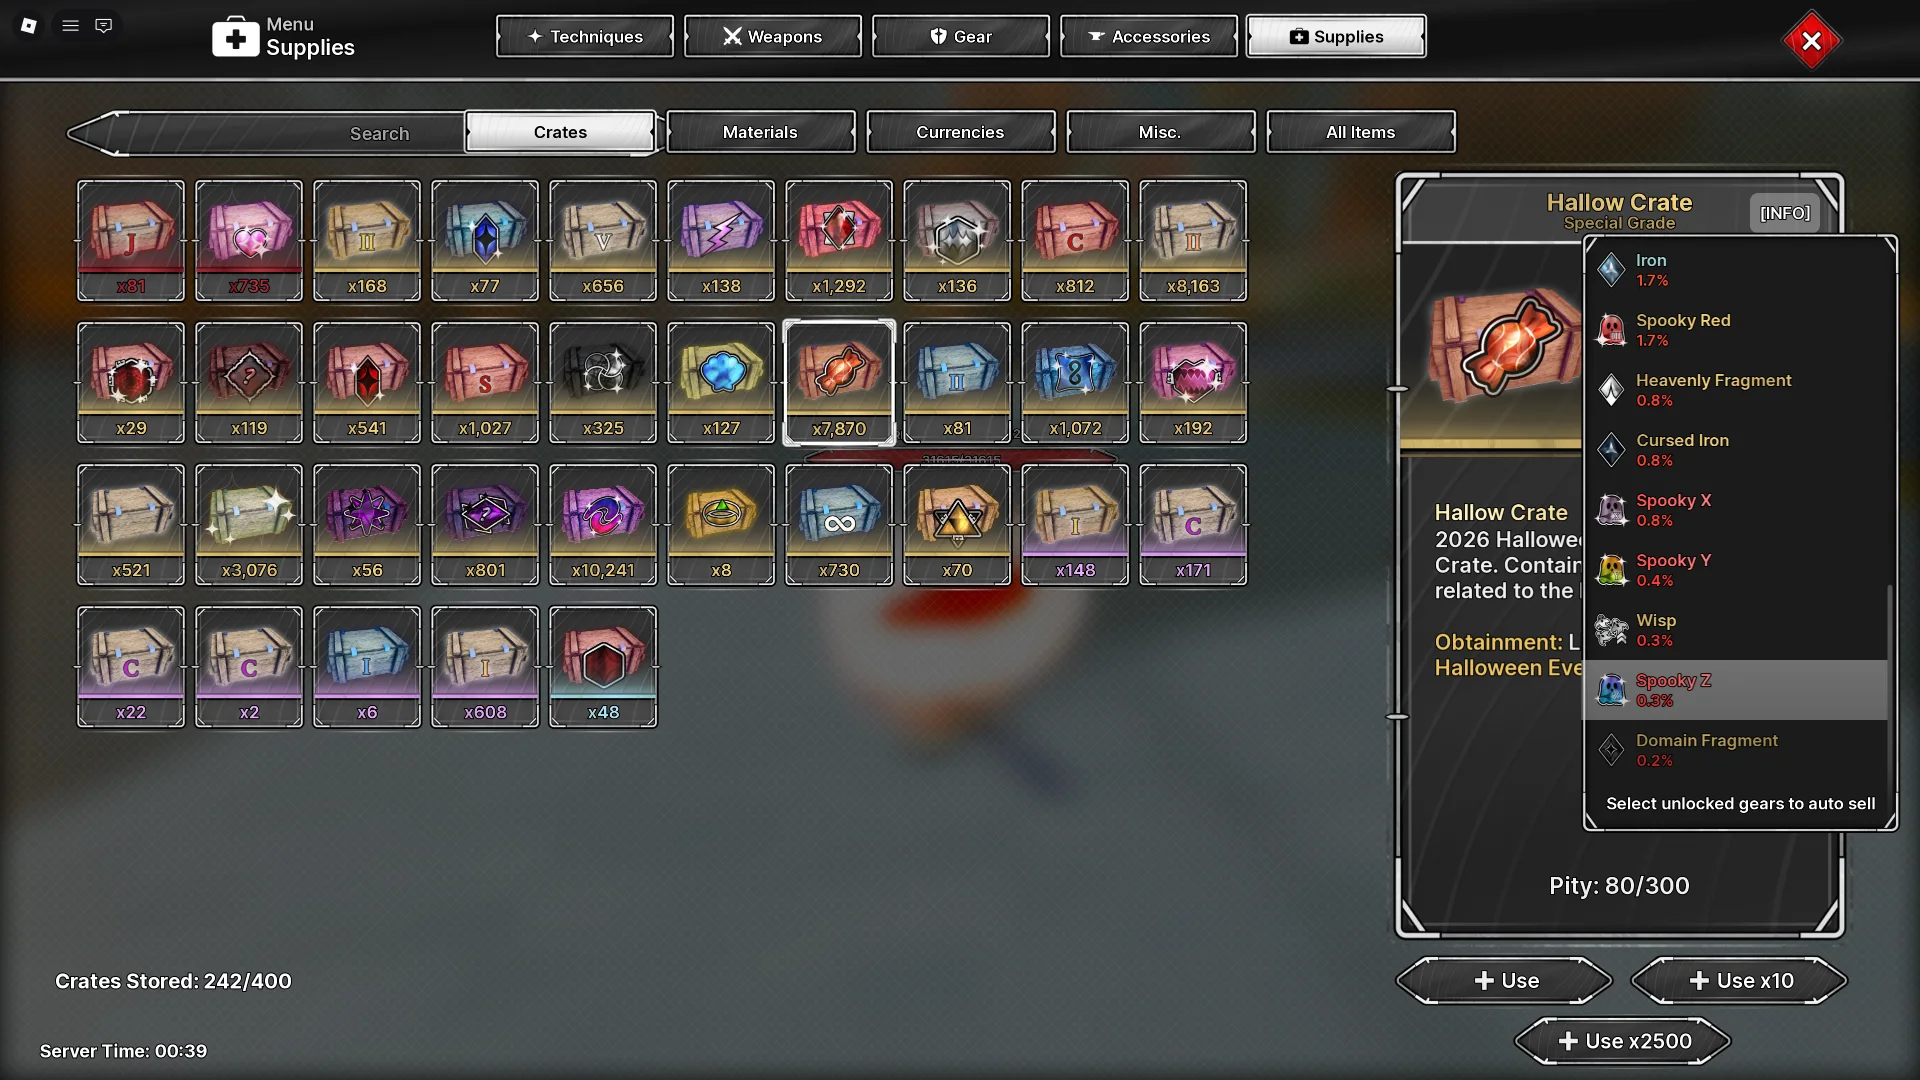
- Spooky Yellow — 8.4%.
- Spooky Orange — 4.2%.
- Spooky Red — 1.7%.
- Spooky X — 0.8%.
- Spooky Y — 0.4%.
- Spooky Z — 0.3%.
Keep X and Y when you get them. One of each X, Y and Z gave the highest damage among the four combinations tested here.
Spooky Set bonuses: one, two and three pieces
Spooky gear also provides bonuses for filling multiple slots. You can mix X, Y and Z while keeping all three equipped pieces in the Spooky Set.
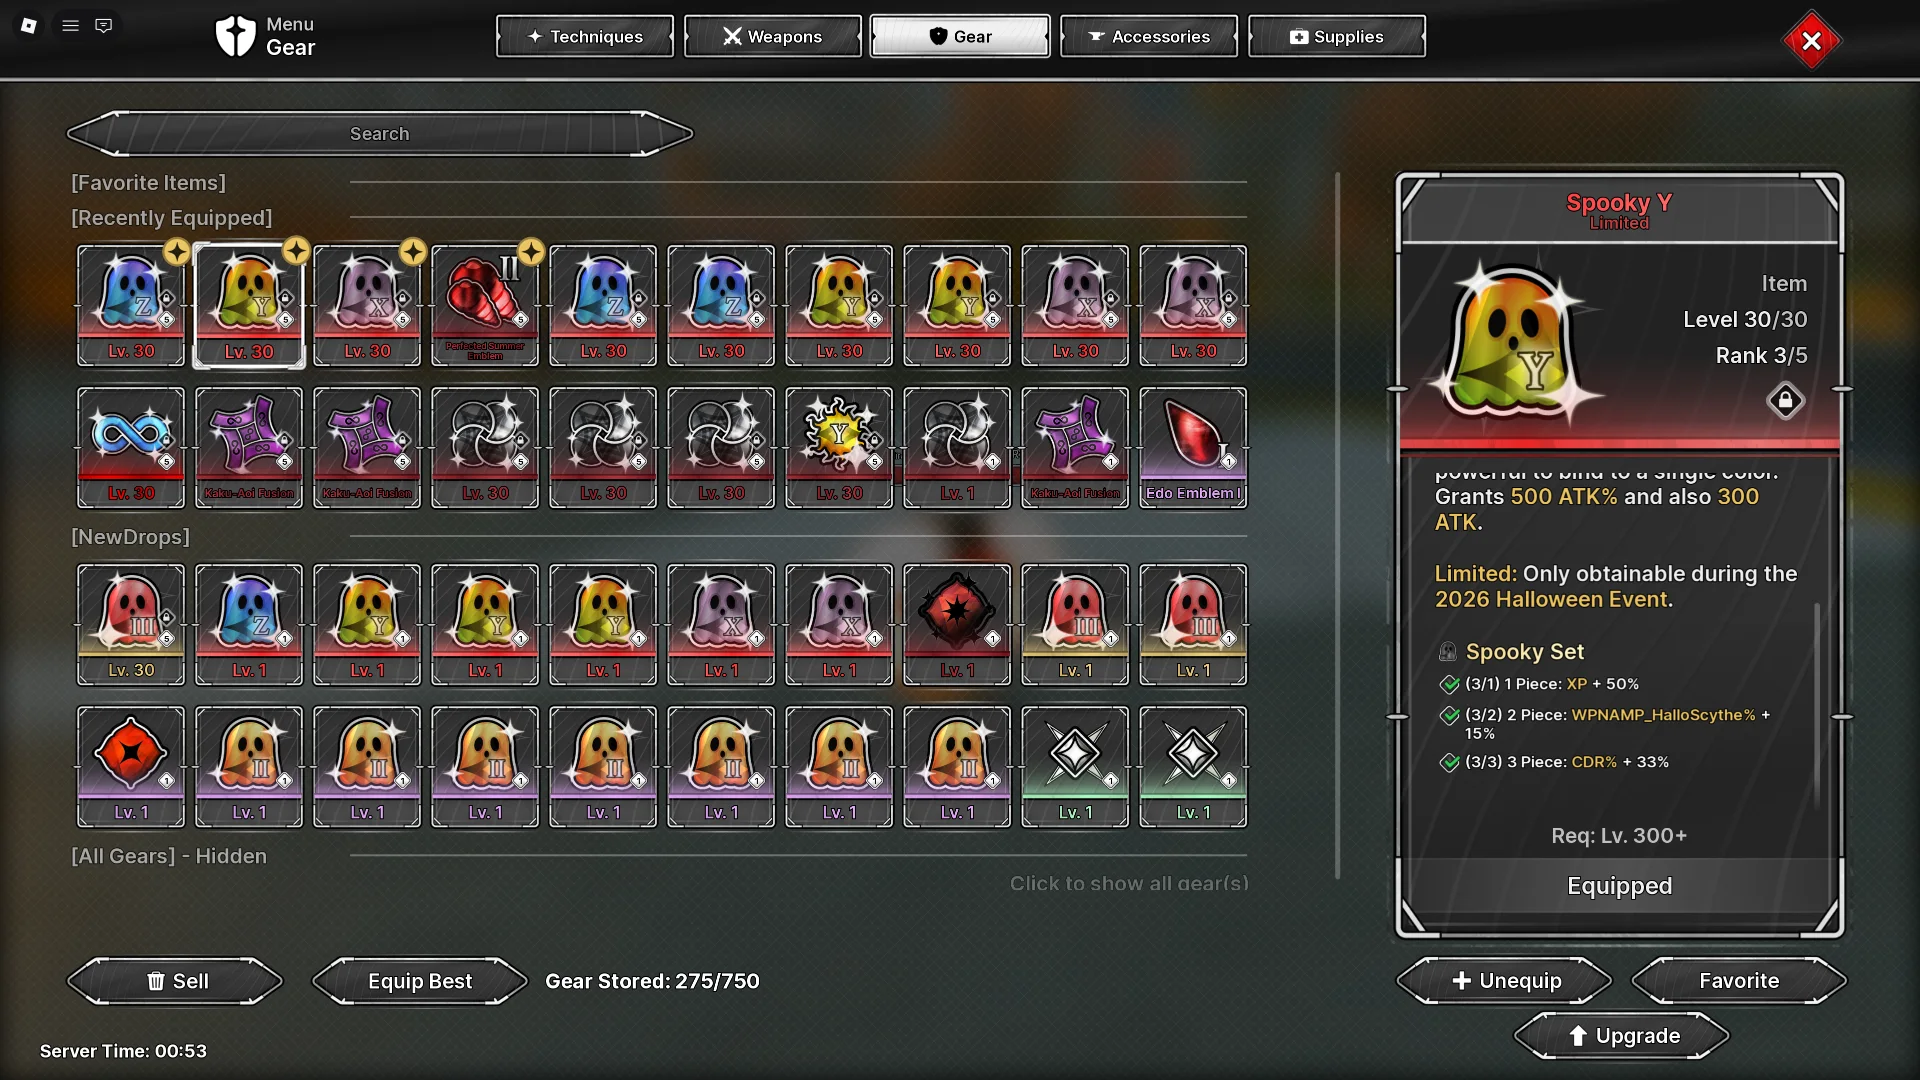
- 1 piece — +50% EXP.
- 2 pieces — +15% Hallo Scythe damage amplification.
- 3 pieces — +33% cooldown reduction.
Cooldown reduction helps skill frequency during a longer fight; it is separate from the damage of one skill use. The two-piece Hallo Scythe bonus applies to that weapon.
Spooky Yellow: the starting option
All gear stats in this guide are shown at gear level 30, rank 3 and Ascension 5. These are upgraded item values, not fresh-crate stats. Player-level requirements are listed separately.
Spooky Yellow is Grade Two, requires player level 100 and has the highest listed gear drop chance at 8.4%. It is a starting option while you fill your gear slots and collect the other pieces.
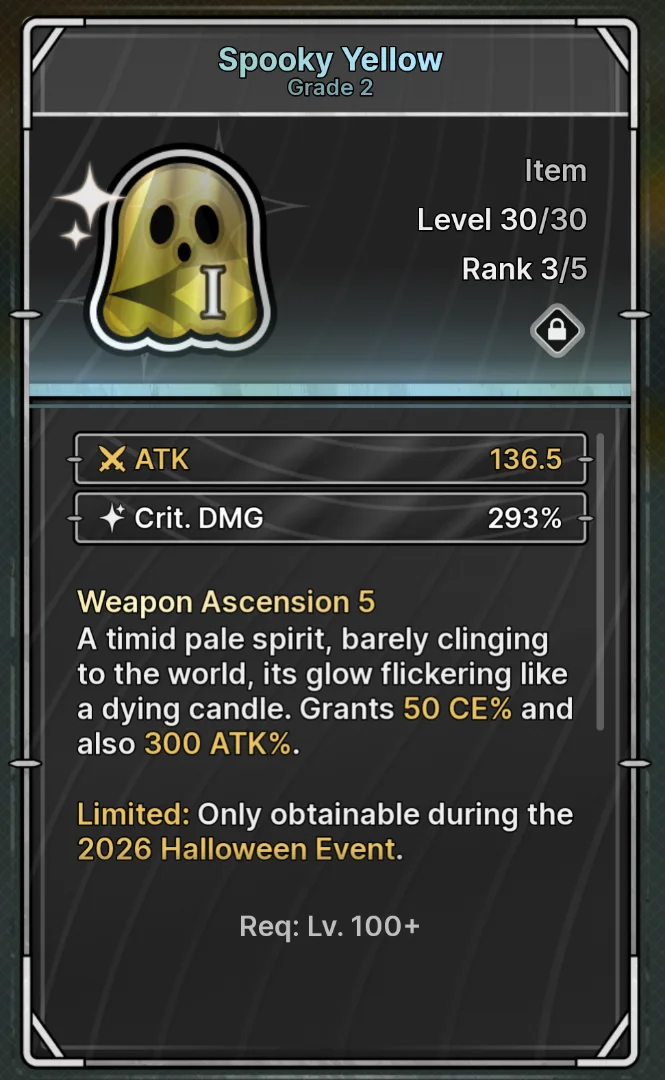
- Main stats: 136.5 flat ATK and +293% critical damage.
- Additional bonuses: +50% Cursed Energy and +300% ATK.
Spooky Orange: higher attack and critical damage
Spooky Orange is Grade One, requires player level 100 and has a 4.2% drop chance. At the same upgrade stage, it increases the listed flat ATK, critical damage, percentage ATK and Cursed Energy bonuses compared with Yellow.
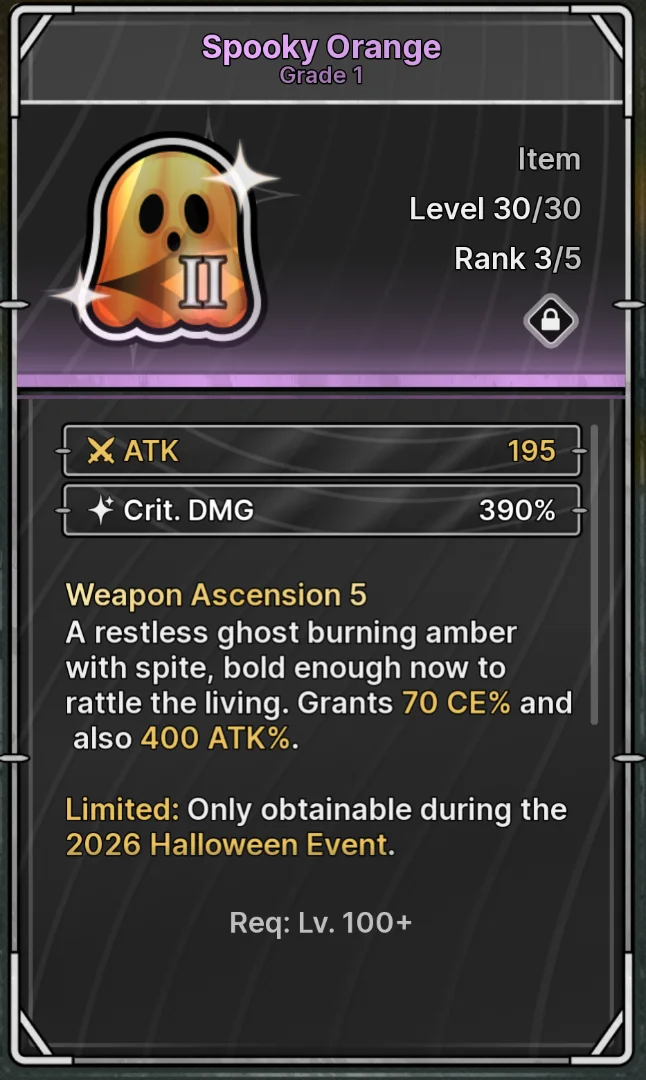
- Main stats: 195 flat ATK and +390% critical damage.
- Additional bonuses: +70% Cursed Energy and +400% ATK.
Spooky Red: Special Grade progression
Spooky Red is Special Grade, requires player level 100 and has a 1.7% drop chance. Its listed stats continue the increases from Yellow and Orange. Use the pieces that improve your current build while working toward X, Y and Z.
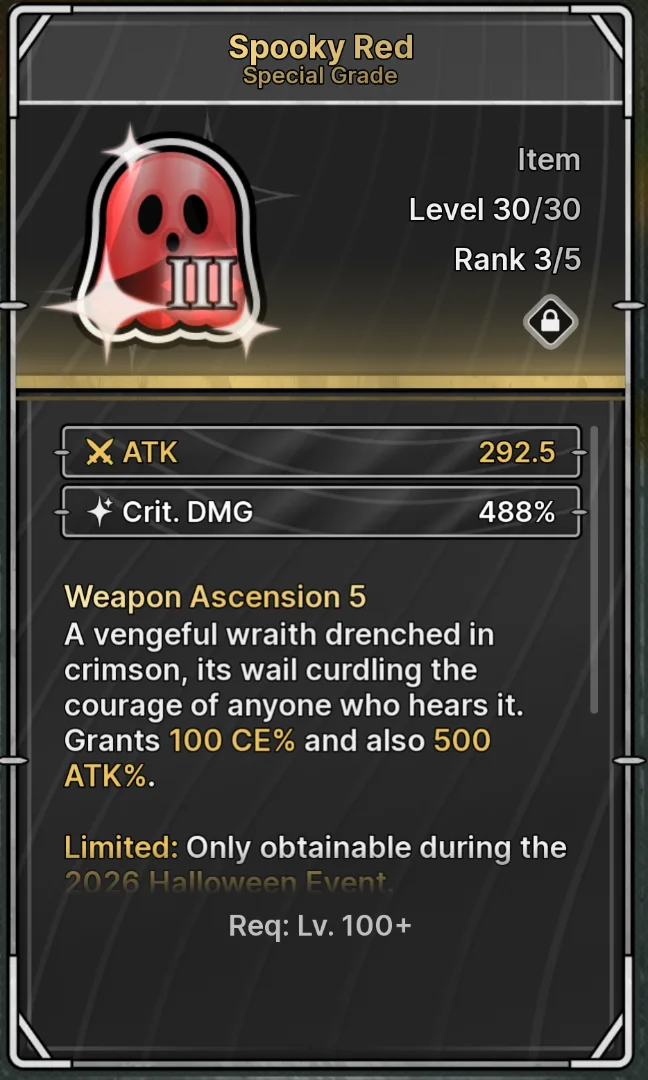
- Main stats: 292.5 flat ATK and +488% critical damage.
- Additional bonuses: +100% Cursed Energy and +500% ATK.
Spooky X: flat attack
Spooky X requires player level 200 and has a 0.8% drop chance. Flat ATK is a major part of its stat mix: the main stats include 390 flat ATK, and its additional bonuses add another 300. X is worth keeping even though it is more common than Y and Z.
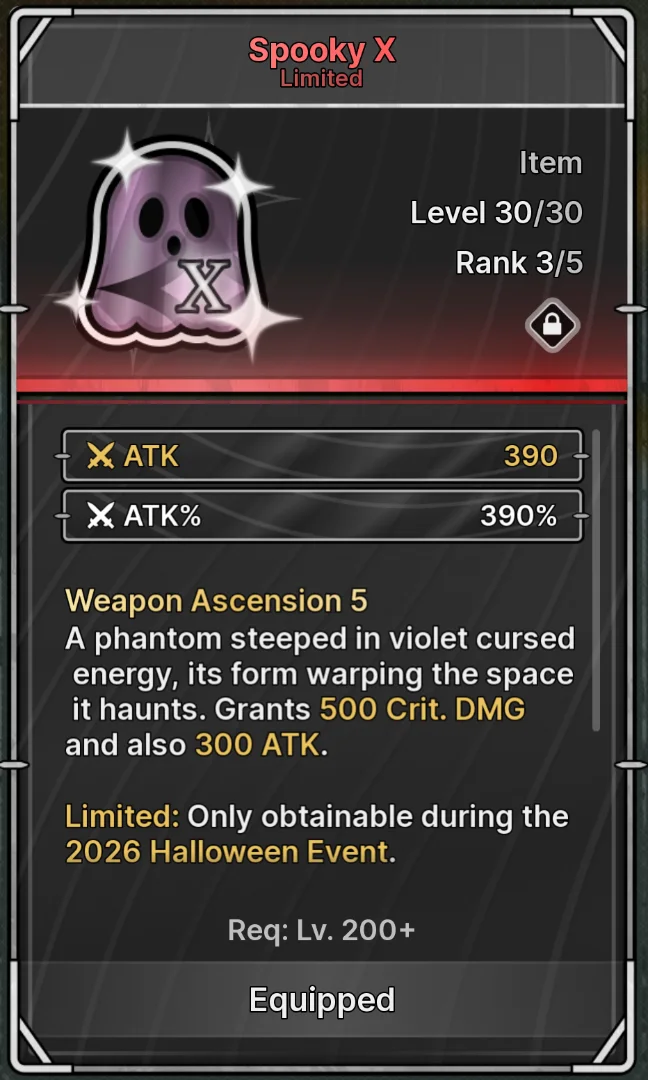
- Main stats: 390 flat ATK and +390% ATK.
- Additional bonuses: +300 flat ATK and +500% critical damage.
Spooky Y: percentage attack
Spooky Y requires player level 300 and has a 0.4% drop chance. It emphasizes percentage ATK while still supplying flat ATK and critical damage, giving it a different stat mix from X.
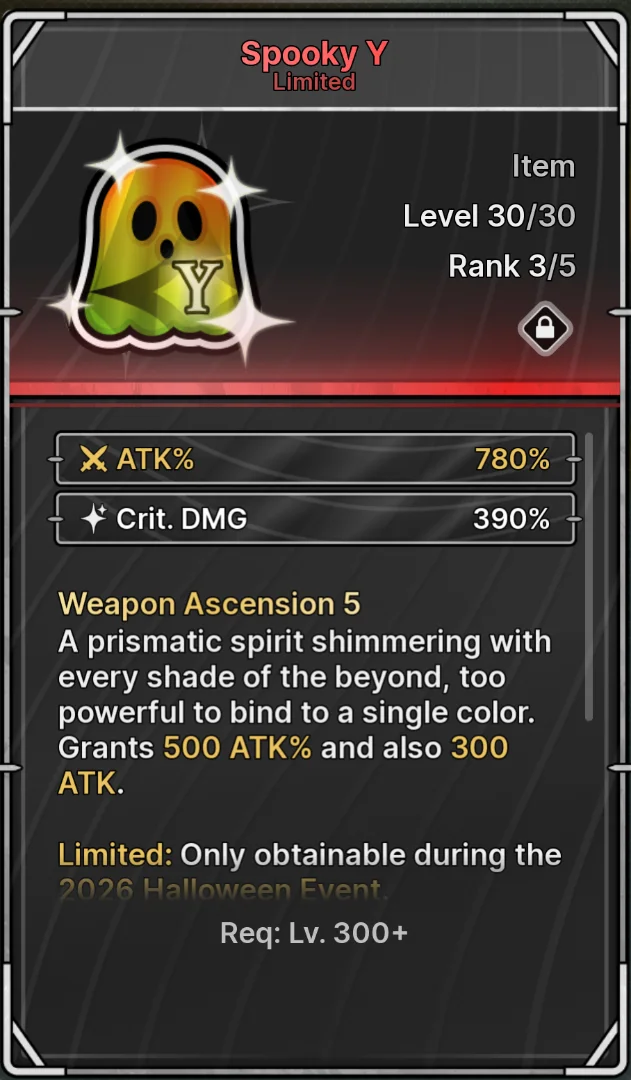
- Main stats: +780% ATK and +390% critical damage.
- Additional bonuses: +500% ATK and +300 flat ATK.
Spooky Z: critical damage
Spooky Z requires player level 300 and has a 0.3% drop chance. Its main and additional bonuses both contribute critical damage, alongside flat and percentage ATK. It gave the strongest result among the three matching-piece setups in this test.
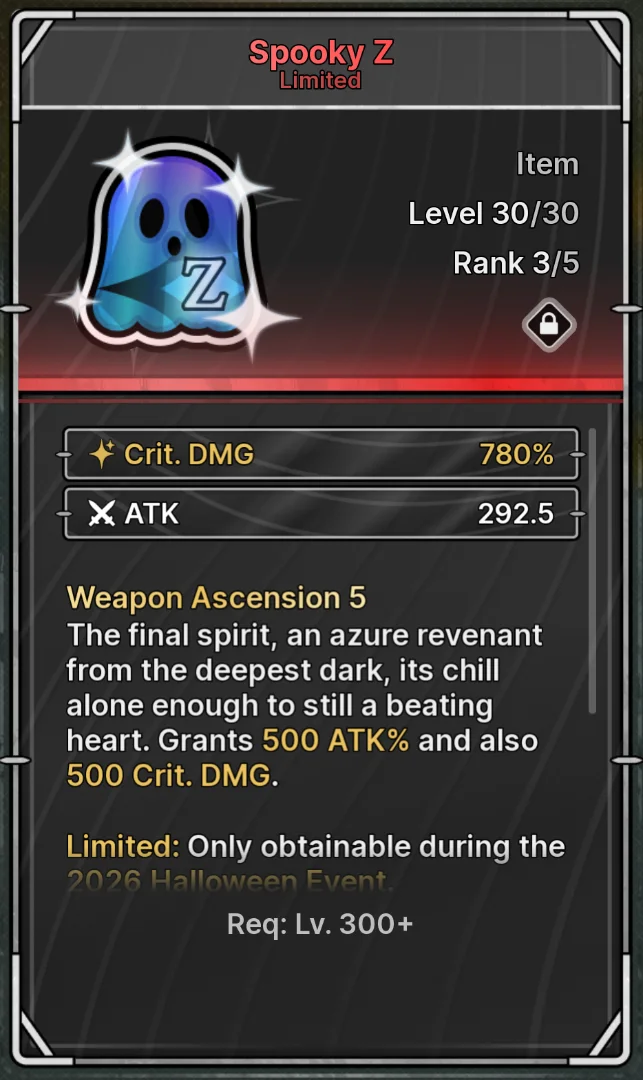
- Main stats: +780% critical damage and 292.5 flat ATK.
- Additional bonuses: +500% ATK and another +500% critical damage.
Damage test: three X vs three Y vs three Z vs mixed
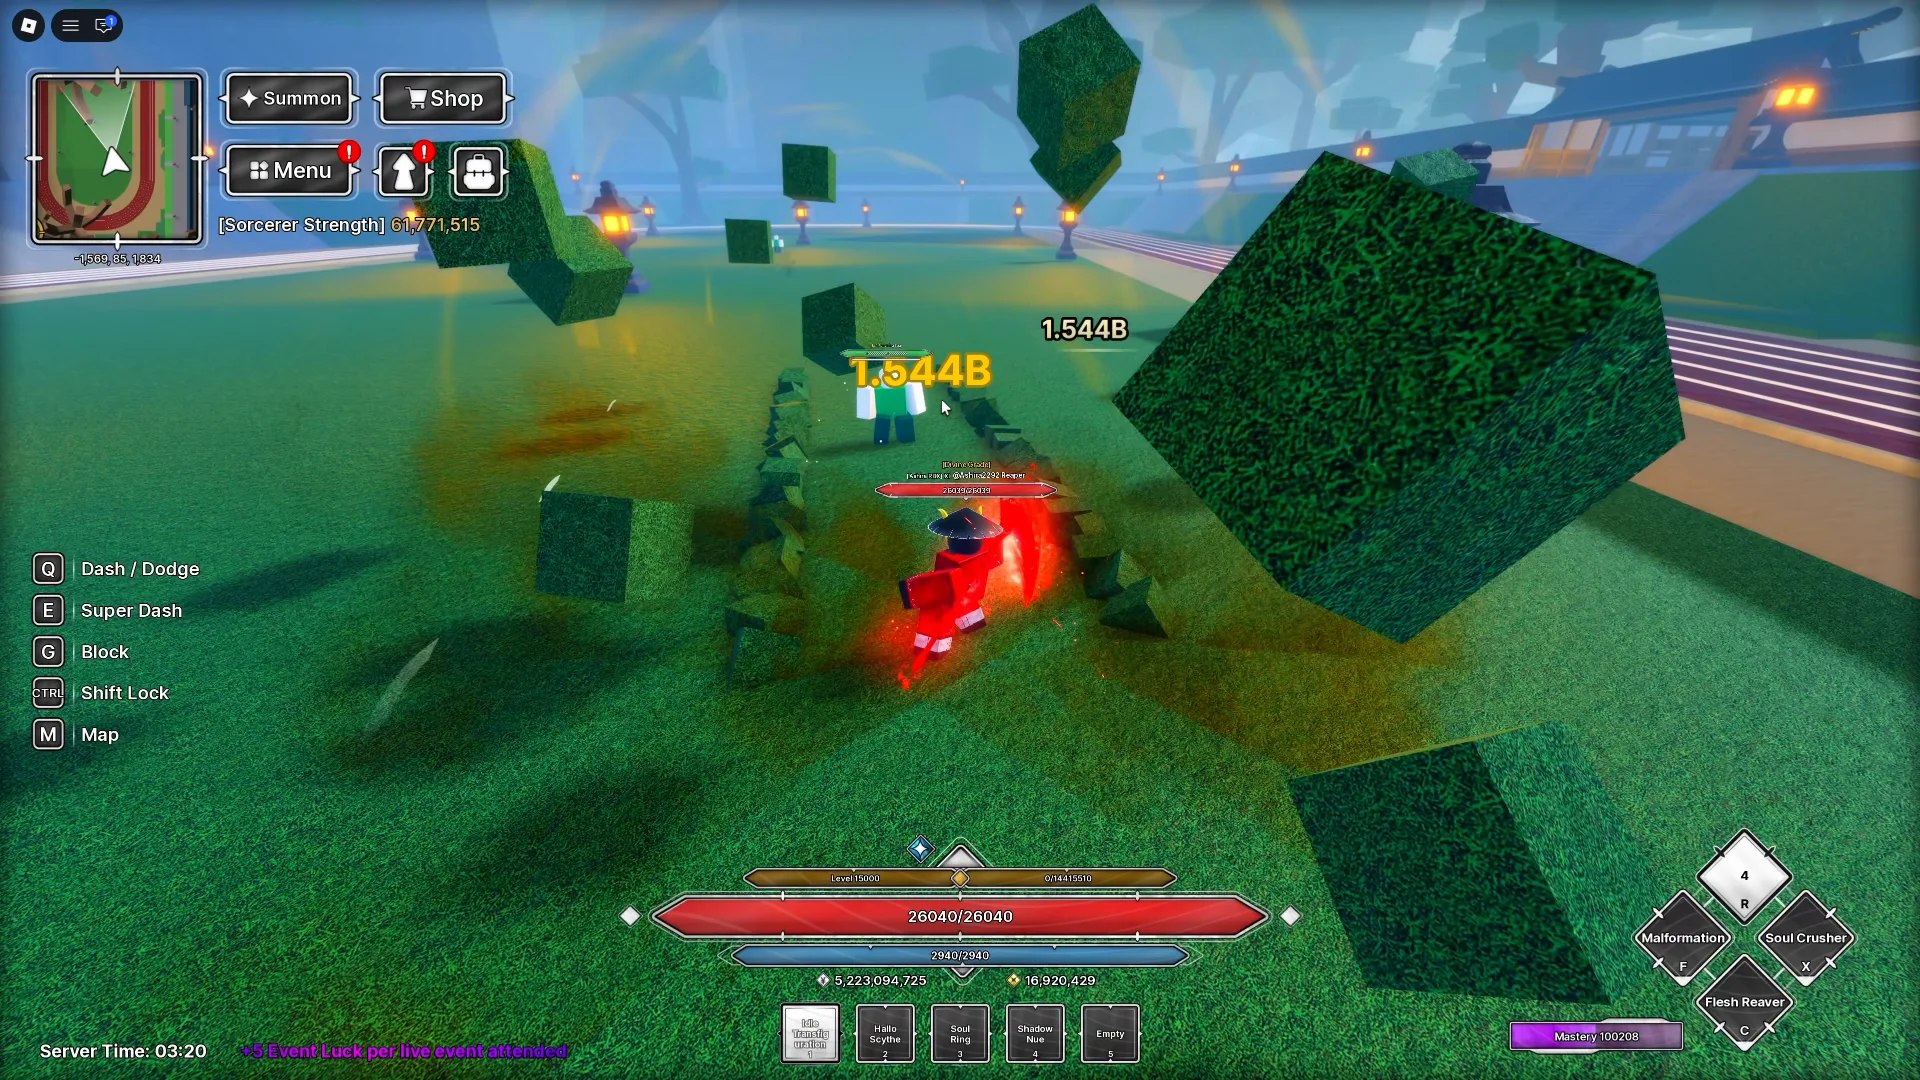
Ashira tested four gear combinations using Idle Transfiguration's first skill. The matching setups were fairly close: three X pieces dealt about 1.482 billion, three Y dealt 1.509 billion, and three Z dealt 1.544 billion damage.
That puts three Y about 27 million ahead of three X, with three Z another 35 million above three Y. Moving from three X to three Z improved the result by approximately 4.2%.
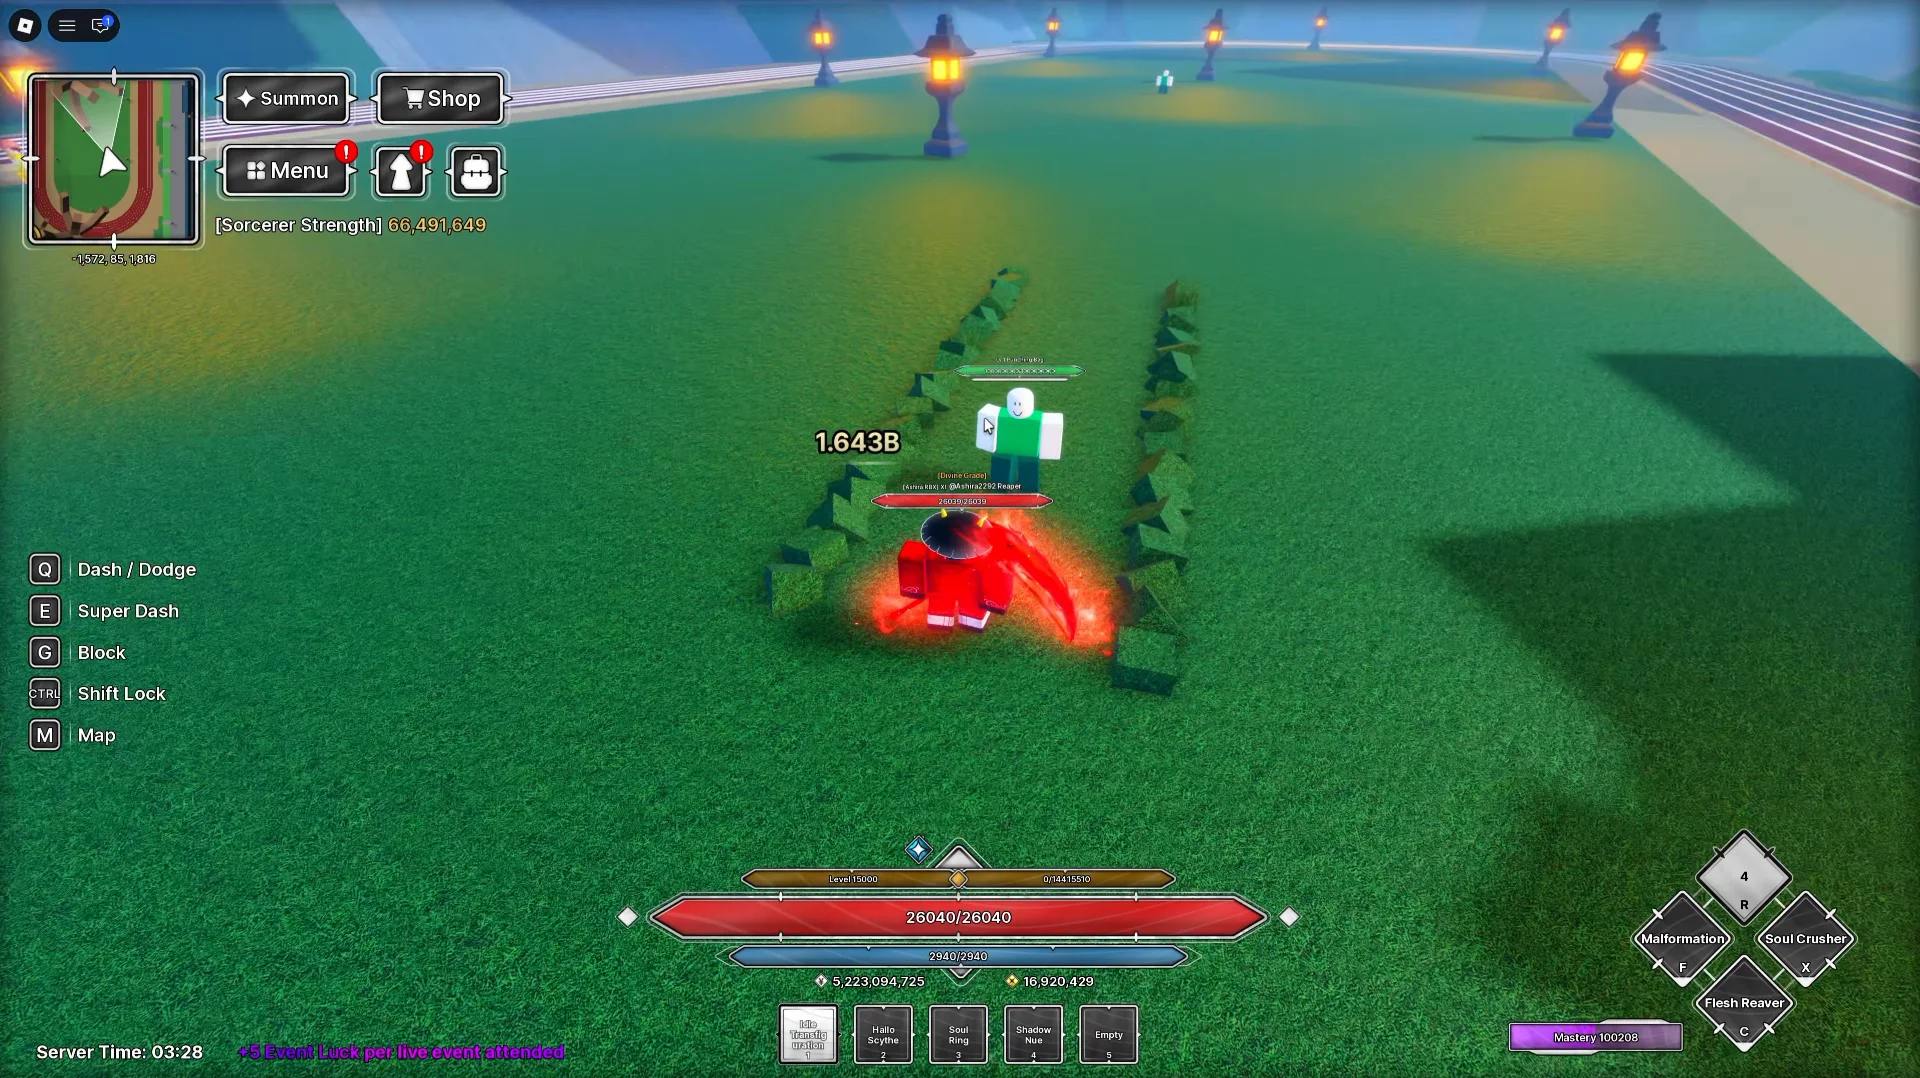
One X, one Y and one Z reached 1.643 billion damage, the highest result of the four. It beat three Z by about 99 million damage, or 6.4%. Compared with three Y it was about 8.9% higher, and compared with three X it was about 10.9% higher.
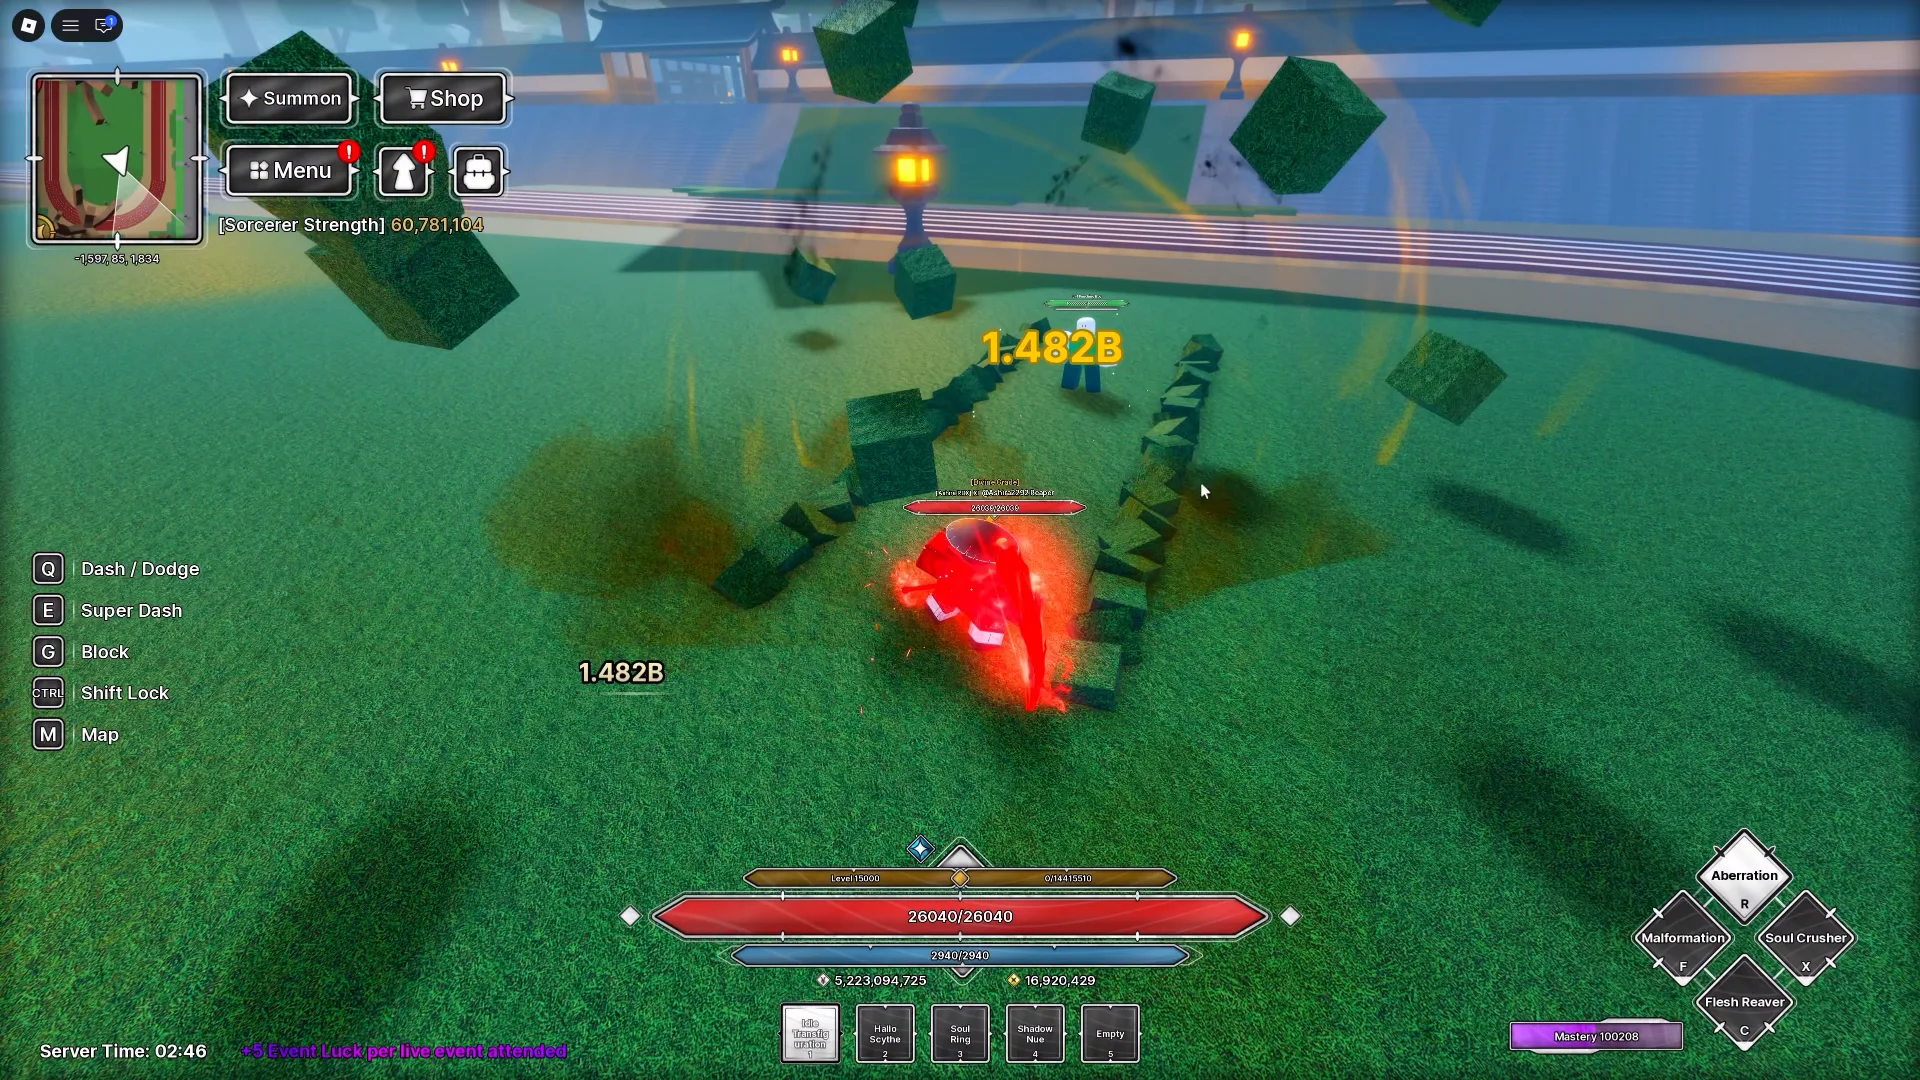
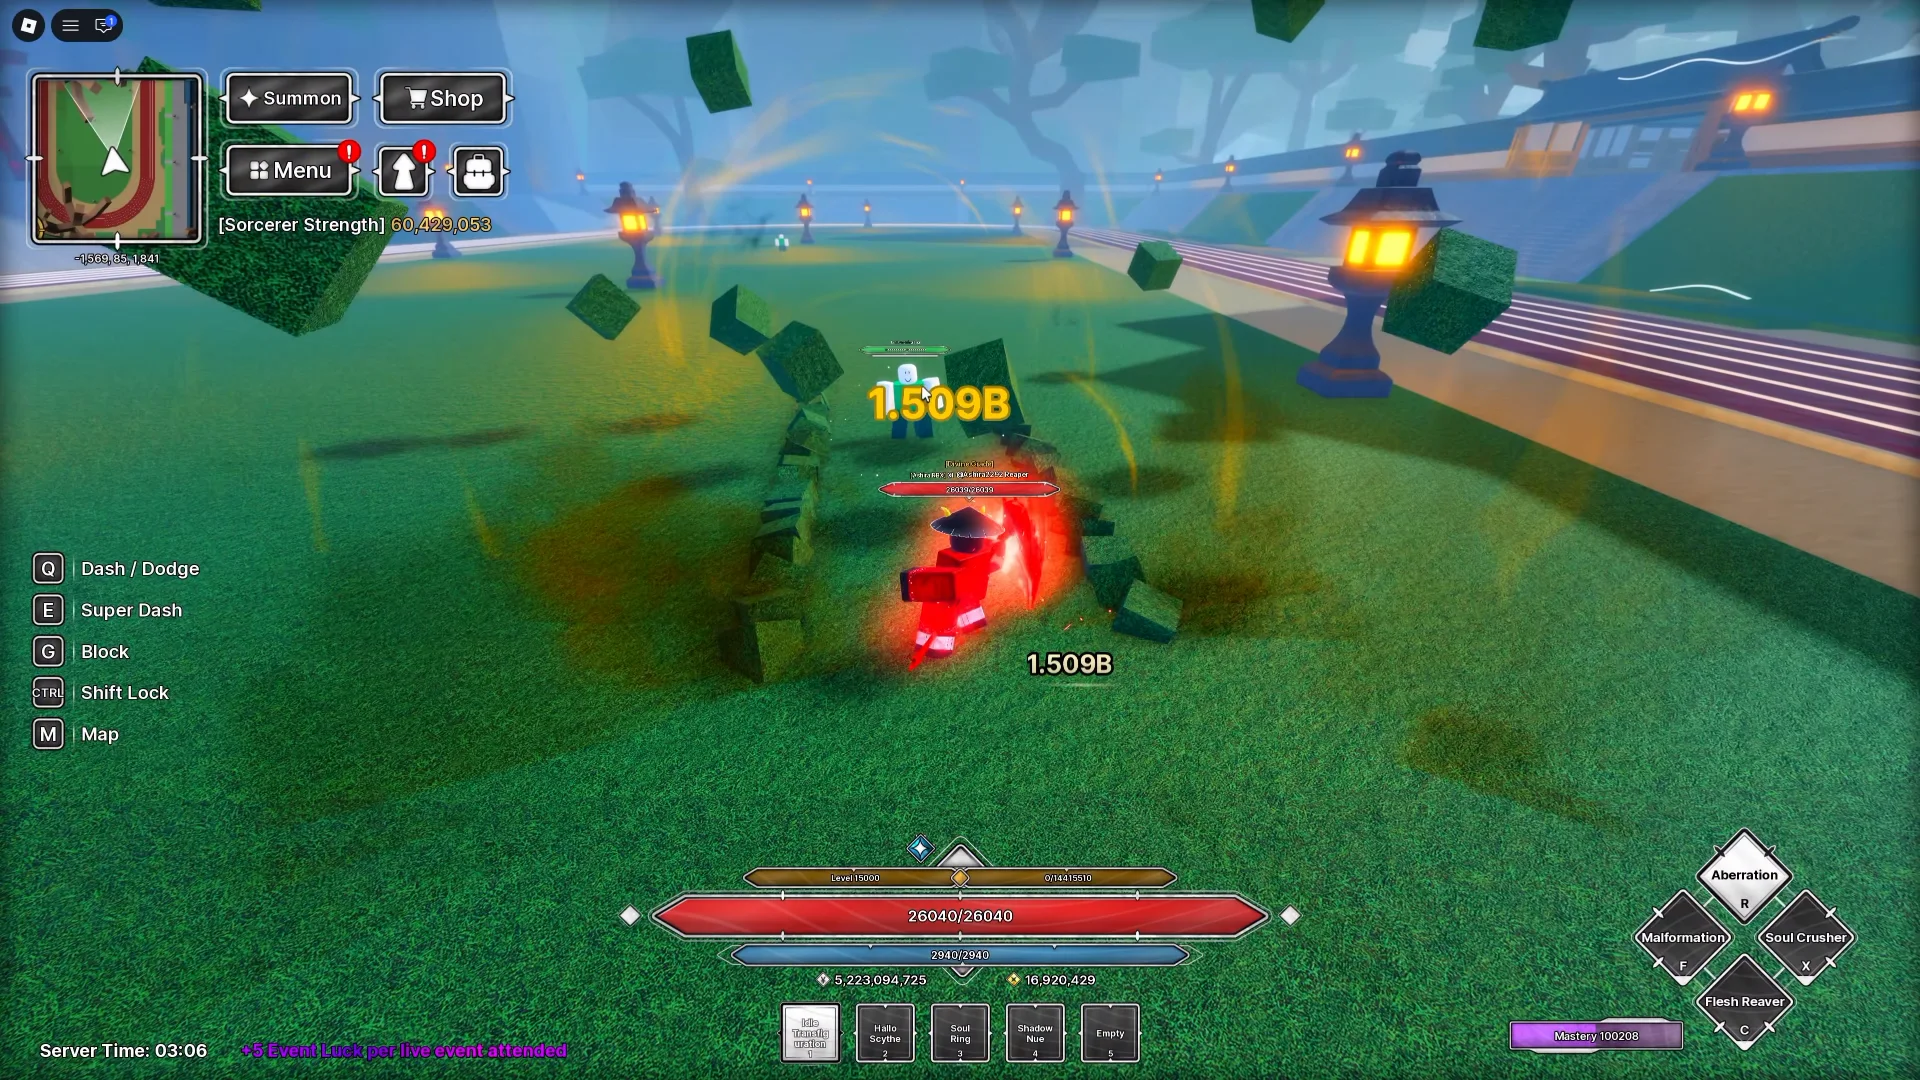
- 3 × Spooky X — approximately 1.482B damage.
- 3 × Spooky Y — approximately 1.509B damage.
- 3 × Spooky Z — approximately 1.544B damage.
- 1 × X + 1 × Y + 1 × Z — approximately 1.643B damage.
These results compare one skill on Ashira's Idle Transfiguration setup. They do not establish the best gear for every technique or weapon, or measure sustained damage over a full fight. Percentage differences use the rounded reported results.
What to keep and upgrade first
For this Idle Transfiguration setup, aim for one Spooky X, one Spooky Y and one Spooky Z before chasing three copies of Z. The mixed setup combines their different stat profiles, keeps all three slots within the Spooky Set and requires only one copy of the rarest piece.
You can use matching pieces while collecting the missing items. Three X pieces still reached about 1.482B in the test, so there is no need to wait for the full mixed setup before using Halloween gear. The same principle applies if you have several Y pieces or get a Z early.
Check auto-sell before opening a large batch of Hallow Crates. Turn Auto-Sell off for X, Y and Z so those pieces stay in your inventory. In the screenshot below, the green Auto-Sell buttons are enabled: switch them off for the pieces you want to keep. Upgrade the pieces you intend to use and compare them with your existing gear when trying a different weapon or technique.
Quick recommendation
Farm Hallow Crates, keep a copy of each X/Y/Z piece and work toward the mixed setup if you are following this Idle Transfiguration build. It won this comparison at approximately 1.643B damage, versus 1.544B with three Z pieces. Use the best pieces you already have while collecting the rest.
Jujutsu Zero Halloween Raid Solo Guide: Bleed Setup and Rewards
Prepare a Bleed emblem, use summons and a domain to make solo runs easier, and farm Hallow Crates, Hallo Scythe, Soul Ring and Idle Transfiguration.
6 min readRead guide →
Jujutsu Zero Halloween Guide: Spooky Candy, Lost Souls and Shop Rewards
Farm Spooky Candy and Lost Souls, track the new Candy Collection rewards, and plan your event shop purchases. Updated for all ten Curtain Night quests, Mahito and the expanded Halloween activities.
8 min readRead guide →
Complete Accessories Guide
Compare Jujutsu Zero accessory effects and sources, including Zen’in Heir Circlet and Killing Intent, with separate Cursed Storage and Disaster Storage references.
22 min readRead guide →