
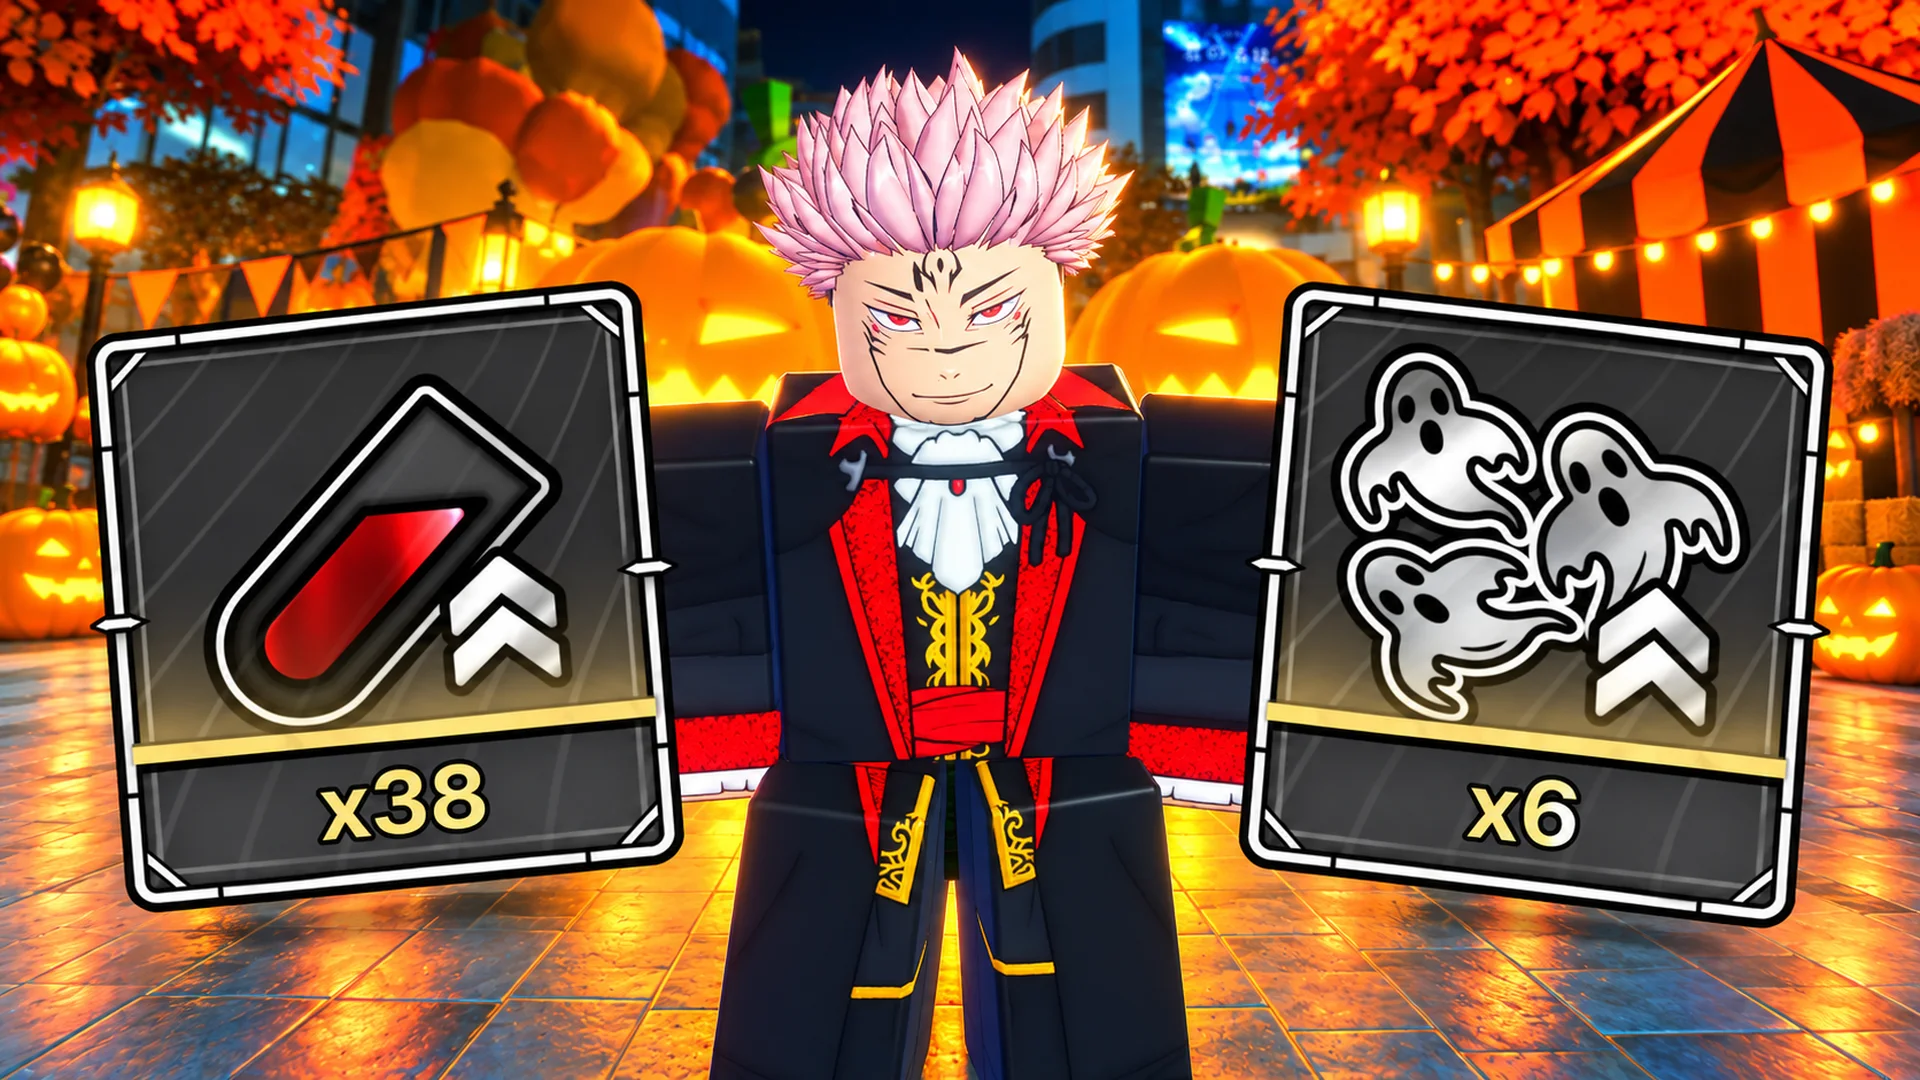
QUICK ROUTE
Do it in this order
Part 2: Spooky Raid and Mahito are separate raids
This solo guide covers the original Spooky Raid and its Hallow Crate rewards. Halloween Part 2 adds a different Mahito Gamemode Raid through the Subway Entrance: Transfigured Human waves, Mahito combat, then oncoming trains. Mahito drops Spooky Candy, Anima Crate and Mahito's Sleeve.
If Idle Transfiguration is your goal, all ten Curtain Night quests are now unlocked and the final quest rewards a copy. You no longer need to rely only on a chance drop from Spooky Raid.
Enter the Halloween Raid and prepare your normal build
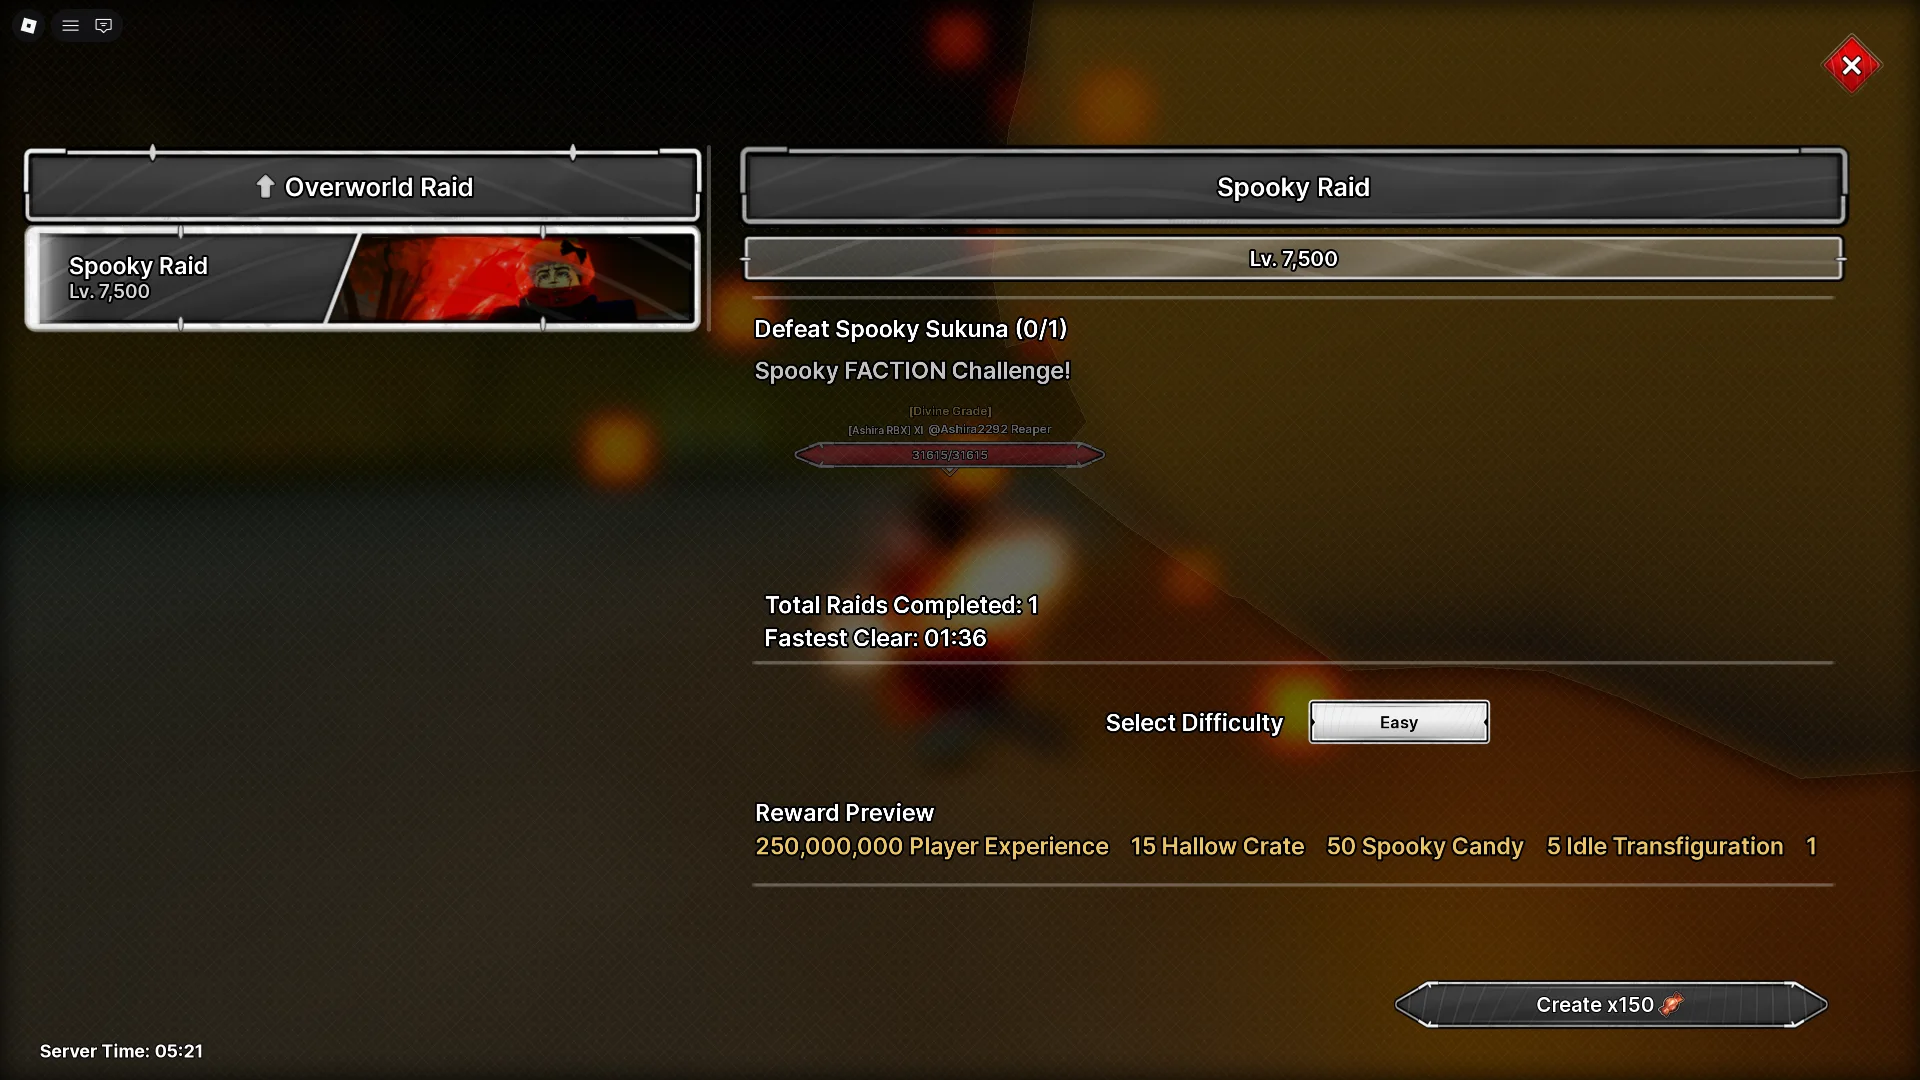
Talk to the Halloween teleport NPC at Spawn to enter the event map. From there, access the Halloween Raid, also called Spooky Raid. Hosting costs 150 Spooky Candy, so collect enough before starting.
The boss has 30 trillion health. The key to this solo method is Bleed: apply it to an emblem and equip that emblem before entering. You can keep your normal gear, accessories and weapon; a particular equipment set is not required.
This method aims for solo clears in under two minutes. Your clear time will depend on your setup, how consistently you land attacks and whether you survive the fight. Start with the Bleed emblem, then improve the rest of the build as needed.
Farm Blood Residue from Scarlet Crates
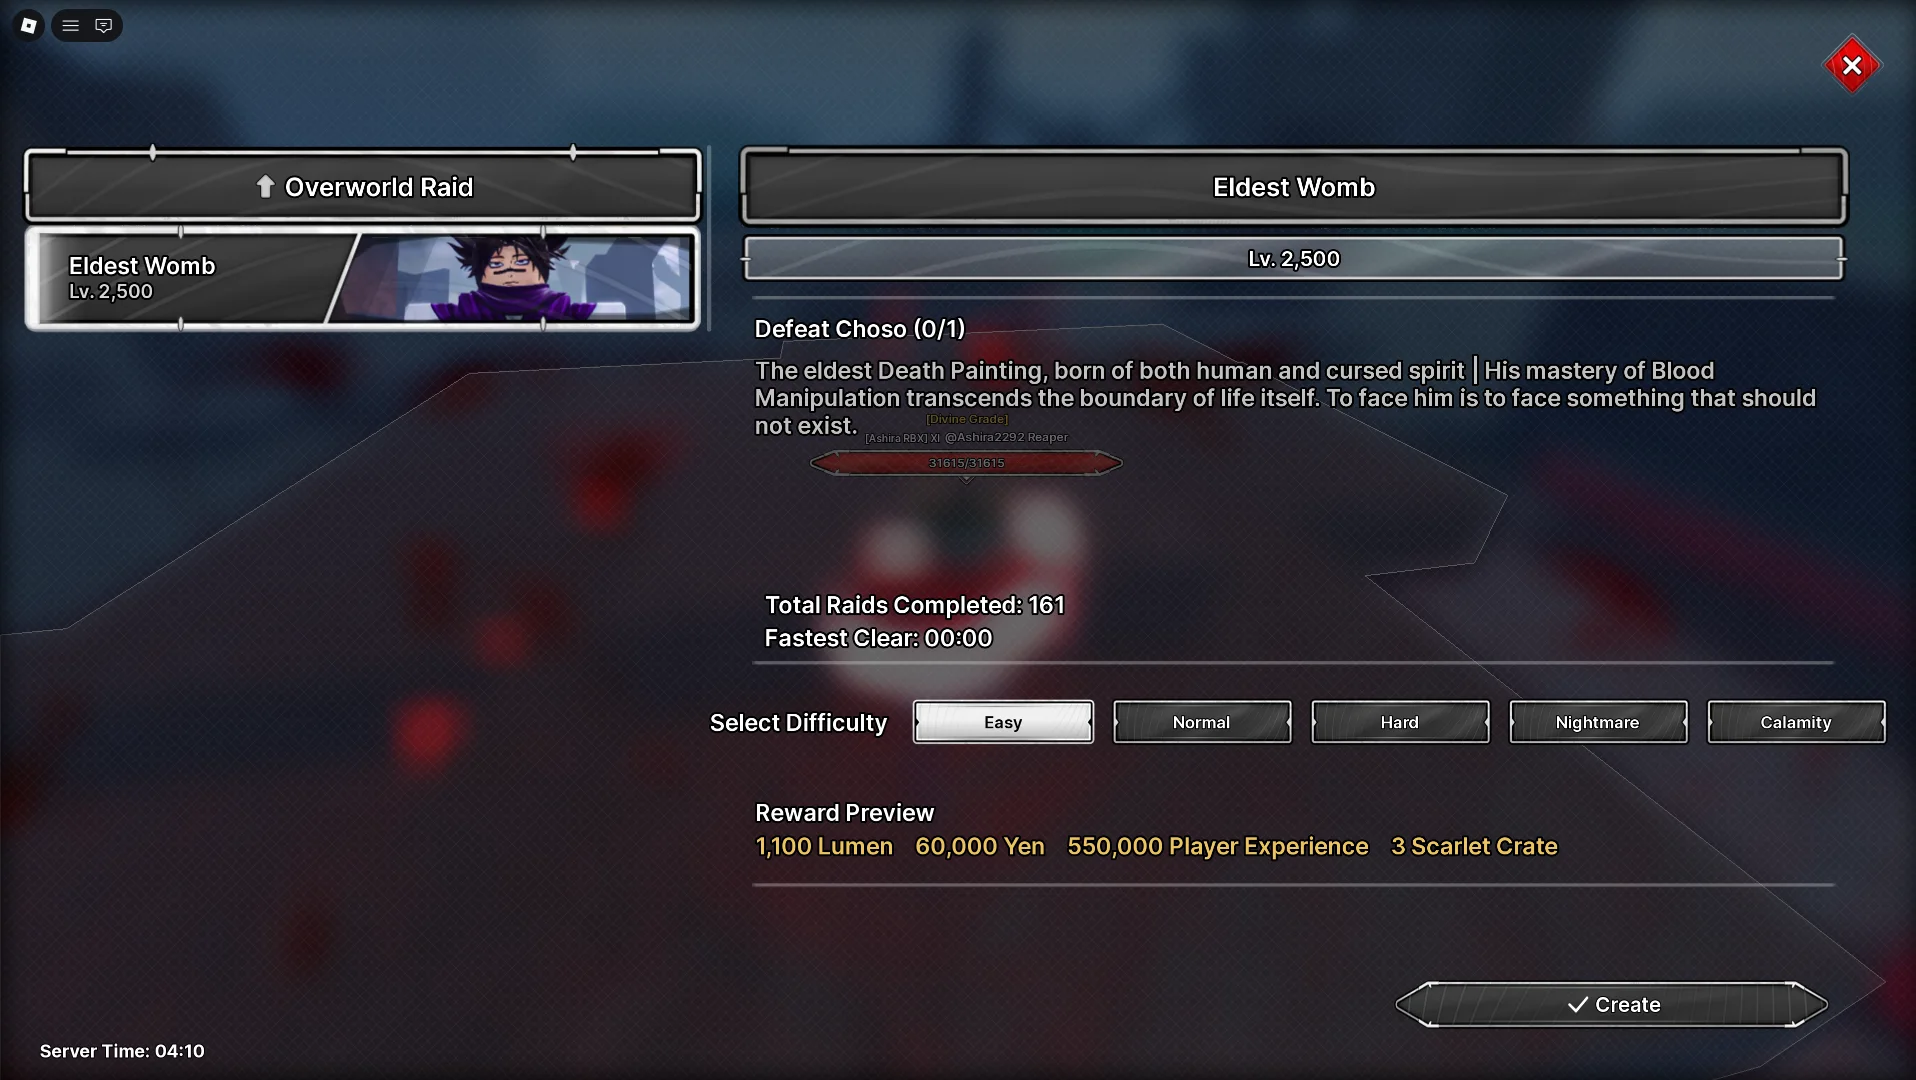
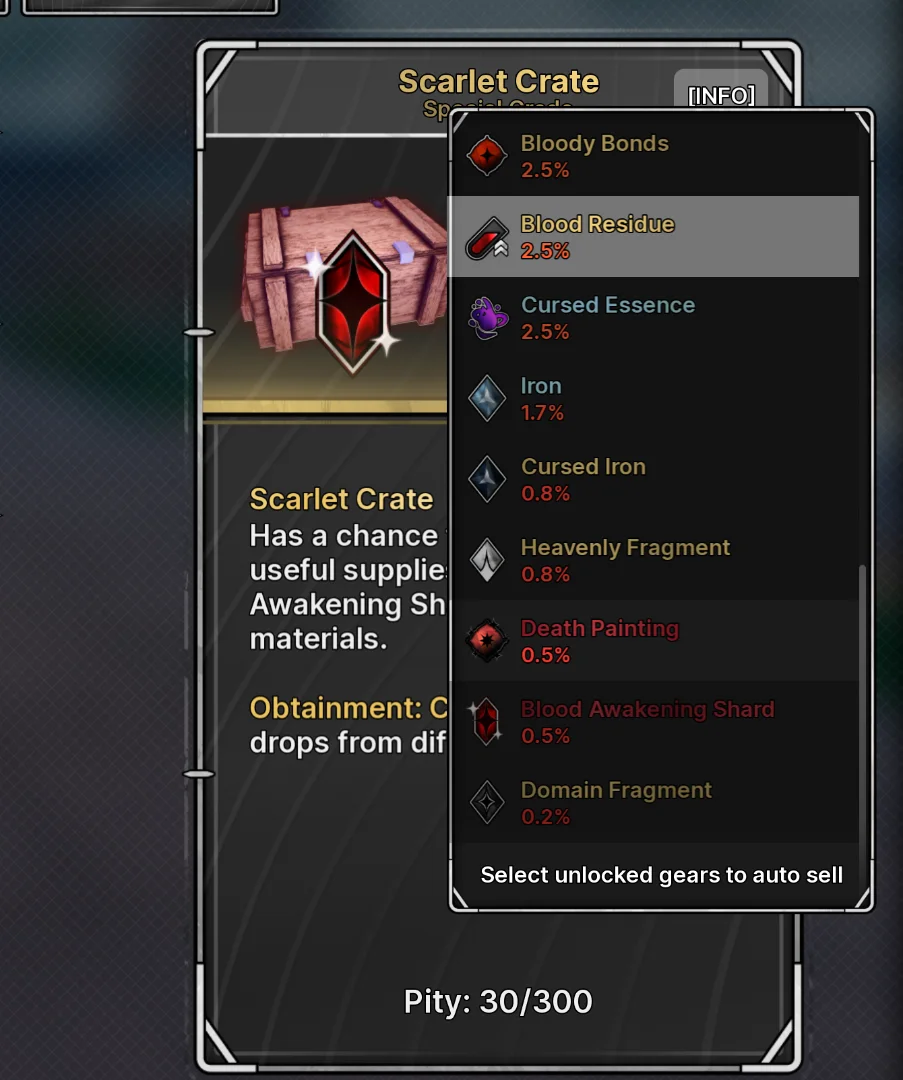
Start by farming Choso Raid, listed as Eldest Womb in the raid menu, for Scarlet Crates. Open those crates and look for Blood Residue, the material used to apply Bleed.
Blood Residue has a 2.5% chance when opening a Scarlet Crate. That is the crate reward chance, not a direct 2.5% drop from the Choso boss. Keep collecting and opening crates until you have enough material for the ailment application.
Apply Bleed to an emblem, then equip it
Take your Blood Residue to Tomb of the Stars and use it to apply Bleed to an emblem. If you want to preserve your usual emblem's ailment, prepare a spare specifically for this raid.
The emblem does not need perfect stats for this method. The important part is having Bleed on it and actually equipping it. An emblem left in your inventory will not help during the fight.
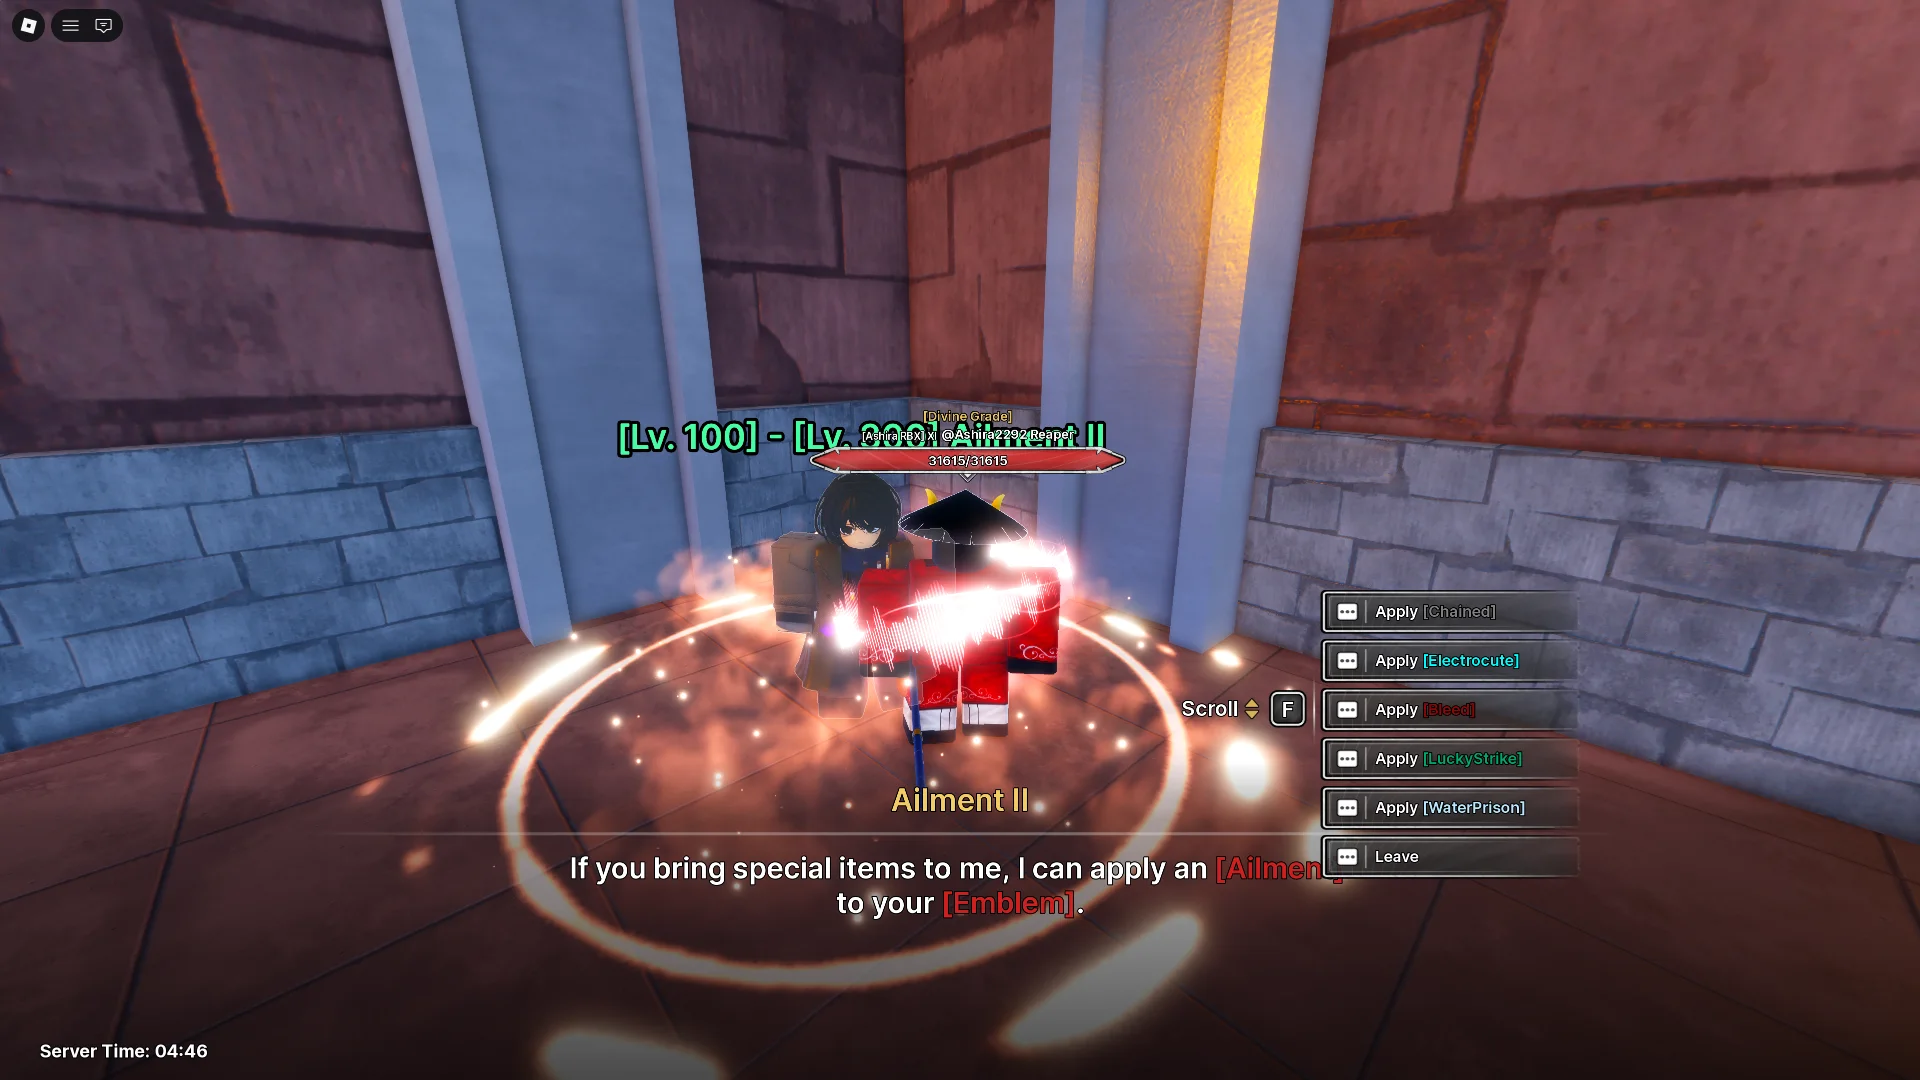
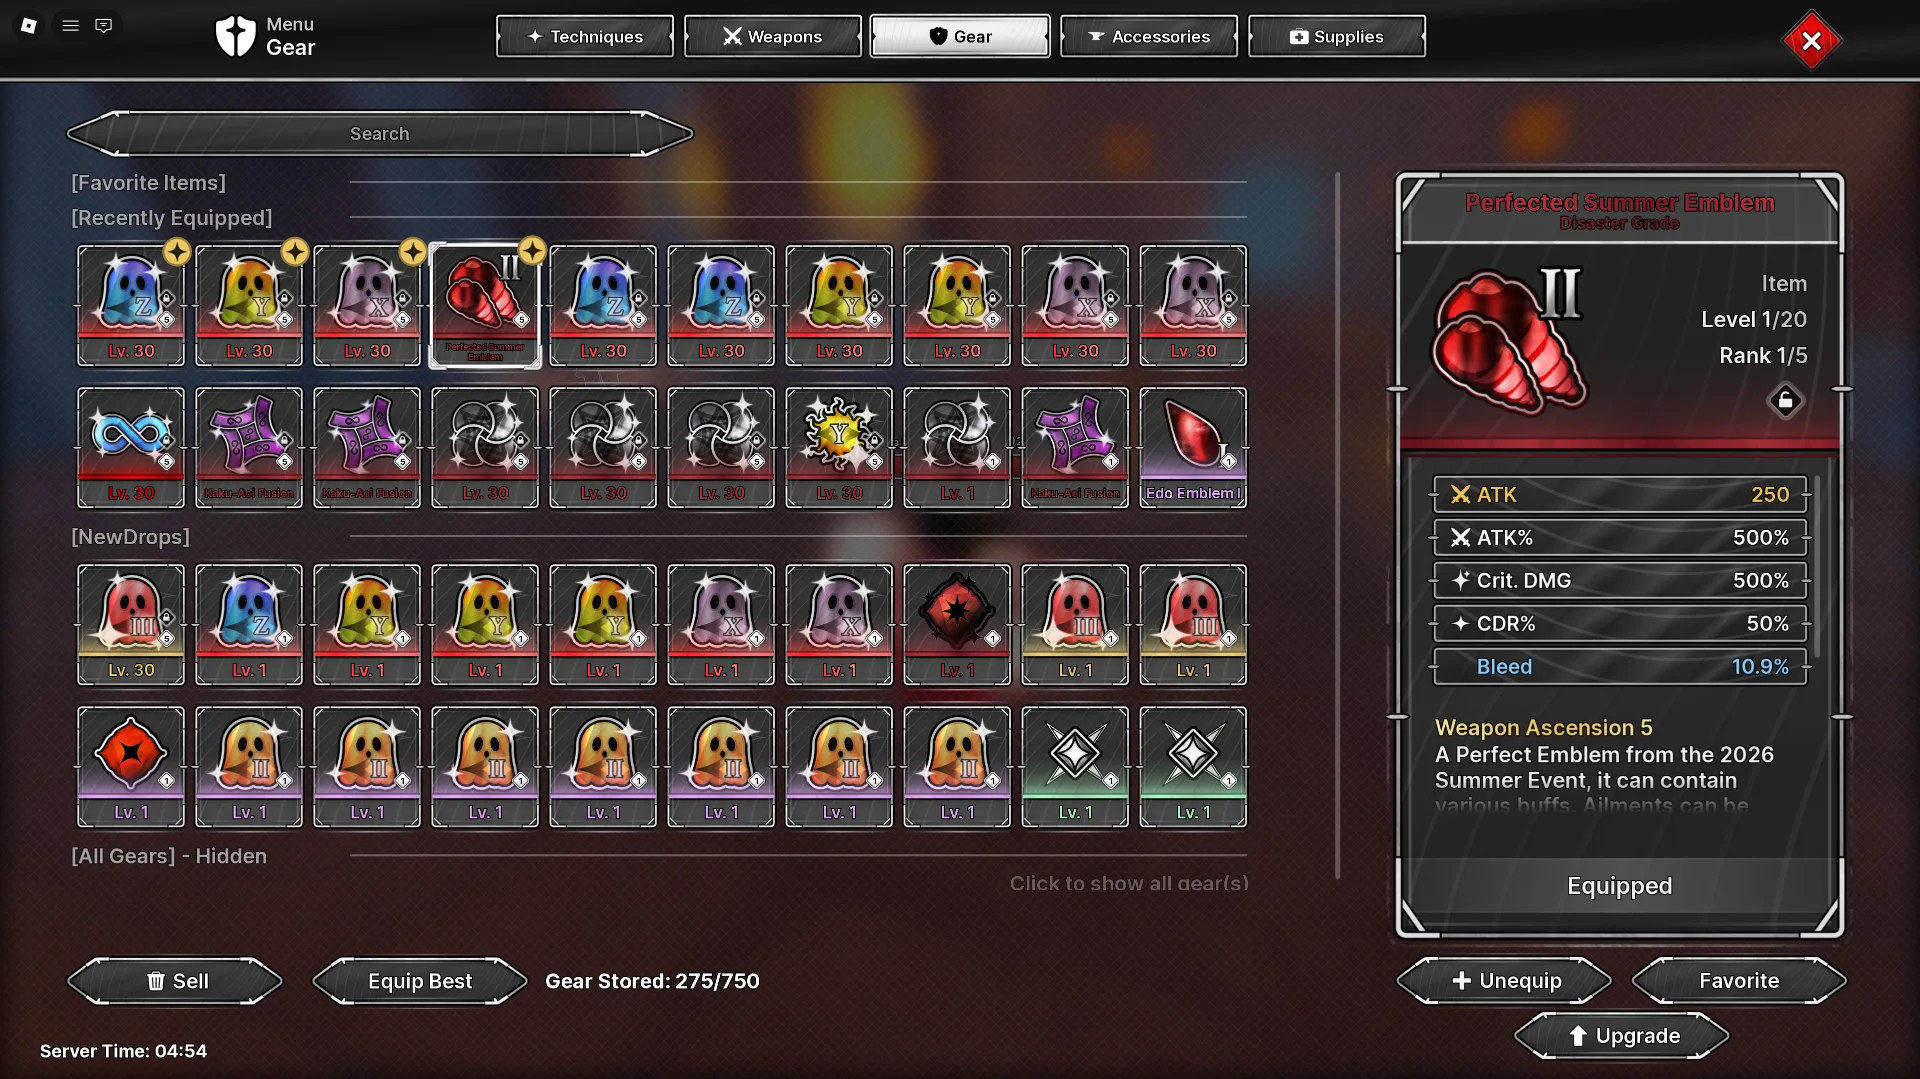
Before spending candy on a run, check that your Bleed emblem is equipped.
Why Bleed helps against this boss
Bleed deals damage based on a percentage of the enemy's health. Against a boss with such a large health pool, it can contribute a substantial amount of damage even while your normal build is still being upgraded.
Your attacks still matter: keep landing skills while Bleed works through the boss's health. The ailment is the core of this setup, but it does not protect you from incoming damage.
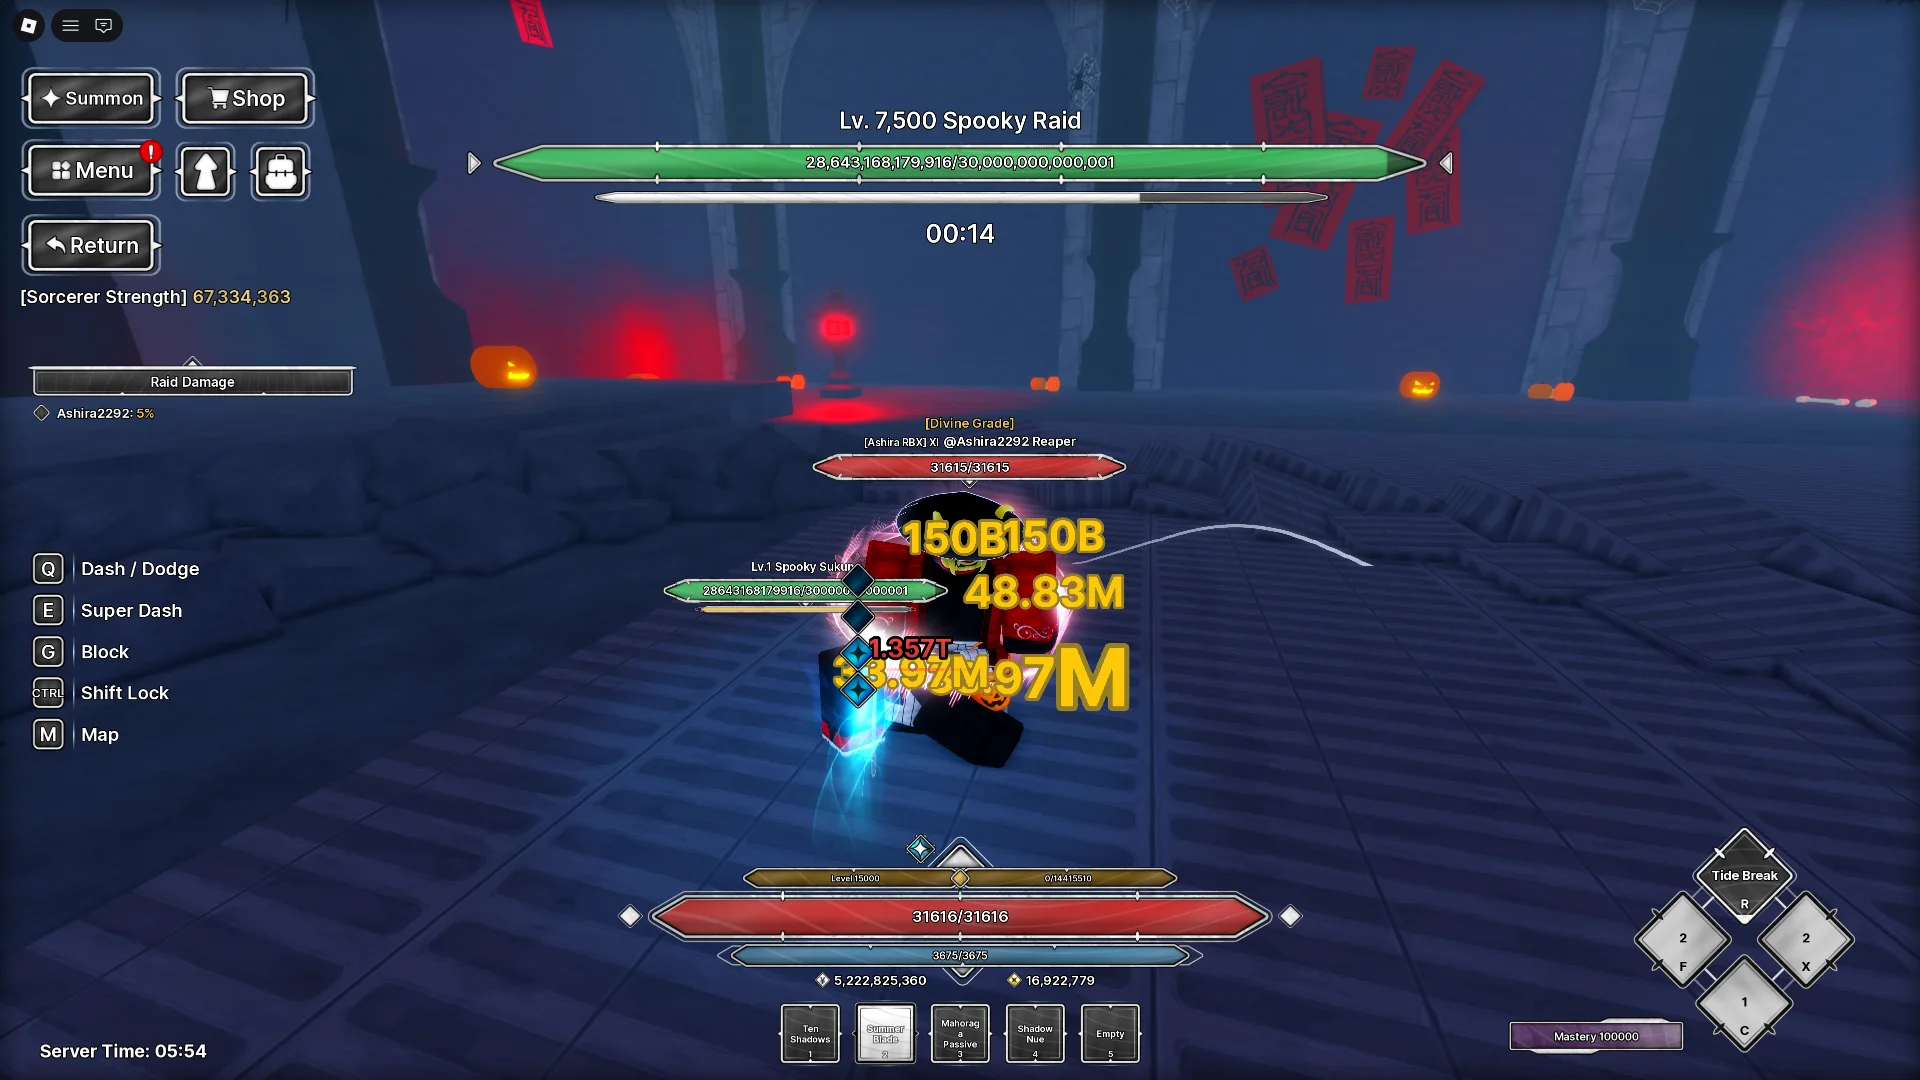
Bring summons and a domain if you have them
Ten Shadows and Copy are useful choices for this approach. With Ten Shadows, summon your Shikigami; with Copy, bring out Rika. They can keep attacking alongside you while you use your own skills.
A domain helps hold the boss in place so your attacks connect more easily. This makes the opening of the fight more comfortable and reduces the time spent chasing the boss around the arena.
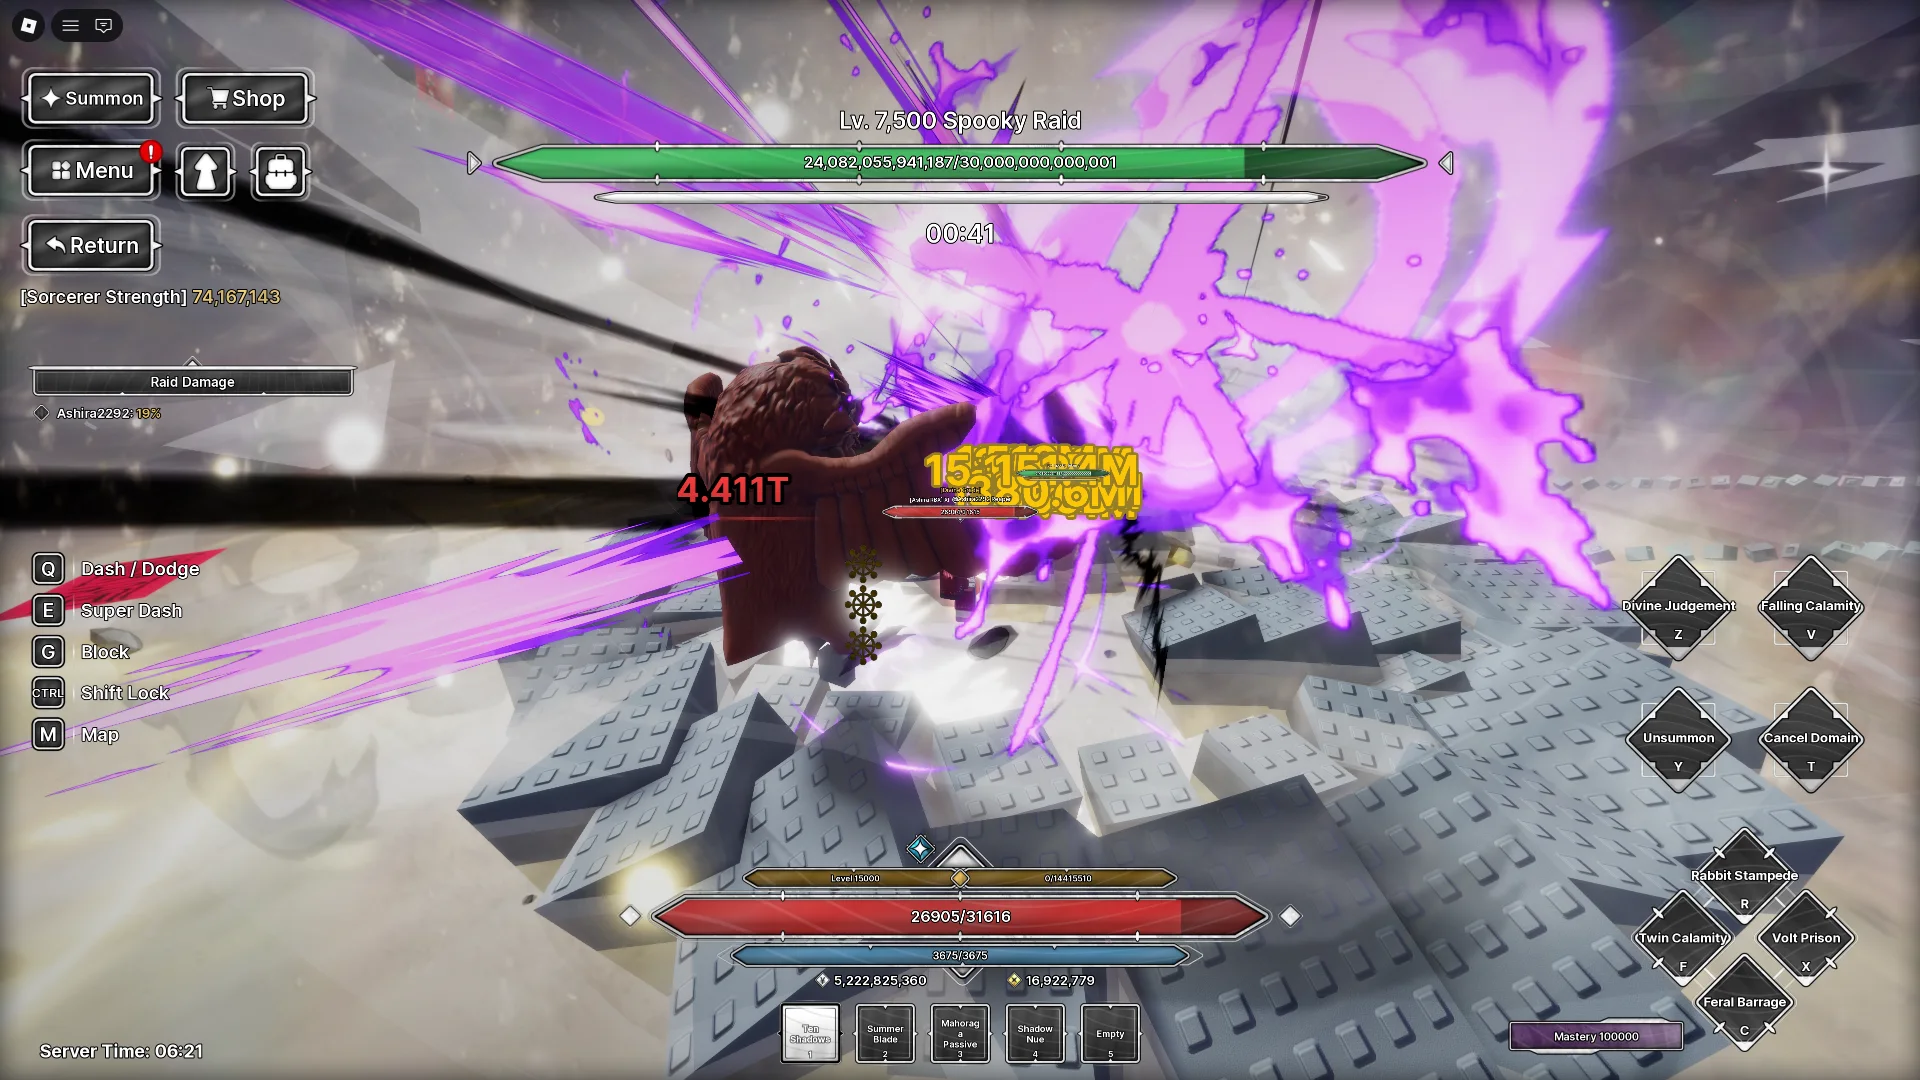
How to handle the solo fight
Once the emblem is ready, return to the Halloween map and host the raid. You do not need a complicated rotation; focus on keeping attacks connected and staying alive.
- Summon your Shikigami or Rika if you are using Ten Shadows or Copy.
- Use your domain to hold the boss in place, then start using your damaging skills.
- Use skills as their cooldowns finish and keep your summons involved throughout the fight.
- When the domain ends, continue attacking. Move to stay in range while avoiding incoming attacks.
- If survival is the problem, improve your health and defenses before focusing only on extra damage.
Optional: add Bleed to a compatible weapon
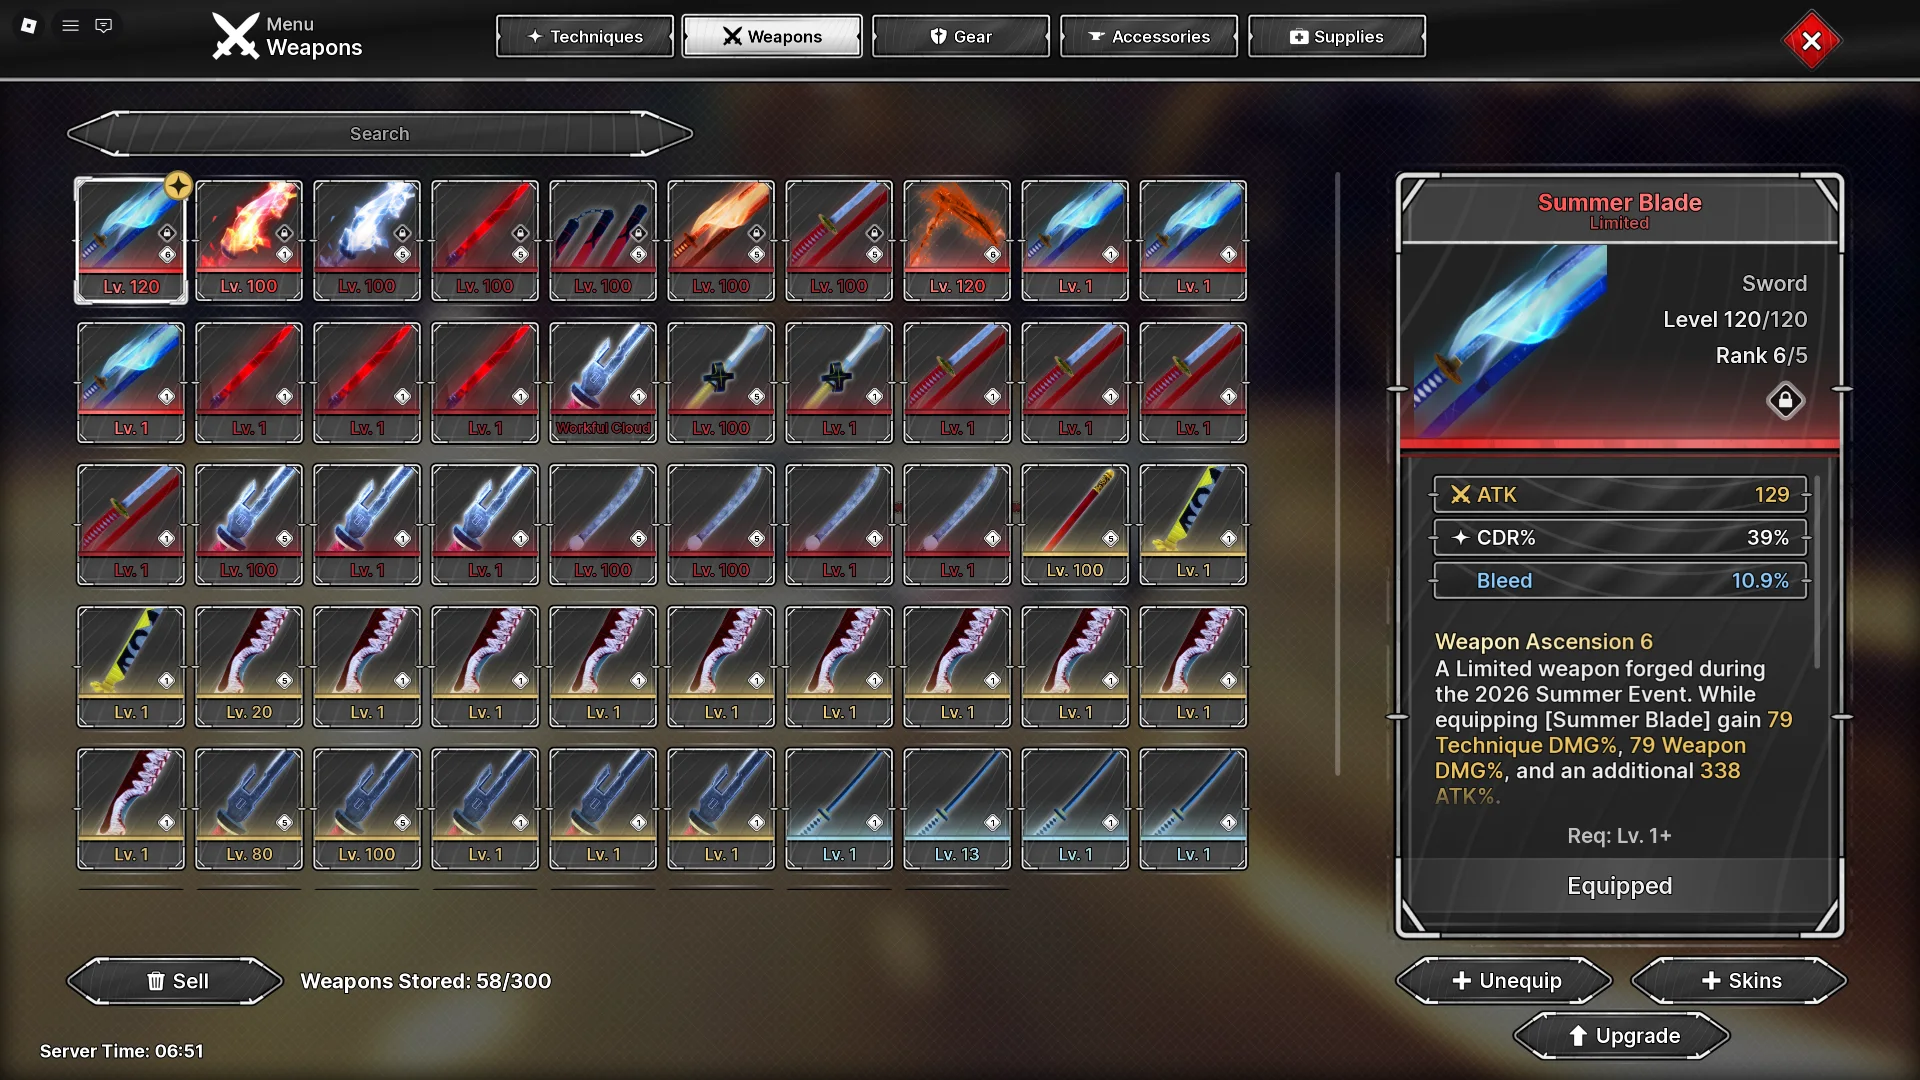
After preparing the emblem, you can also apply Bleed to a good weapon that does not require Physical Heavenly Restriction. Summer Blade is one option, letting you keep using your cursed techniques, domain and summons alongside the weapon.
Use the weapon's attacks and skills while your technique skills are on cooldown. This adds another way to keep dealing damage, but the weapon is optional. Prepare the emblem first and use the equipment you already have.
Raid rewards and the cost of repeated runs
Every successful clear guarantees 250 million EXP, 15 Hallow Crates and 50 Spooky Candy. Hallo Scythe and Soul Ring have a chance to drop, and Idle Transfiguration is also obtainable from the raid. You may need several runs to get the reward you want.
Open the Hallow Crates for a chance at Spooky gear, including X, Y and Z. The crates give you a reason to keep farming even after obtaining your target weapon or technique.
Hosting costs 150 candy and a successful clear returns 50, so the net cost is 100 Spooky Candy per win. You still need the full 150 candy available each time you start a hosted run.
Refill your supply through Halloween quests, Trick or Treat NPCs and event enemies. This raid is a farm for crates and raid drops; successful hosted runs still reduce your candy balance.
Quick checklist before your next run
The core loop is simple: equip your Bleed emblem, bring 150 candy, use your available attacks and summons, then collect and open the crates. Add a compatible Bleed weapon or improve your defenses if you want to make repeated runs more comfortable.
- Bleed emblem equipped, not left in your inventory.
- At least 150 Spooky Candy available to host.
- Summons and domain ready if your build has them.
- Enough health and defense to survive while continuing to attack.
- A plan to replenish candy between groups of runs.
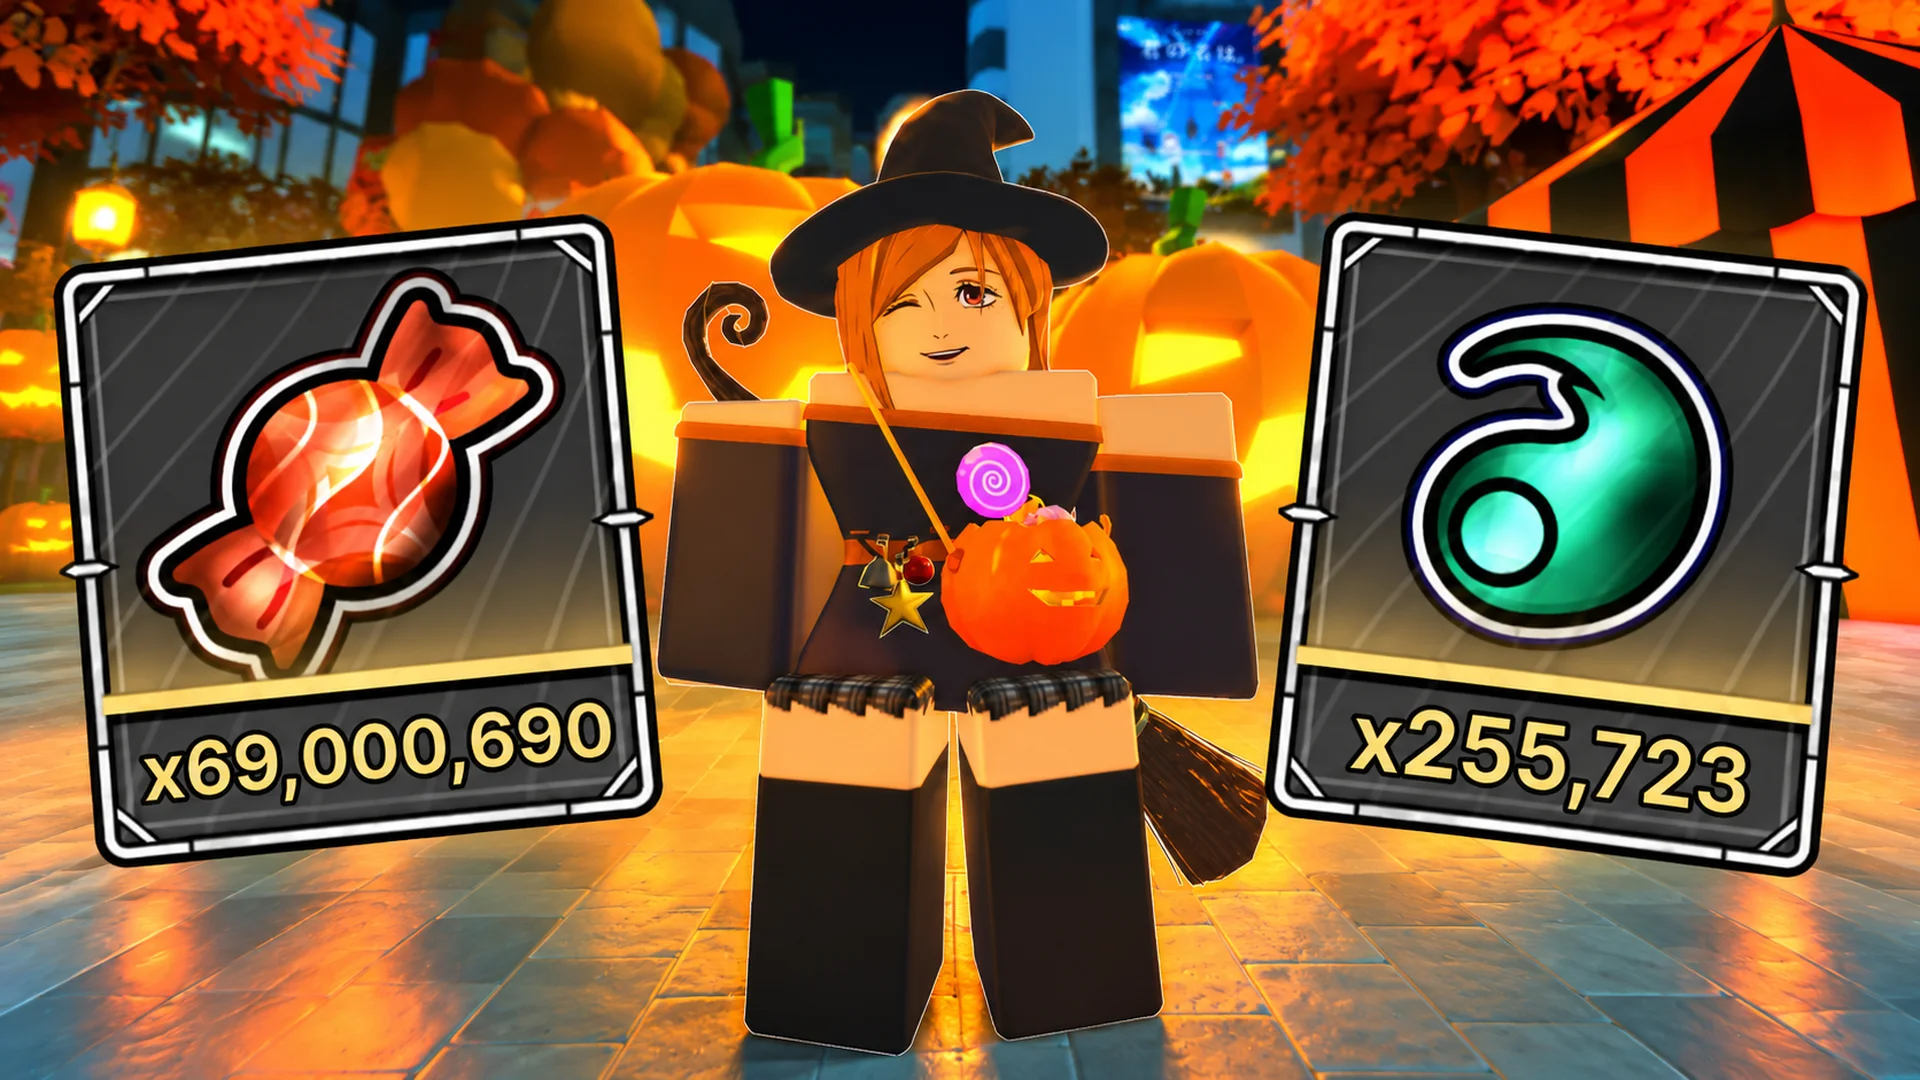
Jujutsu Zero Halloween Guide: Spooky Candy, Lost Souls and Shop Rewards
Farm Spooky Candy and Lost Souls, track the new Candy Collection rewards, and plan your event shop purchases. Updated for all ten Curtain Night quests, Mahito and the expanded Halloween activities.
8 min readRead guide →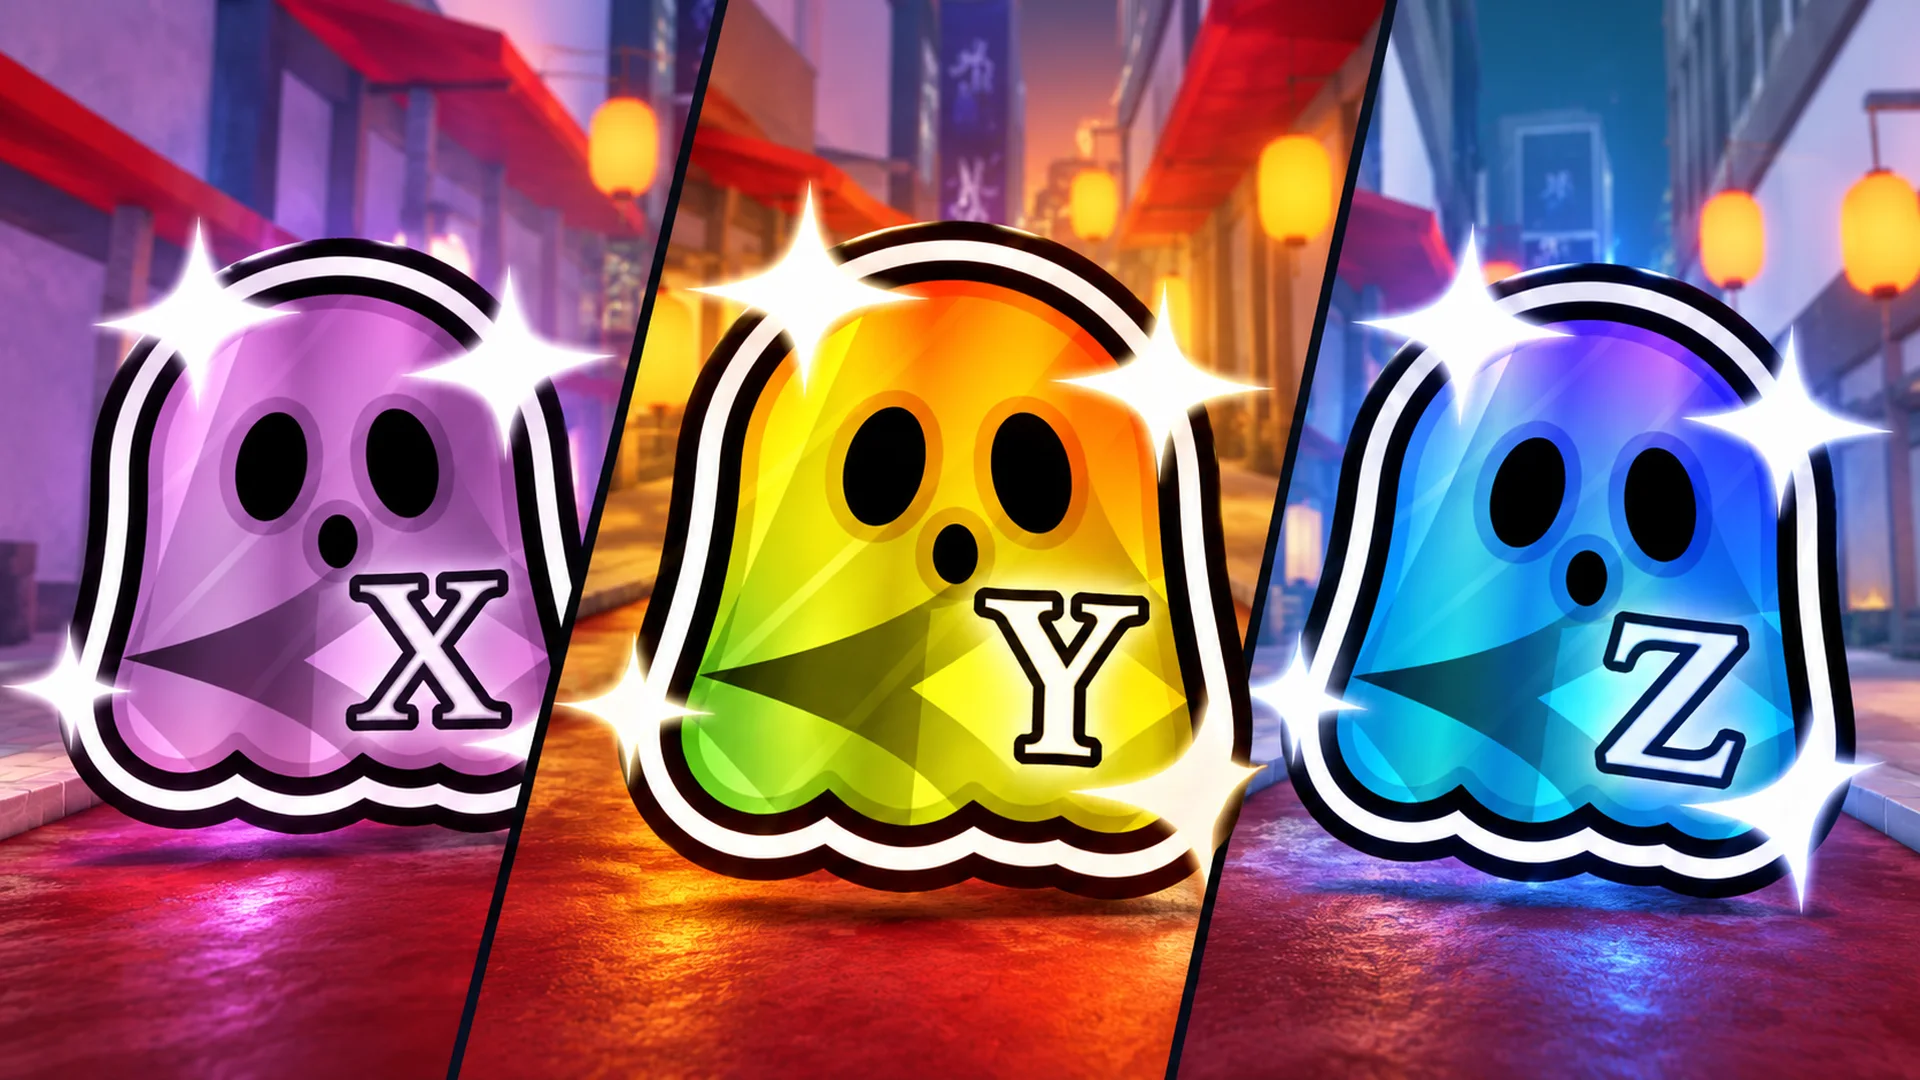
Jujutsu Zero Halloween Gear Guide: Spooky X, Y, Z and Mixed Set Test
Compare all six Spooky gear pieces, their Hallow Crate drop rates and set bonuses. Ashira's Idle Transfiguration test compares three X, three Y, three Z and one of each, with the mixed setup reaching 1.643B damage.
7 min readRead guide →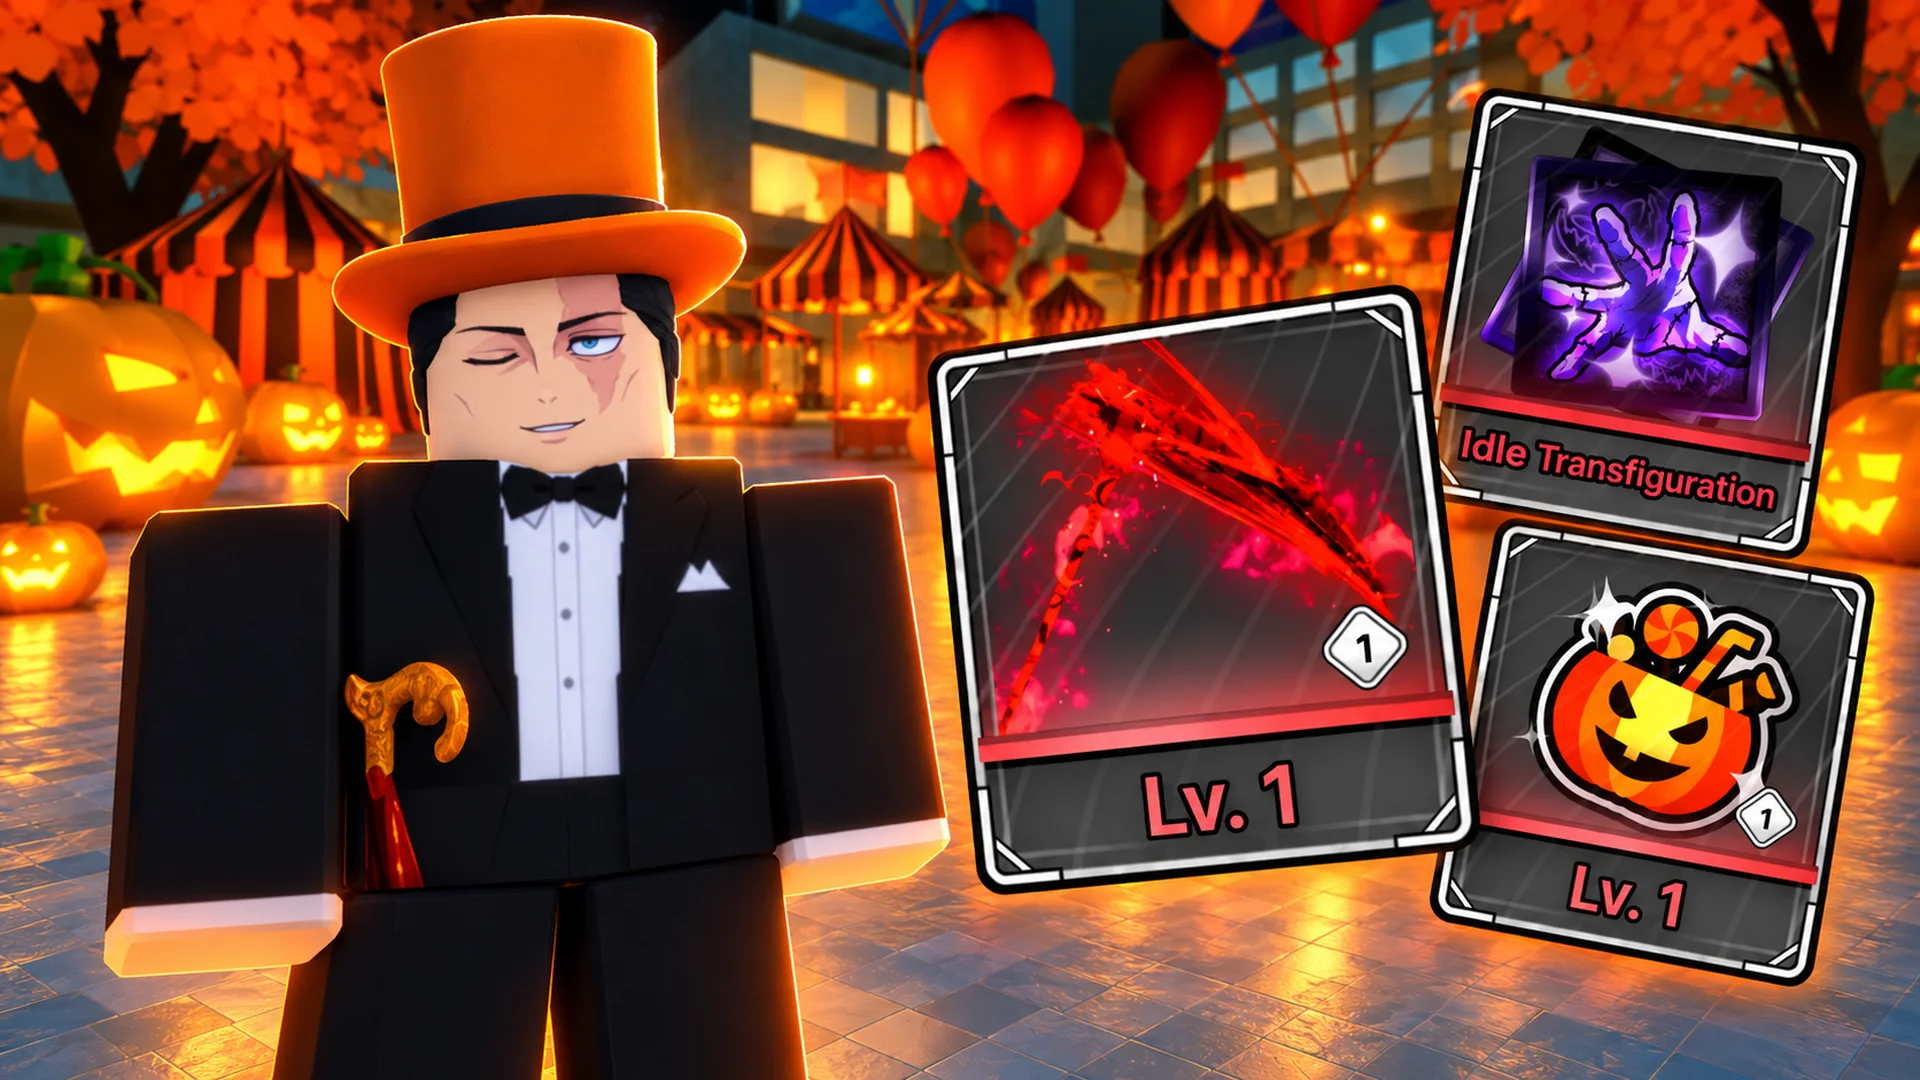
Jujutsu Zero Halloween Event and Idle Transfiguration Update
Enter the Halloween map, explore Idle Transfiguration's three trees and Soul Ring, and track the limited rewards, event currencies and Curtain Night quests.
6 min readRead guide →