
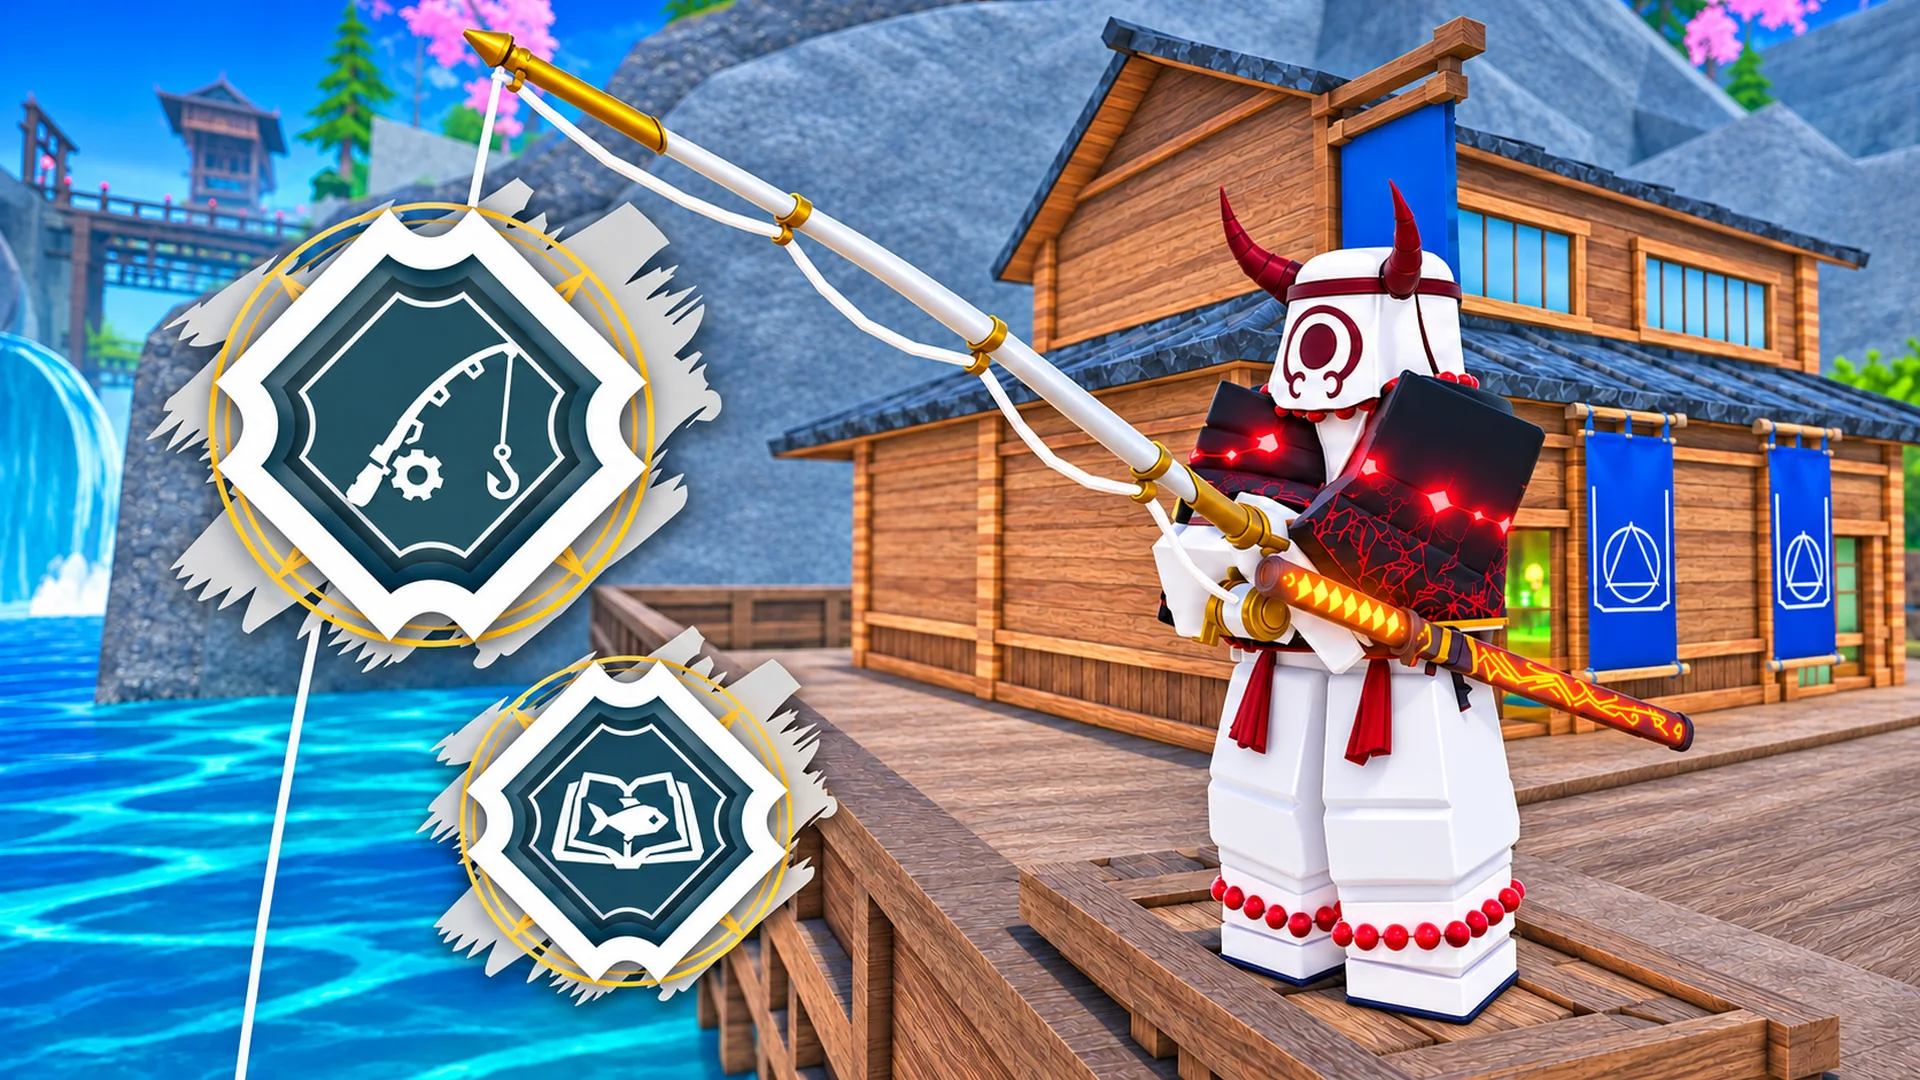
QUICK ROUTE
Do it in this order
Prepare your rod, bait and fishing spot
Start with your current rod and look for circles on the water. These mark fish schools, where you have a chance at better catches.
Drowned Lure is useful for the Legendary Fishing Rod quest, but it favors empty reels. Switch away from it when farming normal catches. Golden Tentacle is one example of bait that adds Fish Luck.
Ordinary bait is consumed when you strike, even if the catch fails. Bring enough for the session and check which bait is equipped before casting. Drowned Lure is a reusable quest lure, so its behavior is separate from normal consumable bait.
How to control the fishing minigame
Cast, wait for the bobber to go underwater, and strike promptly. If you react too late, the fish can leave before the fight starts. Once hooked, keep the needle inside the green section while filling the gold progress circle.
Green arrows pointing right mean hold the right mouse button. Red arrows pointing left mean hold the left mouse button. Follow the direction as it changes; holding one button throughout the fight can lose the catch.
The red side builds dangerous line strain, while the blue side builds slack and can let the fish throw the hook. Balance the needle instead of focusing only on how close the progress circle is to completion.
- Press the matching A or D key when a reaction prompt appears. Correct responses help reel the fish in; missed prompts can add strain and remove progress.
- Ease off reeling when a fish leaps. Use tired periods to make progress, and react to surges and dives.
- If a Claim prompt appears after landing the fish, collect it before leaving. Fishing can also produce materials.
Angler Rank and your first ten points
Open Menu → Progression → Professions → Fishing to see your rank, XP, Fish Log and records, plus a shortcut to the Fishing tree. Angler Rank is separate from combat level, reaches 30 and is shared across your characters. Its Angler Points do not take points from your damage build; the level-10 milestone awards three points.
For general progression, the following three paths use your first ten Angler Points. If you fish manually and lose catches frequently, take a defensive fishing upgrade earlier instead of forcing the same order.
- Auto Angler path: buy the opening node for +5% Bite Speed and +1% Fishing Luck, then Auto Angler. Each costs one point, for two total.
- Scholar path: buy the first two Fishing Luck nodes, then Scholar. The full path costs four points and Scholar adds 25% Angler XP from landed fish.
- Second Wind path: buy the first two Reel Speed nodes, then Second Wind. The full path costs four points and reels fish 15% faster while they are tired.
How to turn Auto Angler on and off
Unlock Auto Angler in the Fishing tree first. Then hold the rod’s button for one second to start automatic casting, striking and fish fights. Use the rod again to stop.
Auto Angler is built into the game. Your rod, bait and fishing upgrades still determine which fish you can reliably catch.
Protection, bait saving and extra catches
Tight Line gives an emergency save when a fish is about to throw the hook. Complete its quick key sequence to move the needle back into the green. Iron Line provides a similar save when the line is about to snap. Each can save you once per fight.
Slack Line slows slack buildup in the blue section. Brace reduces how far a surge pushes the needle upward, while Foresight shows reactions earlier. Choose the upgrade that addresses the way you are losing fish.
Thrifty has a 20% chance to keep bait when it would normally be consumed and requires progress in the Fishing Luck branch. The Fishing tree’s Double Hook gives a 15% chance of a second common fish when you land a common with a Clean or Perfect grade. Tidecaller’s rod bonus is different: its Double Hook can work on any fish.
Choose one fishing style
You can choose only one of Patience, Brute or Finesse. Get the basic upgrades first, then pick a style whose drawback you can manage.
- Brute: reel 25% faster, but strain builds 40% faster.
- Finesse: larger fish and 20% more Angler XP, but the green zone is 15% narrower. Consider it for leveling once you control the needle reliably.
- Patience: fish become tired 40% more often and reeling improves during those tired periods, but slack builds 80% faster.
Use the Fish Log to choose your next location
The Fish Log has 20 fish across six pages. Completing a page grants Angler XP and a title, giving you a reason to move regions when you keep catching the same species. The six completion rewards total 6,750 Angler XP, in addition to XP from the catches themselves.
Butterfly Estate and Iceveil Valley each have a one-species page. Try those if you want a smaller page to complete. Check Records for your biggest fish; Trophy Hunter later rolls size twice on a Perfect catch and keeps the larger result.
- Open Water: 9 entries; 1,000 XP.
- Mistfall Harbor: 4 entries; 750 XP.
- Butterfly Estate: 1 entry; 500 XP.
- Iceveil Valley: 1 entry; 500 XP.
- Mythic: 2 entries; 2,000 XP.
- Nushi: 3 entries; 2,000 XP.
Progress toward Mythic rods and Nushi
At Angler Rank 20, craft Bloodmoon or Tidecaller at Angler Runo in Mistfall Harbor. Tidecaller favors regular farming, while Bloodmoon adds luck, larger fish and more protection against line breaks. Save the required fish instead of selling every catch.
The latest Nushi schedule is the start of each hour with a ten-minute shared event window. Thunder Eel appears at Mistfall Harbor, Ember Snapper at Butterfly Estate and Ghostlight Angler at Iceveil Valley. A Legendary Fishing Rod is enough to begin. Follow the event notification and map marker to the active fish.
Only one Nushi is active per server and the active type is the same globally. Solo encounters have 100 health and take five Perfect rounds of 20 damage each. Other players change the encounter scaling, so a group is not automatically faster. Keep Nushi needed for rod crafting; selling one removes that crafting material.
Nushi rewards include Wen, Angler XP, a trophy and a title. Twelve fishing equipment pieces can also be fished up. Check their bonuses before selling them, and use the Mythic rod guide for the full recipes and rod comparison.
Regional fish and Mythic catches
Different fishing regions have exclusive catches. Frost Jelly is found in Iceveil Valley. Red Lobster, Shrimp, Blue Marlin and Lionfish are found in Mistfall Harbor. Razorjaw is found in Butterfly Estate.
Lantern Angler and River Ray require a Mythic fishing rod. Ember Snapper, Ghostlight Angler and Thunder Eel come from landing a Nushi.
Bait choices at Baitmonger Nori
Glass Worm, Slick Squid and Restless Minnow offer stronger bonuses with tougher fishing mechanics. All three are consumed on each strike.
- Glass Worm: Common bait tier, +0.25x bite-speed multiplier, +30% Angler XP and +30% fish size, with +25% line strain.
- Slick Squid: Rare bait tier, +0.5x bite-speed multiplier, +0.1 Fish Luck, +20% fish size and +20% Double Hook chance, with +70% slack build-up.
- Restless Minnow: Rare bait tier, +0.5x bite-speed multiplier and +0.25 Fish Luck, with +60% dart frequency and +15% missed-dart strain.
- Fish Head: Rare bait tier, +0.5x bite-speed multiplier and +0.1 Fish Luck.
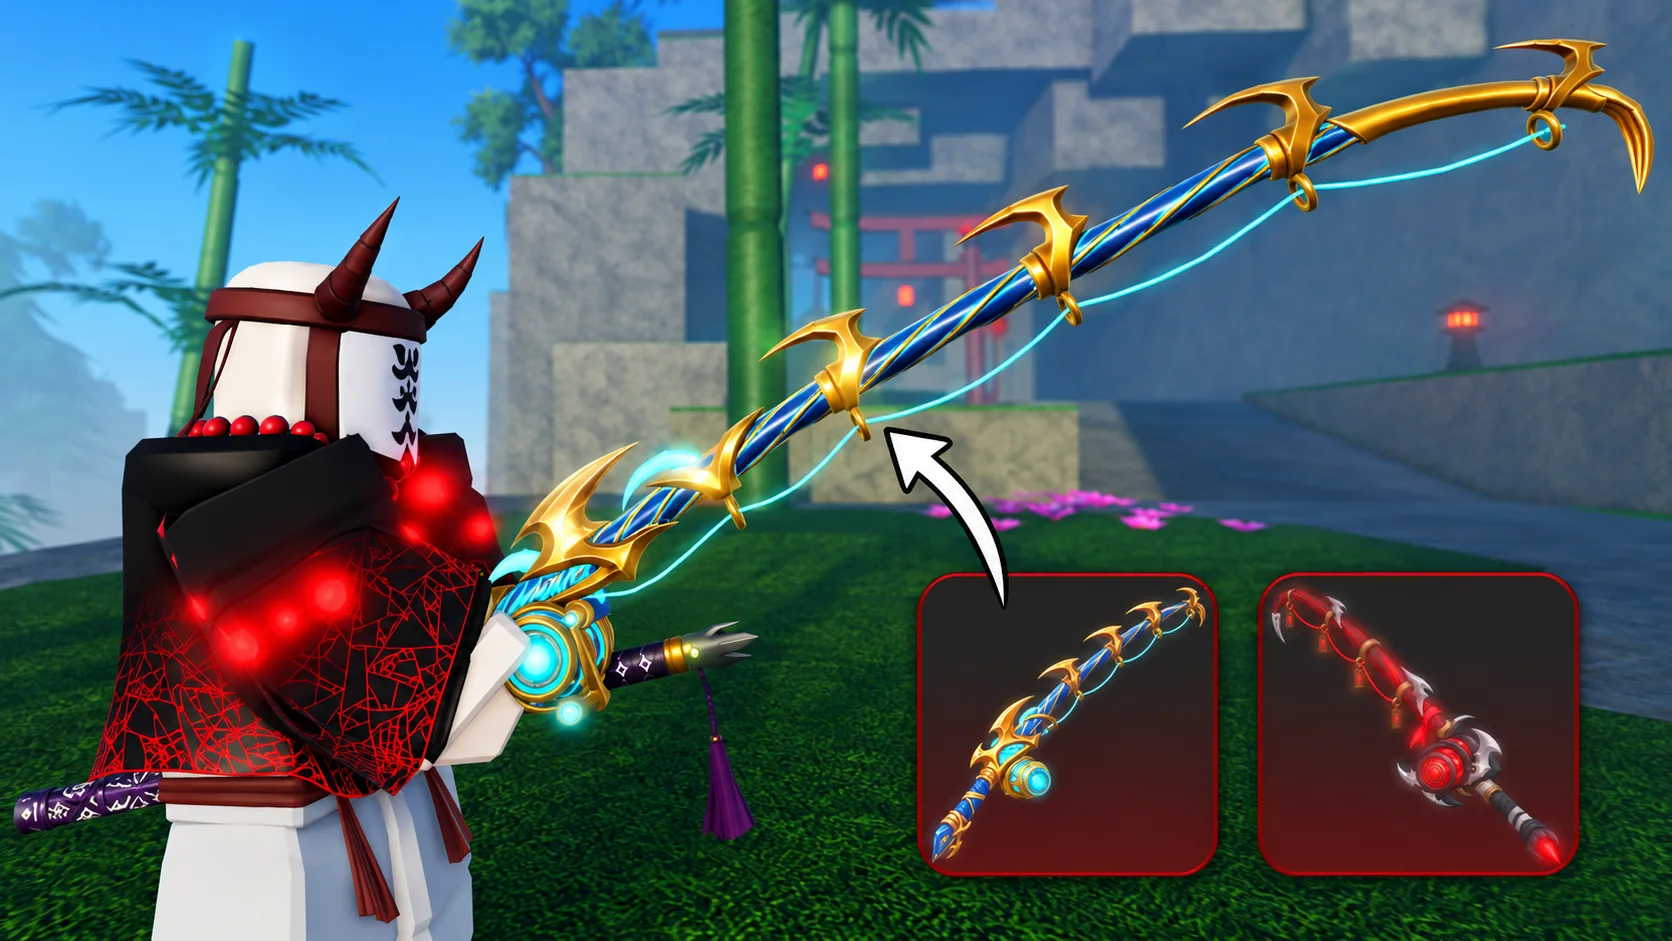
Slayer 2 Mythic Fishing Rods Guide
Compare Tidecaller and Bloodmoon, collect their exact crafting materials, and farm the three Nushi types with a Legendary Fishing Rod.
4 min readRead guide →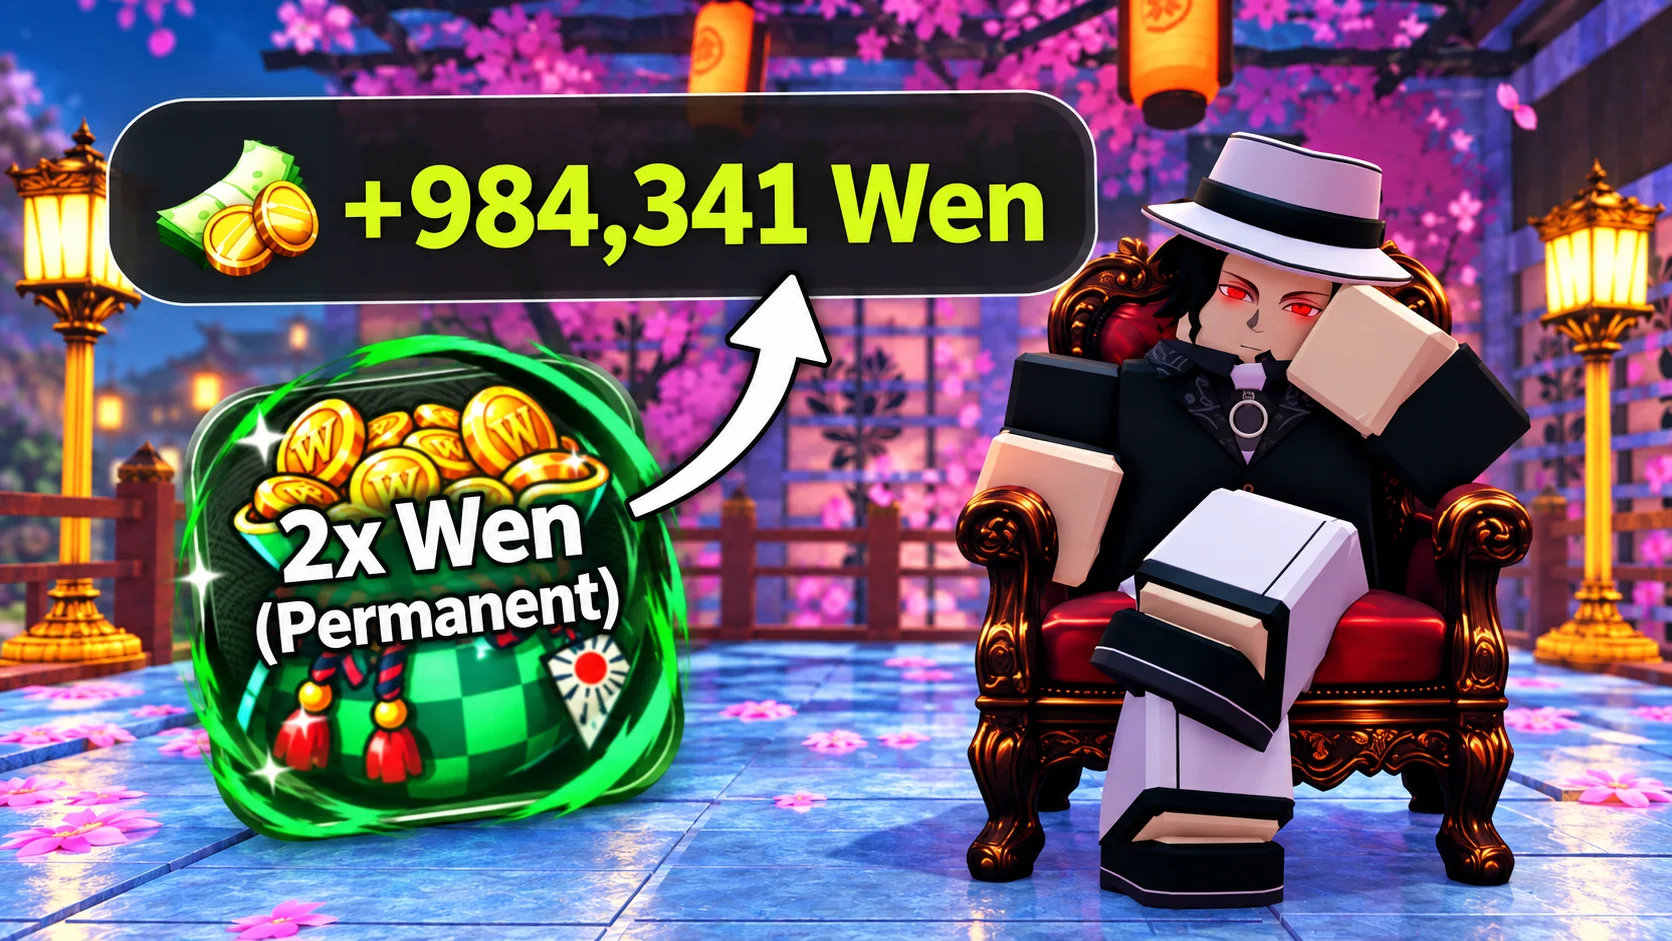
Slayer 2 Wen Farming Guide: Bosses, Tower and Fishing
Farm hourly Nushi windows, collect boss quest rewards, or exchange Tower rewards for Wen. Compare catch rewards, fish sales, travel time and boost limits.
12 min readRead guide →
Slayer 2 Update 1: Spider Raid, Beast and Flower Breathing, Level 450 and Codes
Explore Mt. Natagumo, unlock Beast and Flower Breathing, progress toward level 450, and catch up on fishing, factions, bounties, new gear and Update 1 balance changes.
14 min readRead guide →