
VIDEO GUIDE
QUICK ROUTE
Do it in this order
Choose the Wen farm that fits your progression
If an upgrade is ready but you cannot afford it, start with one of three routes: boss quests and chest drops, Tower points, or fishing deliveries. Boss farming is the main recommendation for active progression because it combines money with equipment and crafting materials. Tower gives you a fixed points-to-Wen exchange alongside chest rewards, while fishing offers a less combat-heavy alternative.
You do not need finished Nightfall or Firstlight equipment, a gamepass, or several private servers to begin. Use the method your current build completes consistently. If world bosses are still too difficult, continue your available progression quests and collect nearby guarded chests. Save sellable coin items while improving your weapon, mastery and survivability.
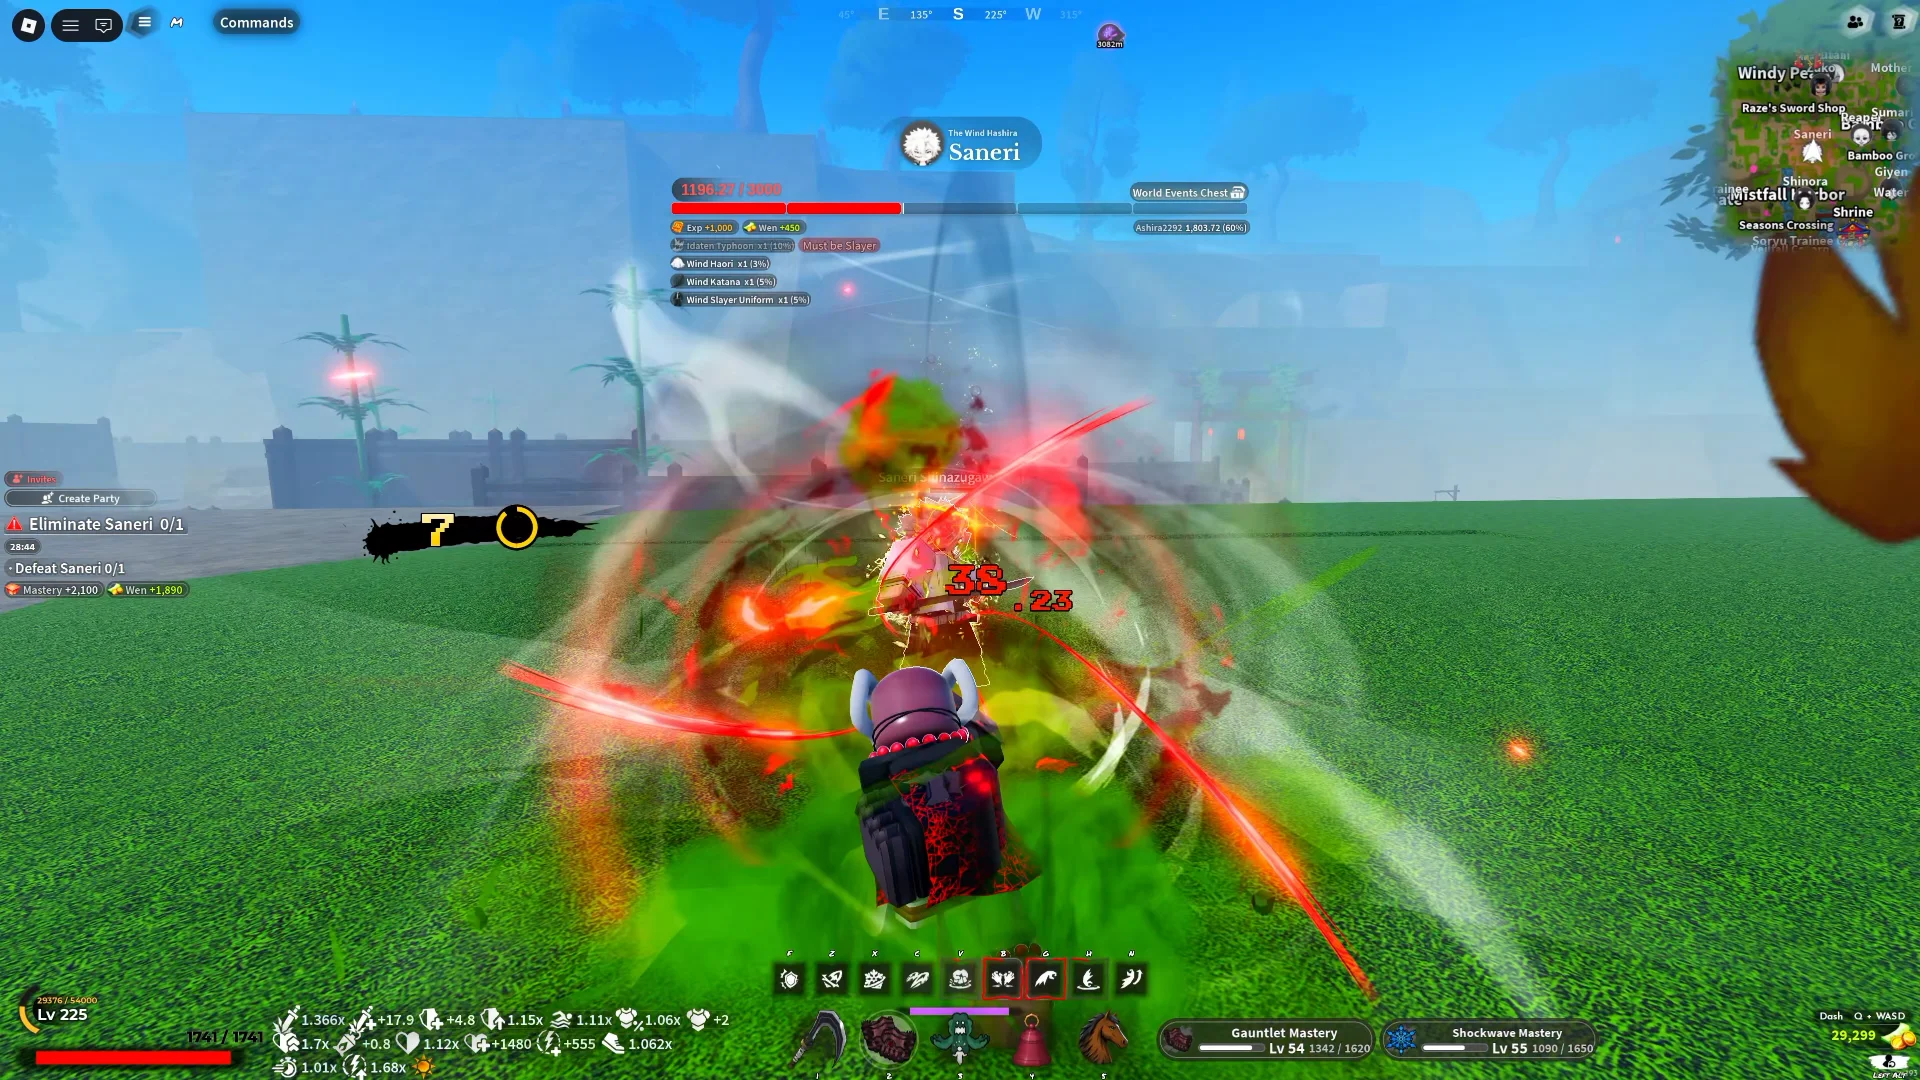
- Boss farming: useful for active progression and upgrade materials.
- Tower: useful when you also need dungeon equipment or crafting materials.
- Fishing: useful when you prefer deliveries and gathering over repeated fights.
- Early progression: ordinary quests and guarded chests until bosses become manageable.
Prepare race quests, shrines and your farming build
Demons can use their Bell to visit Muzan for repeatable quests; slayers use their Crow. Check the targets available at your level before fighting. Taking a matching quest adds a reward to a fight you already planned to complete, but do not wait several minutes for one contract while other bosses are available. You can still fight a boss for its drops without a matching quest.
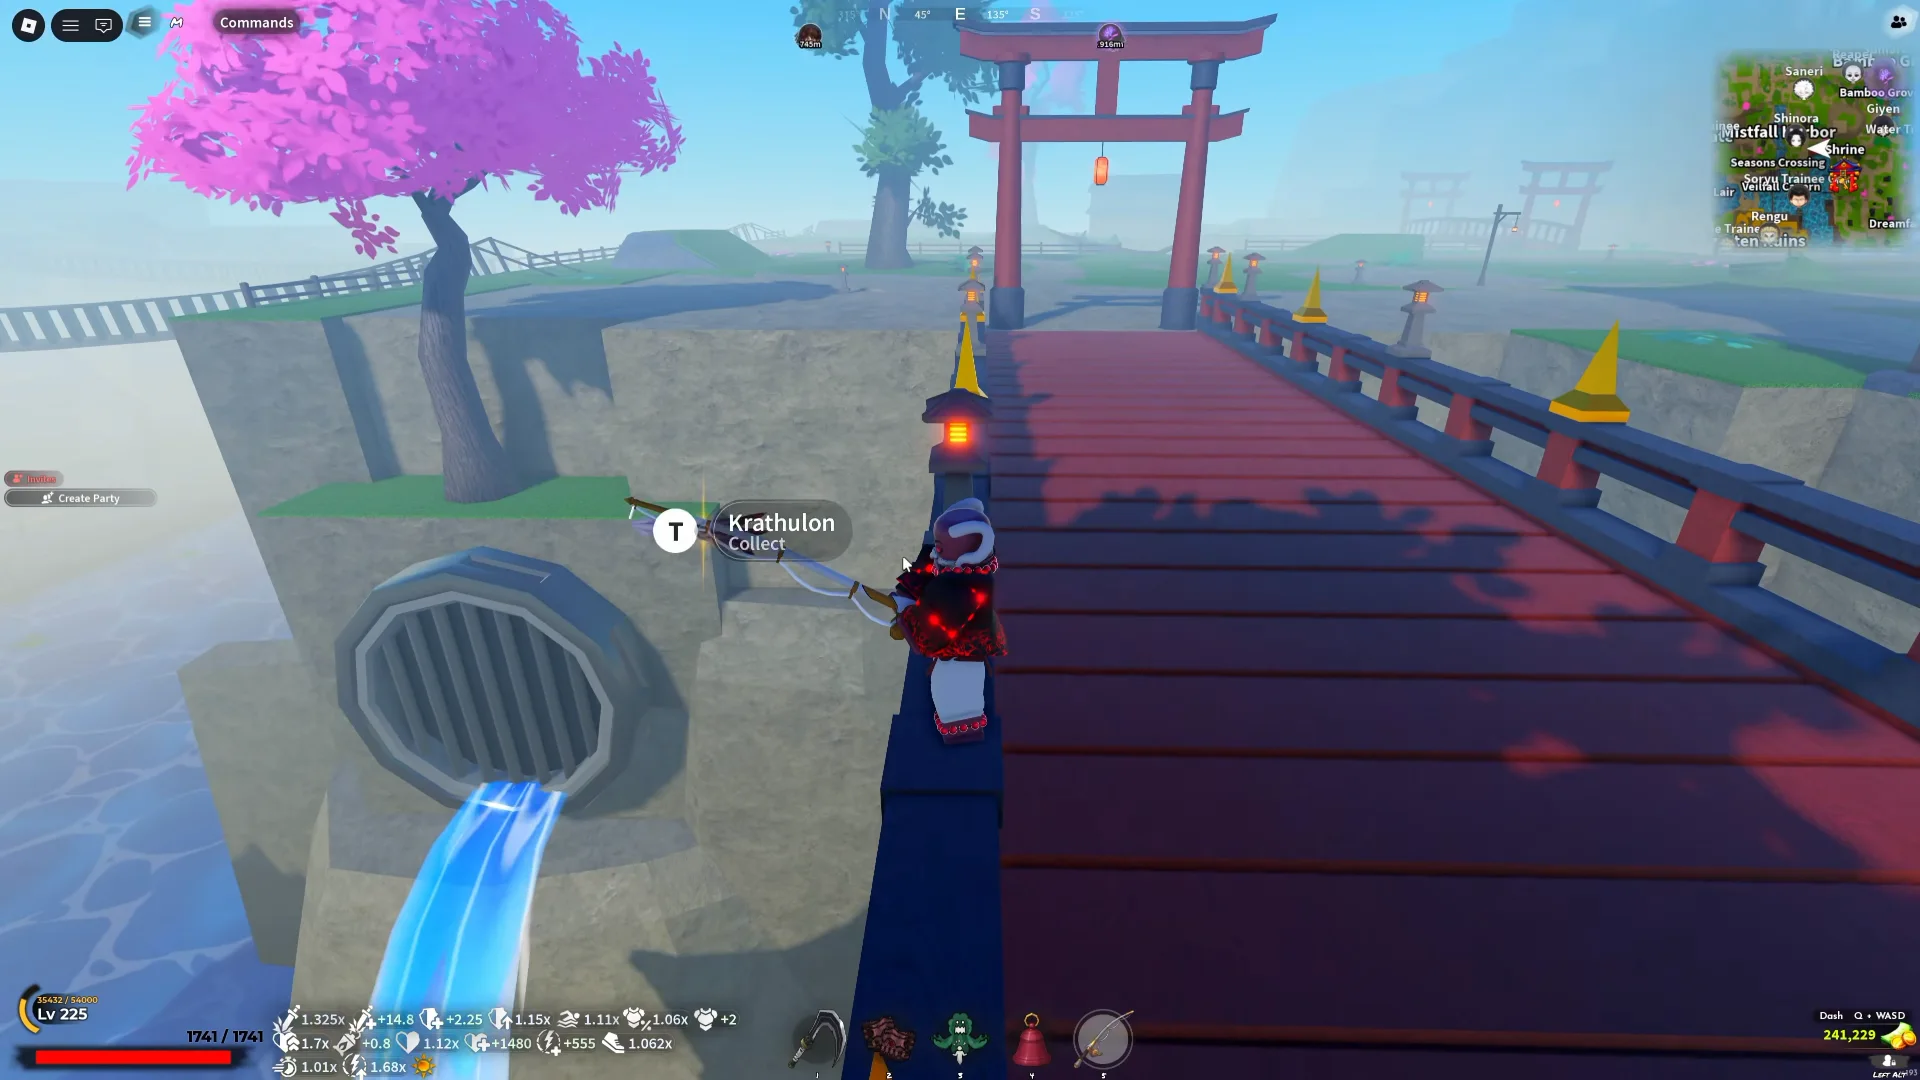
Use the Mother Bear area as a central point for routes through Bamboo Grove, Windy Peak and Mistfall Harbor. Unlock nearby shrines to reduce travel time. If you already have Set Spawn, placing it near the route can help, but normal shrines are enough to start.
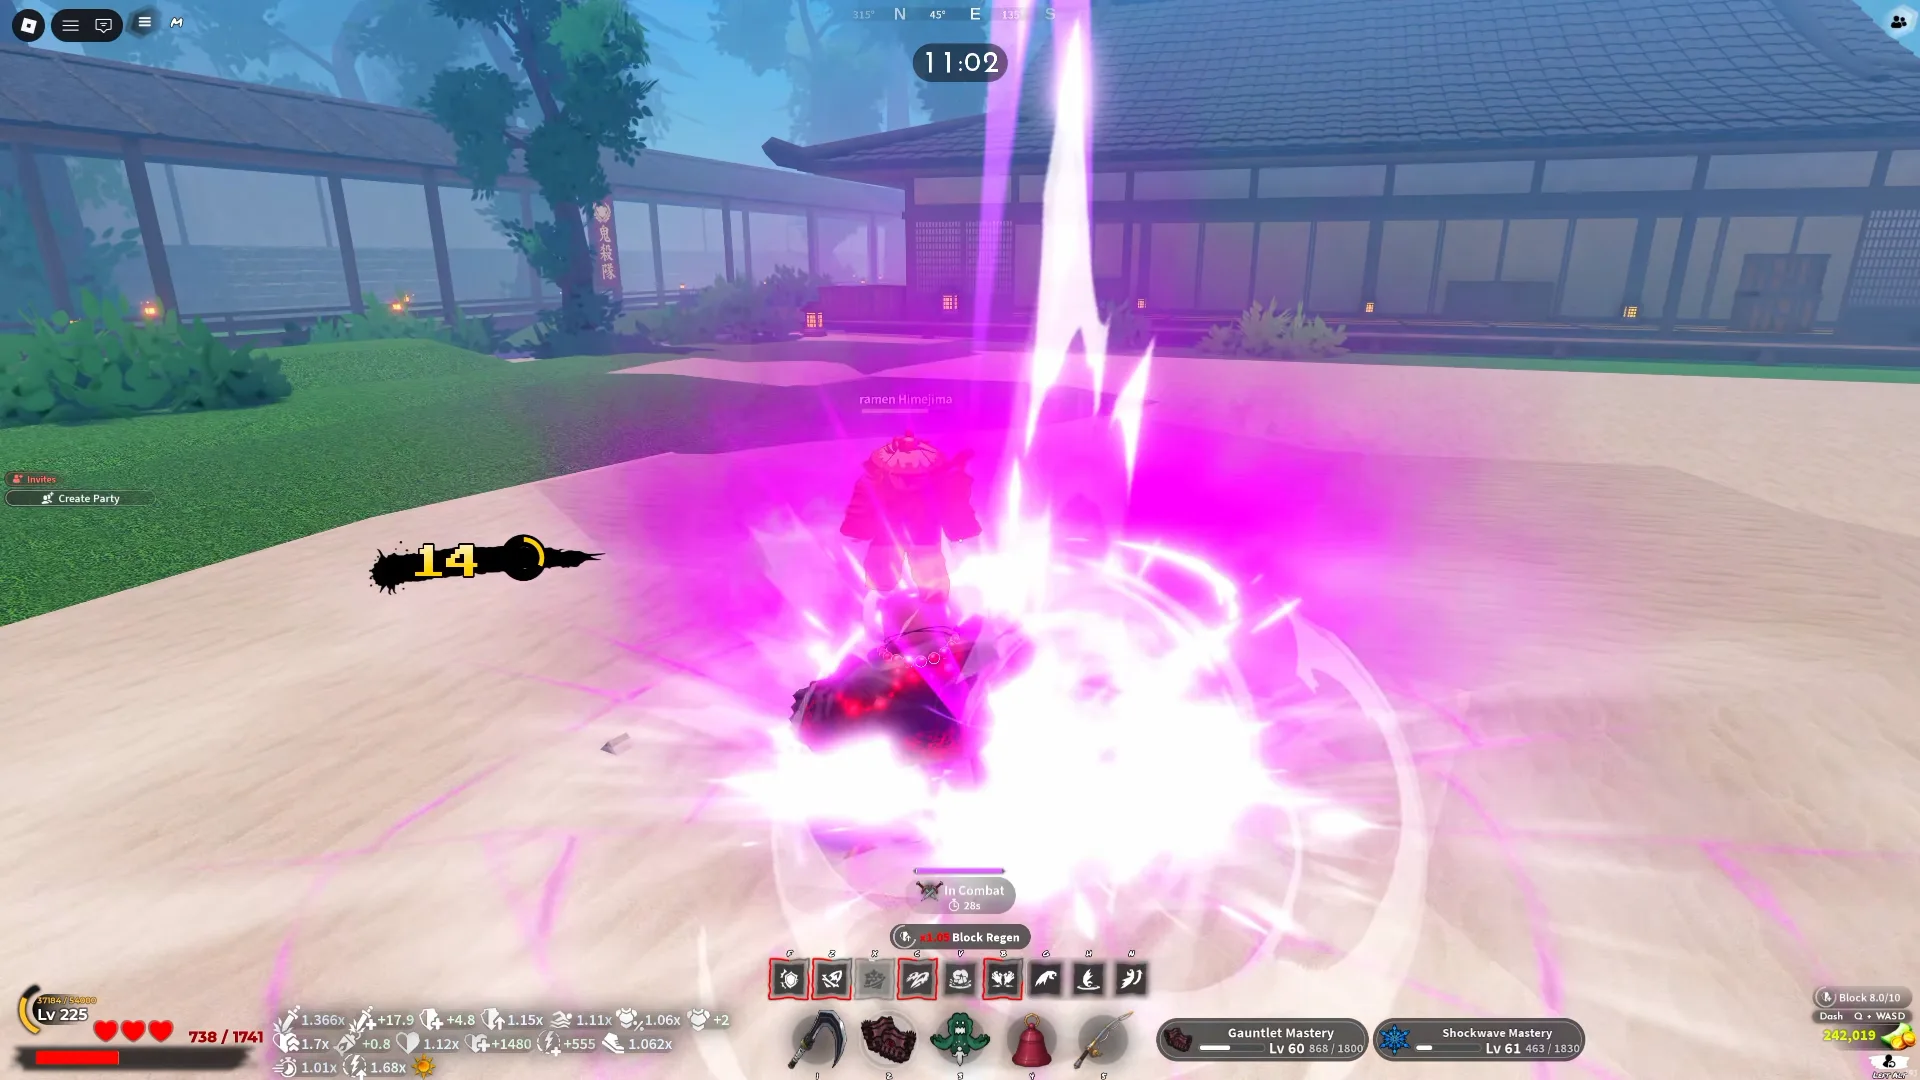
Equip useful damage gear and titles, unlock your important skills, and learn a repeatable combo for each boss. Flat Additional Damage helps your farming, but keep enough health and damage reduction to survive mistakes. Giving up some damage is worthwhile if it prevents repeated deaths and return trips. Demons farming during daylight also need an appropriate protective hat unless their clan supplies sun protection.
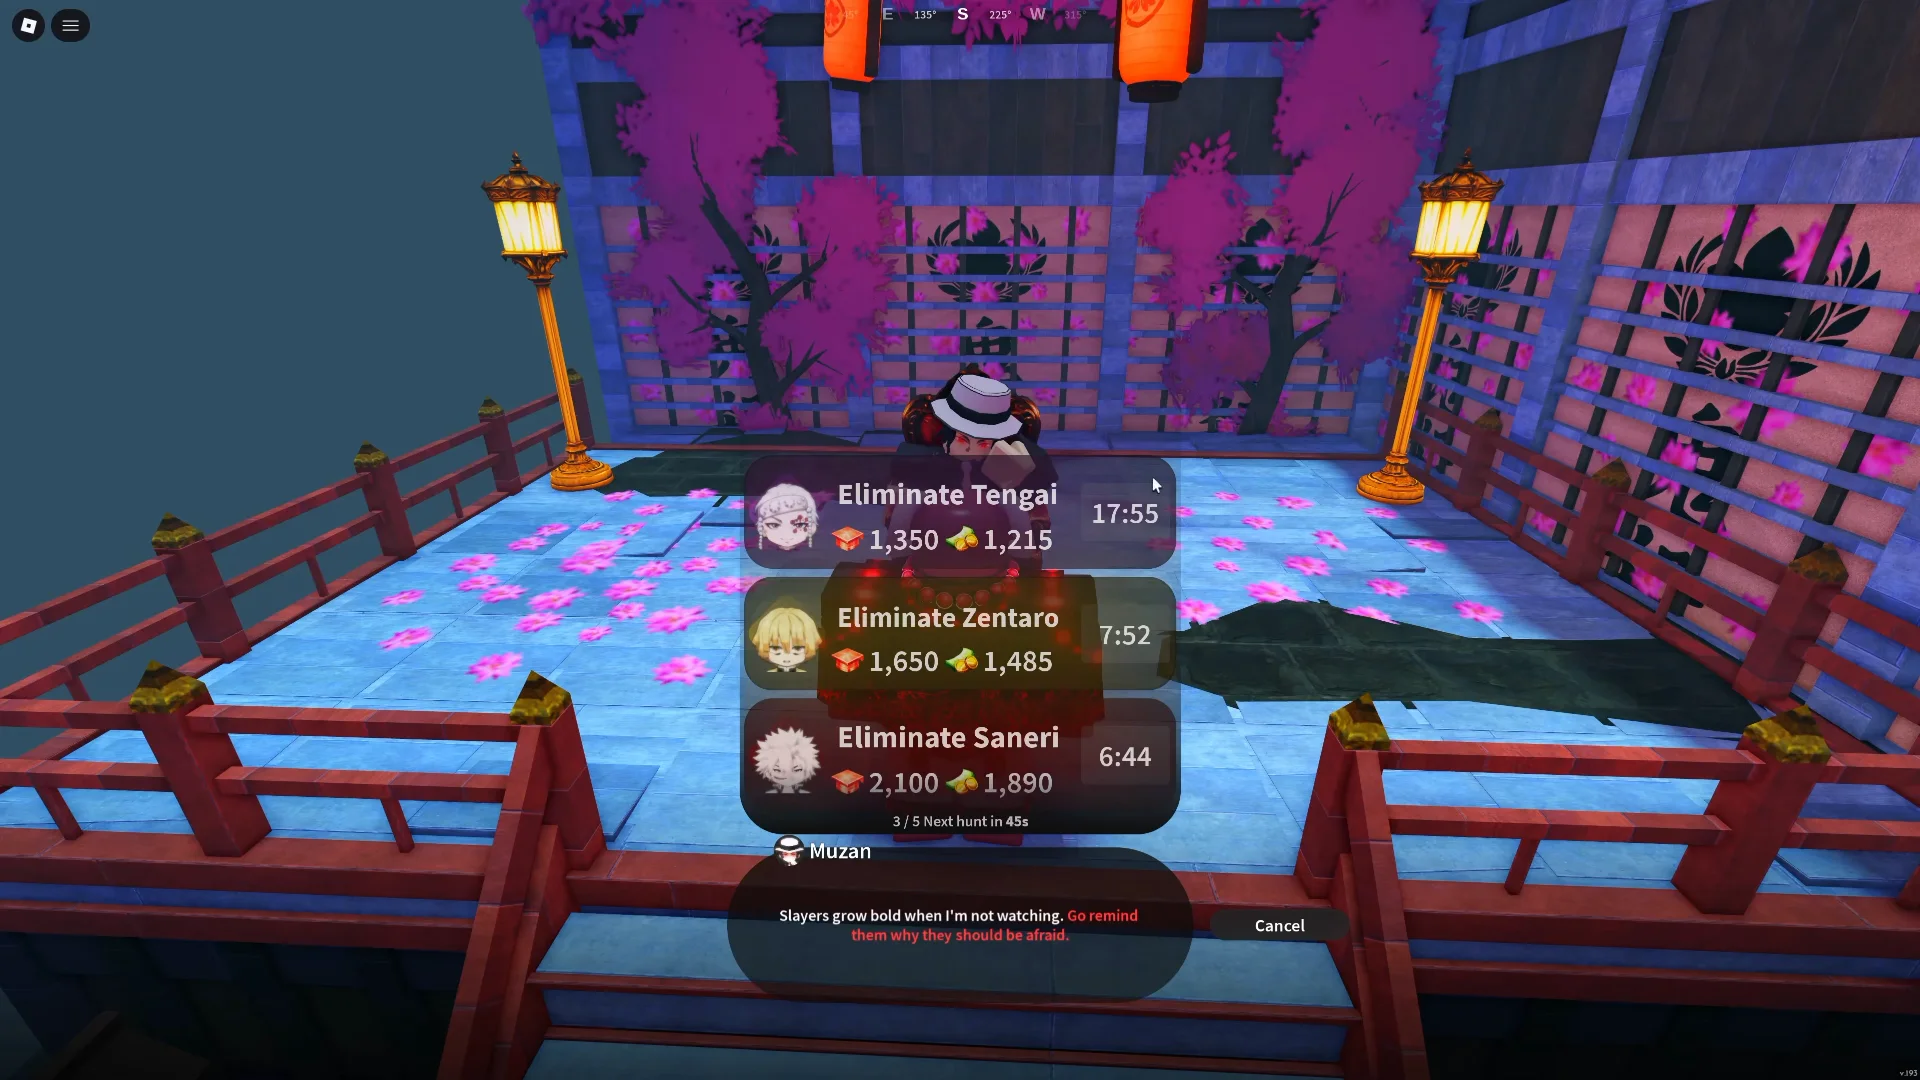
Route directions below refer to the in-game map layout, not the direction your character's camera is facing.
Boss route 1: Saneri, Shinora, Obari and Giyen
This slayer-boss rotation is especially useful for demons who can pair fights with Muzan's quests. Check for a matching contract, defeat the target, collect its chest, and move on. Start with the bosses you can clear reliably rather than forcing every target into every lap.
Begin with Saneri, then move down toward Shinora at Mistfall Harbor. Return toward Mother Bear for Obari, then continue to Giyen by the Bamboo Grove Sanctuary pool. If Giyen takes much longer than the others, leave him out temporarily and expand the rotation as your damage improves.
Defend when a boss starts a dangerous attack instead of trading away the run for one extra hit. After the last chest, check which targets and quests are available again. If another player has defeated your next boss, switch to another available target.
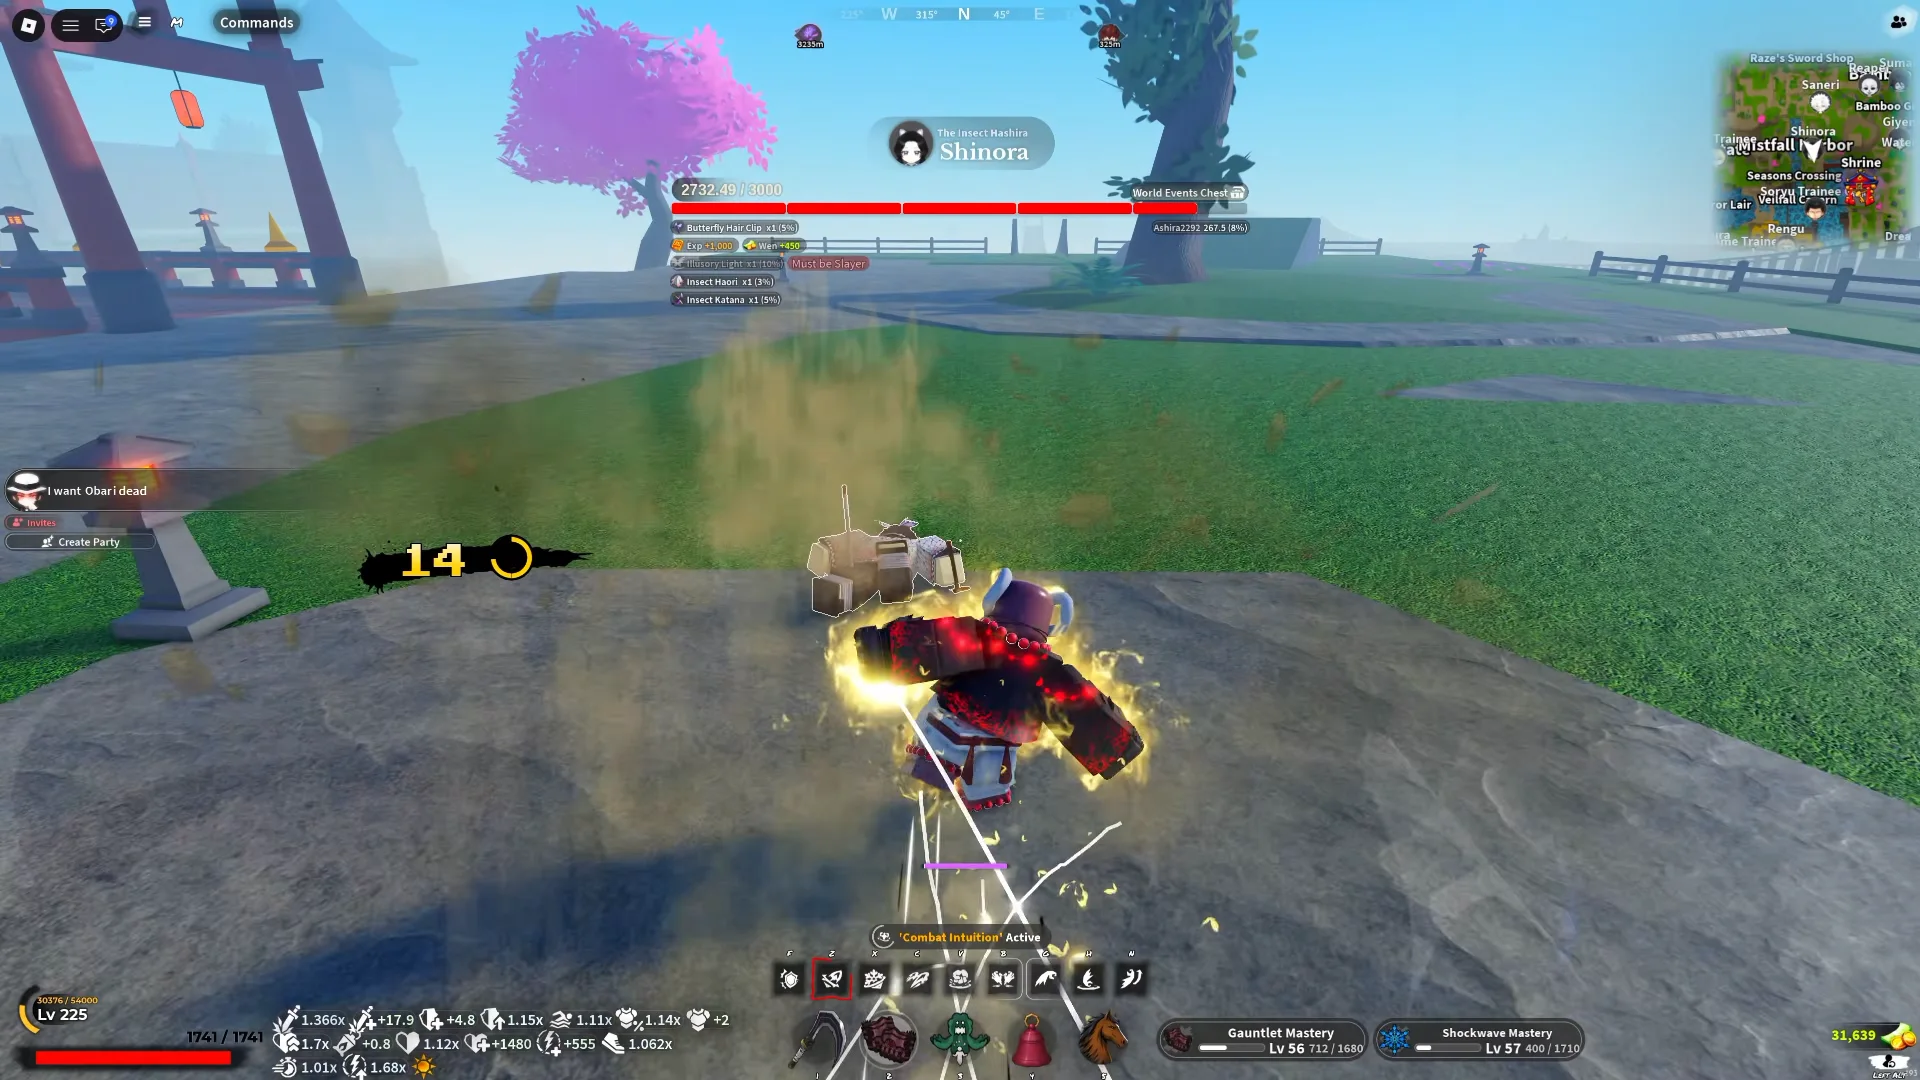
- Saneri, Wind boss: clearing below Windy Peak and above Mistfall Harbor.
- Shinora, Insect boss: Mistfall Harbor, beside its upper water channel.
- Obari, Serpent boss: to the right of Mother Bear on the map.
- Giyen, Water boss: beside the lower-left bank of the Bamboo Grove Sanctuary pool.
Boss route 2: nighttime demon-boss rotation
At night, rotate through Sumari, Reaper, Gyutai and Datai. This route is particularly useful for slayers with matching Crow quests. Both races can farm these bosses; quest compatibility determines which fights provide an extra contract reward.
Start with Sumari near the upper Bamboo Grove water channel. Move left toward Reaper, then head to the cave containing Gyutai and Datai near Windy Peak. Check your Crow before the fights and collect both chests before returning toward Sumari.
Keep the route flexible. If several bosses are unavailable, changing servers may help, but include the loading time when comparing it with continuing your current rotation. Check the Wen reward shown in the quest menu: the supplied walkthrough reports different displayed payouts between servers. A higher payout is only useful if you can actually obtain the quests and complete fights without constant waiting. A quieter public server can work well; private-server access is optional.
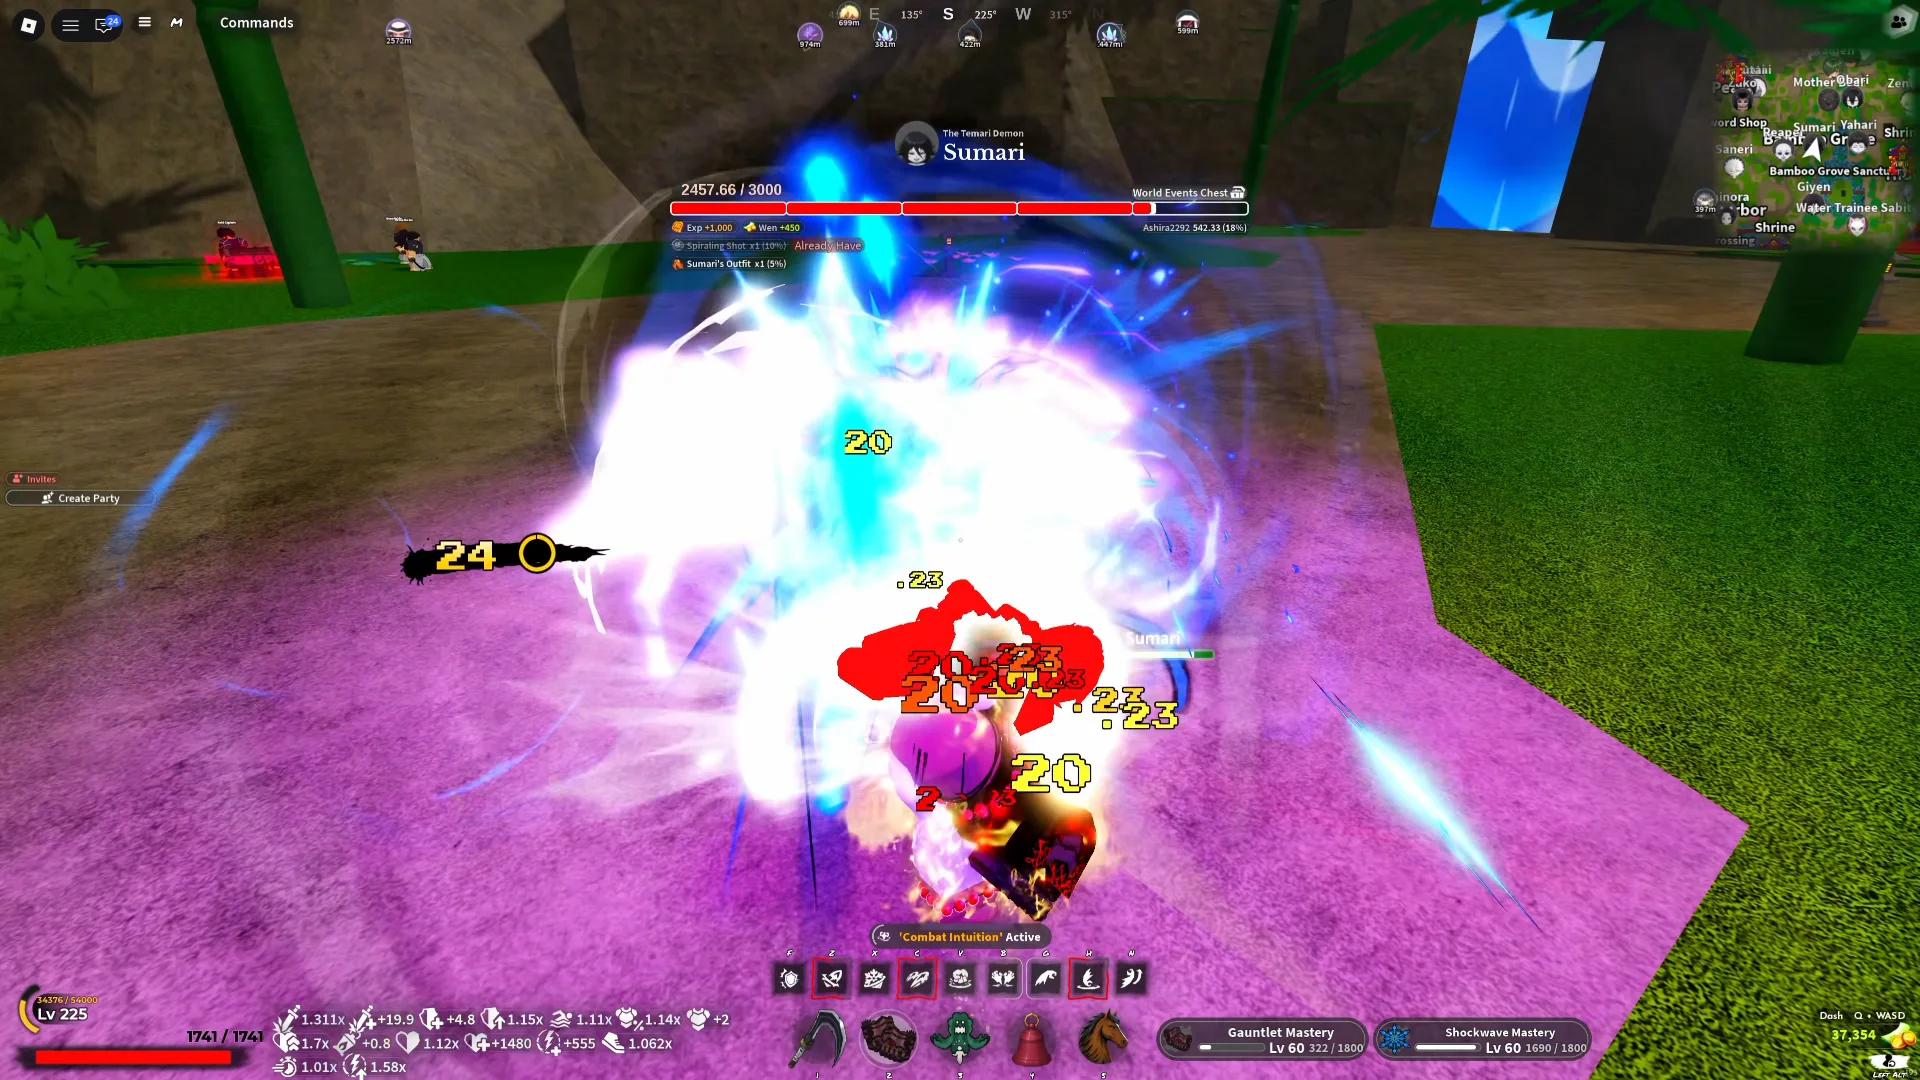
- Sumari: left bank of the upper Bamboo Grove water channel.
- Reaper: left of Sumari on the map.
- Gyutai and Datai: nearby fights in the cave around Windy Peak.
- Return to the next available target rather than waiting through an empty route.
Sell Coin Pouches to Ginzo and use boosts correctly
Coin Pouches remain in your inventory until sold, so your visible Wen balance does not show all of the money earned during a boss session. Visit Ginzo at Mistfall Harbor to sell them. His selling service requires level 45 and completion of the Jewelry Box quest: speak to him, retrieve the box from Hidden Mist Village, and return to finish the quest.
At the updated price in this walkthrough, each Coin Pouch sells for 1,000 Wen. That makes 100 pouches worth 100,000 Wen and 300 worth 300,000 Wen. Collect your boss chest before leaving, and also sell the smaller Coins, Coin Stacks and Coin Piles you do not need. Keep crafting materials and useful equipment separate so you do not have to farm them again later.
Sell in batches to reduce merchant trips. Double Wen increases eligible quest rewards, not the money from selling items. A pouch still sells for its normal price during the boost, so use boosts when you are ready to complete quests rather than immediately before selling your inventory.
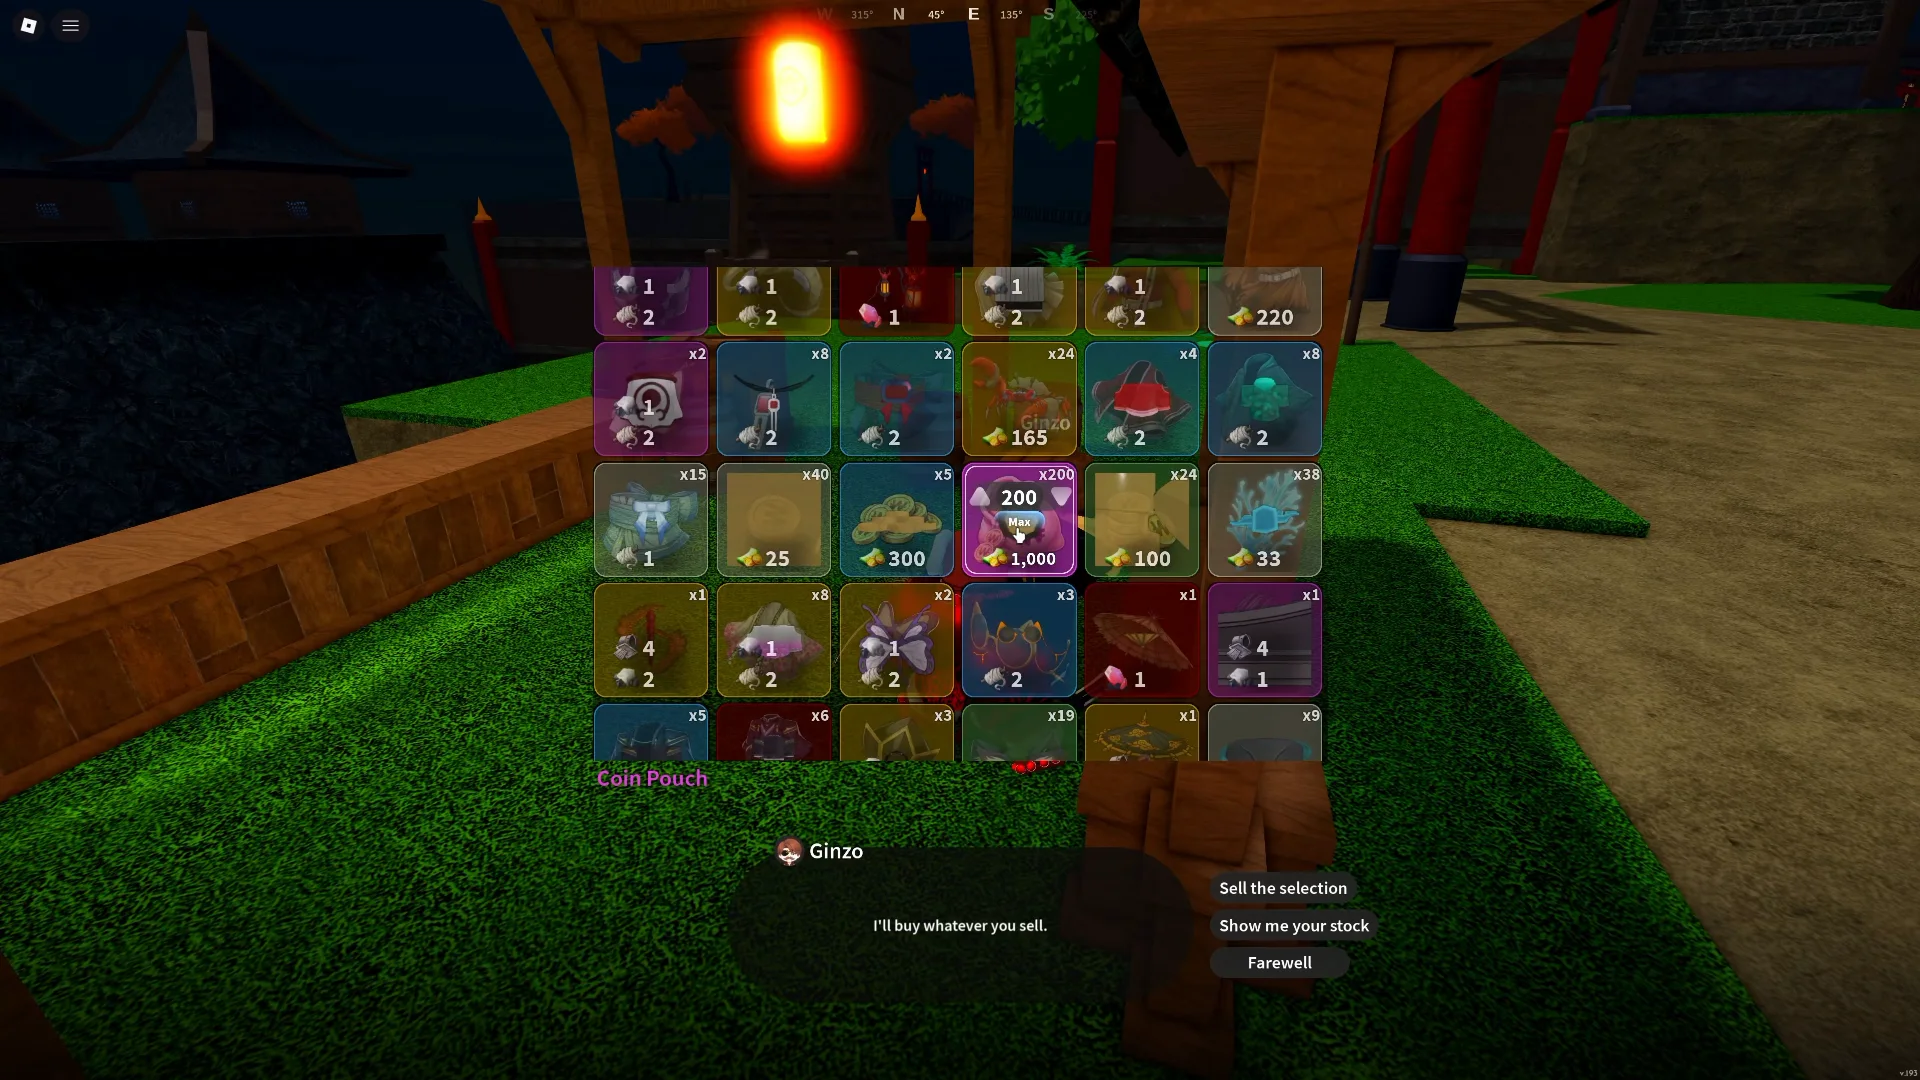
Pouch sales and quest payouts are separate parts of your income. Do not double the expected sale value when calculating earnings with a Wen boost.
Tower farming: build a run that earns more points
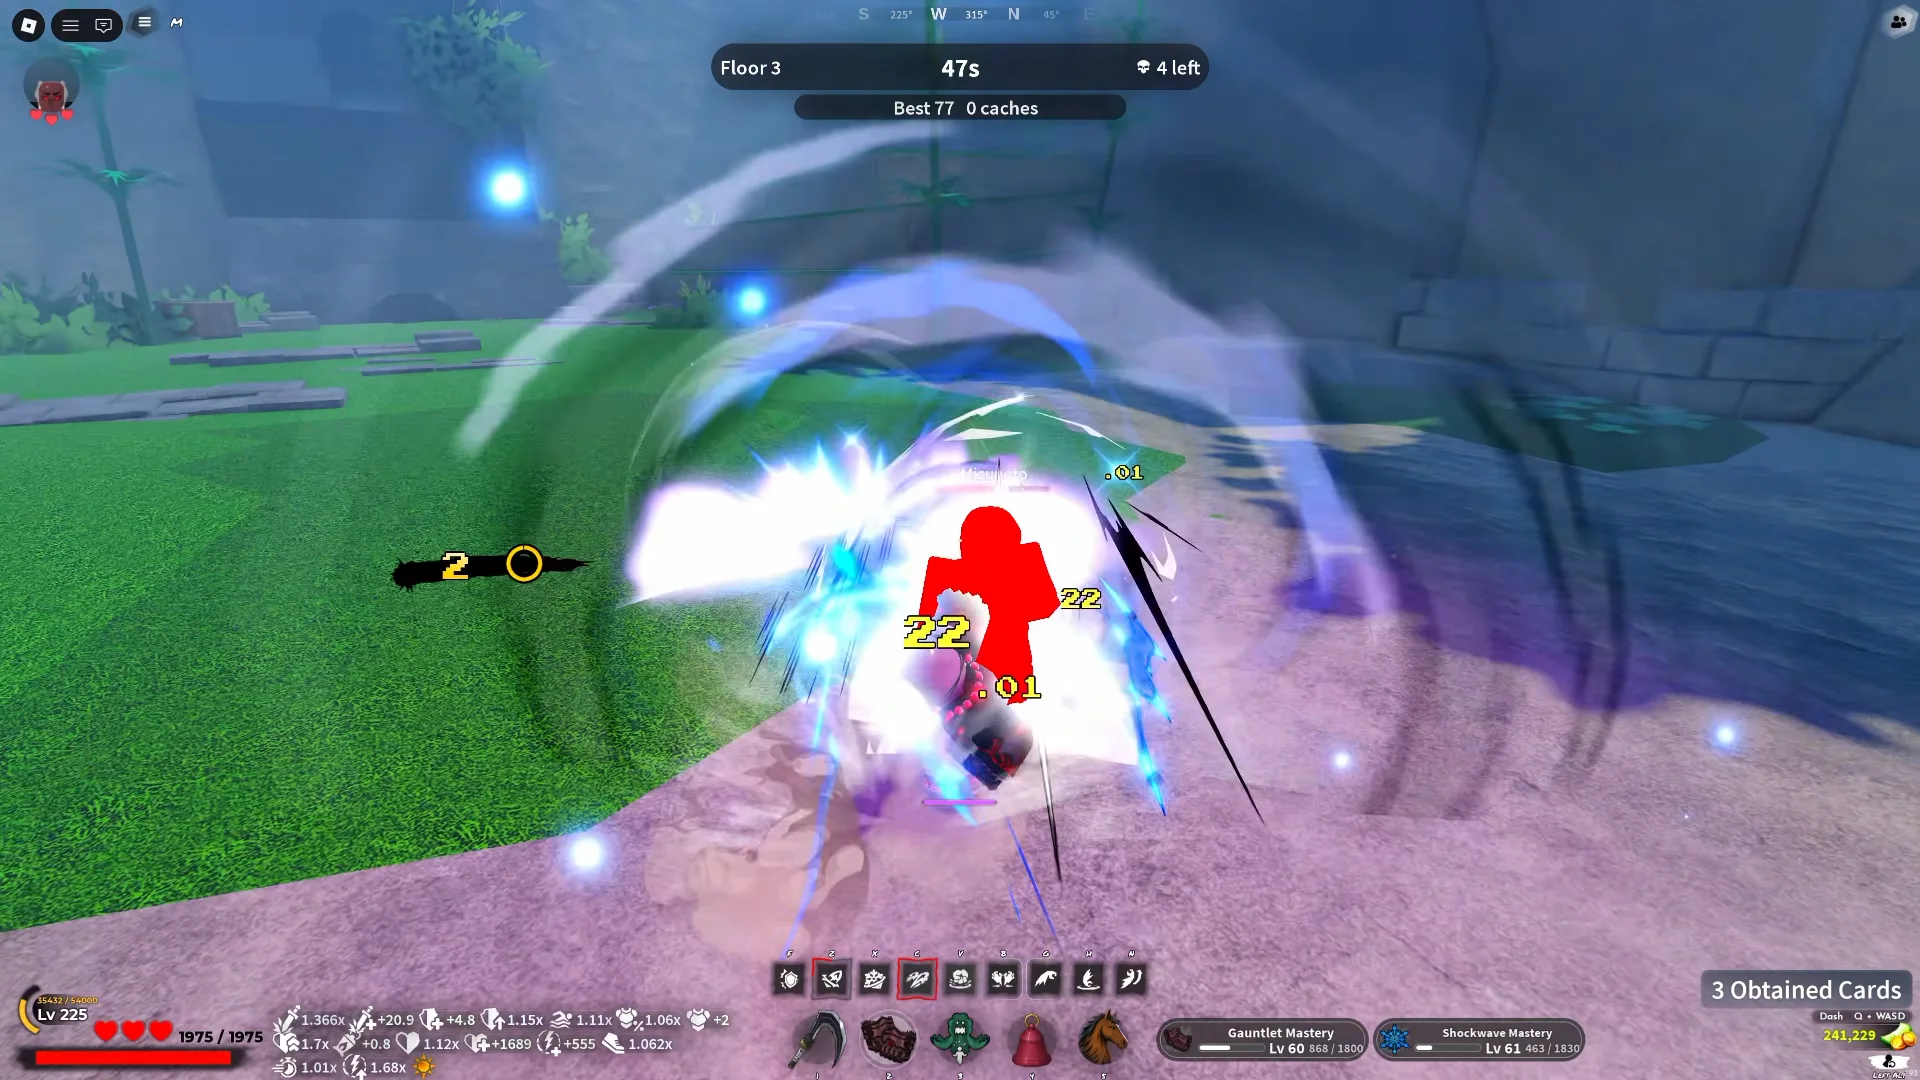
Complete the Blacksmith's forge quest to unlock the dungeon, then enter Tower with enough health and damage reduction to survive later floors. Build damage and survivability early so you can keep progressing. Once your setup clears comfortably, take useful point bonuses rather than sacrificing the run for a risky reward.
Streak increases points by 5% per floor cleared without losing a heart, up to 50%. Boss Rush doubles points for the rest of the run but adds a boss to every floor. Take it only if you can handle the extra fights without slowing down too much or losing the run. It is different from Boss Hunt, which adds a boss to the next floor.
Event cards can add points, but read their restrictions before choosing. A multiplier that makes the next floor unmanageable can cost more than it earns. Protect your hearts and keep the run going; permanent point bonuses are especially valuable when acquired early.
Exchange Tower points for Wen before leaving
In the reward area's Wen shop, exchange 2,500 Tower points for 1,000 Wen. The exchange gives you a predictable payout: 100,000 points buys 40,000 Wen, and 250,000 points buys 100,000 Wen. Tower points are a separate currency from Wen.
You also earn one free Ouwigahara Chest for every ten completed floors. Open these, keep useful equipment and materials, and sell their coin items to Ginzo afterward. Count those sales when measuring the run's full income.
Additional Ouwigahara Chests cost 30,000 points each. That same amount buys 12,000 Wen directly. Choose chests when you want their equipment or rare materials; random loot is not a guaranteed better cash return than the direct exchange.
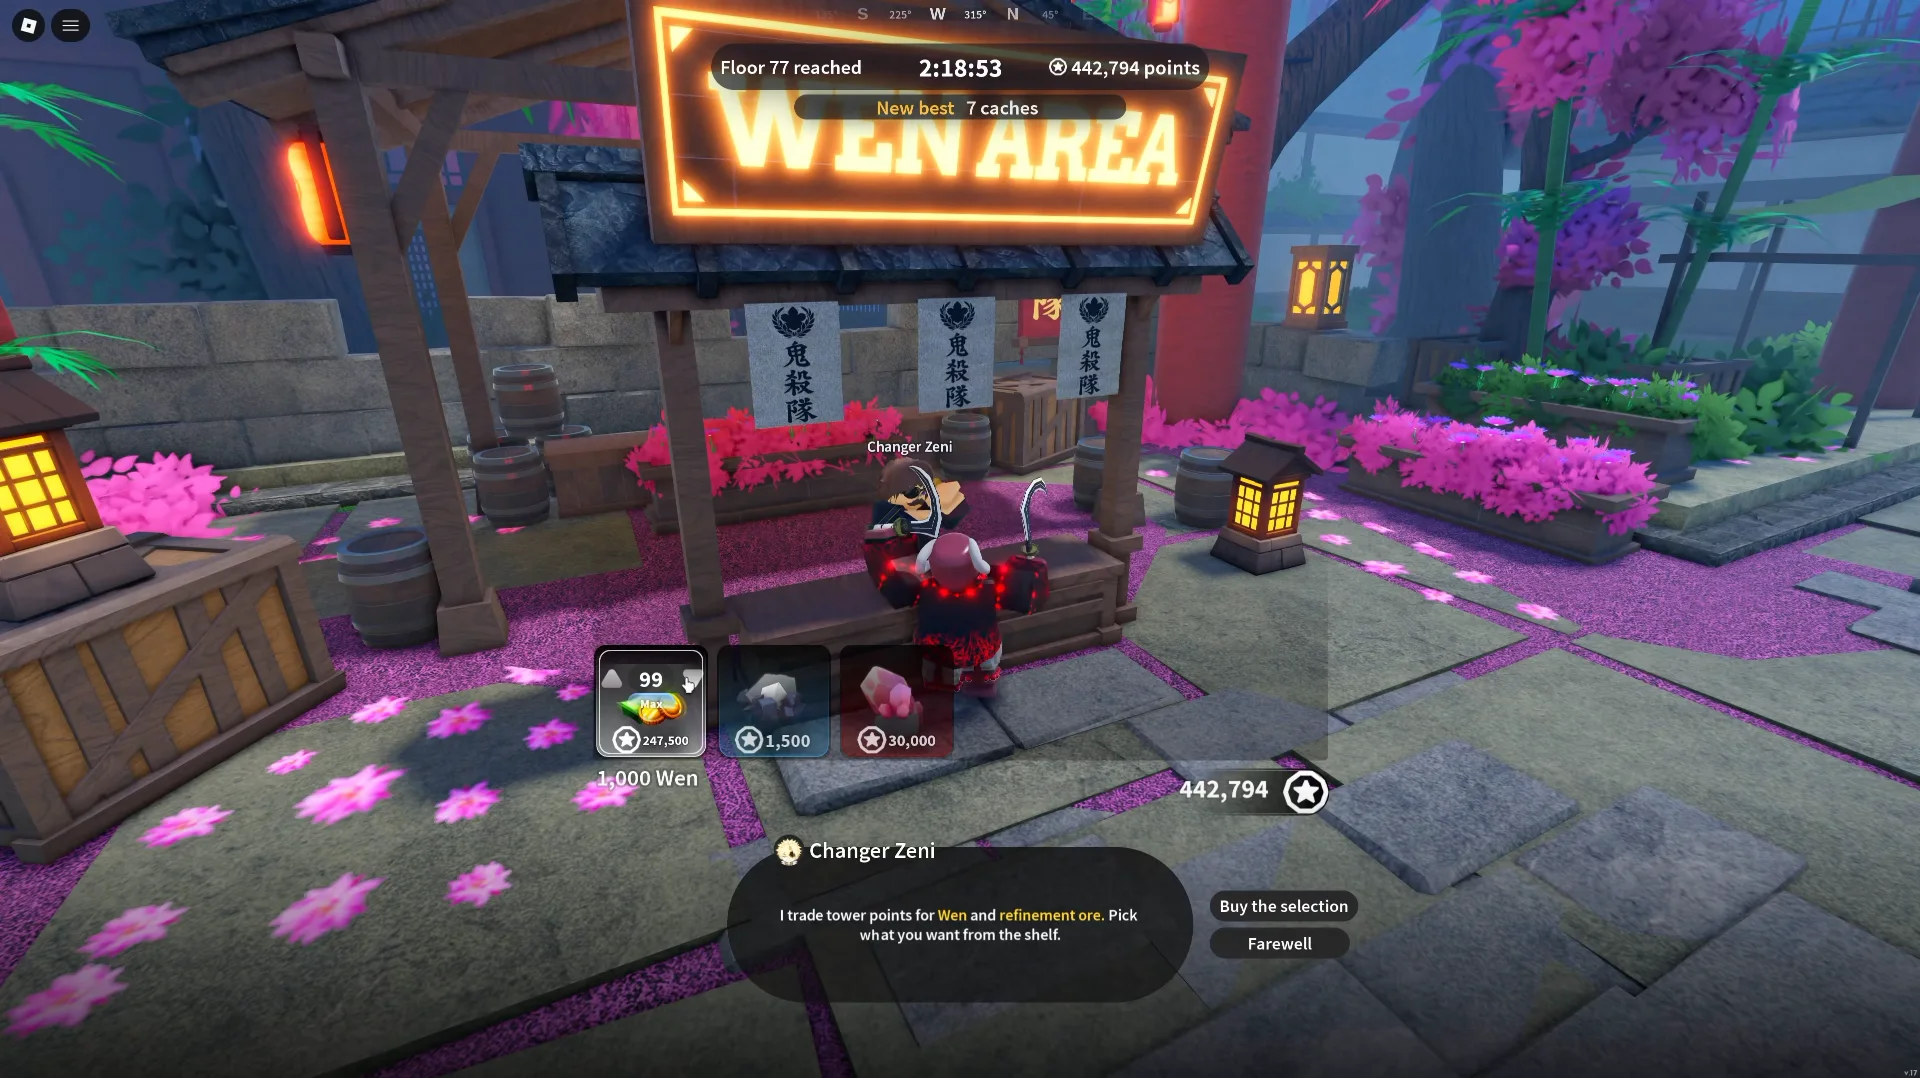
- 2,500 points → 1,000 Wen.
- 30,000 points → 12,000 Wen, or one additional Ouwigahara Chest.
- 100,000 points → 40,000 Wen.
- 250,000 points → 100,000 Wen.
- Every ten completed floors → one free Ouwigahara Chest.
Spend your unspent Tower points before leaving Tower: they are lost when you leave.
Fishing: complete deliveries before selling leftovers
Get your Fishing Permit and a rod. You can start with an earlier rod, then work toward the Legendary Fishing Rod, which displays a 3x Bite Speed Multiplier and 95% Catch Chance. Equip your available fishing titles: Legendary Fisherman improves fishing luck and bite speed.
Before selling your catch, visit the fish delivery NPC at Mistfall Harbor. Check the repeatable quest's requested fish, fill its crate from your catches and complete the delivery. Repeat while you have suitable fish, then sell leftovers you do not need for other quests or upgrades. Keep useful materials and valuable equipment caught along the way.
An eligible delivery worth 1,000 Wen normally can pay 2,000 with double Wen. Because the bonus affects the quest rather than merchant sales, gather fish first and activate a timed boost when you have several deliveries ready. This spends the boost on turn-ins instead of waiting for bites.
A better rod improves gathering, but travel and delivery time still matter. Compare the earnings over a complete session, including the time spent checking requests and selling the rest.
Double Wen does not double direct fish-sale prices. Save fish needed for delivery quests before selling the leftovers.
Measure real income and consider PvP as an alternative
Measure the entire session rather than your fastest fight. Include accepting quests, travel, boss waiting, server loading and selling. If one completed fight averages 5,000 Wen across quest rewards, boss rewards and pouch sales, doing one fight every minute would mean 300,000 Wen per hour. At two minutes per fight, the same average gives 150,000 Wen per hour.
Those are example calculations, not promised farming rates or a claim that the whole four-boss route takes one minute. Record your actual rewards and elapsed time after selling the session's coin drops, and use that result to decide whether to change the route or difficulty.
PvP can be another option if you already win consistently with short matches. Include queue time and losses in the comparison. A high reward from one quick win does not establish reliable hourly income; if your build is still developing, start with the progression, boss, Tower or fishing routes.
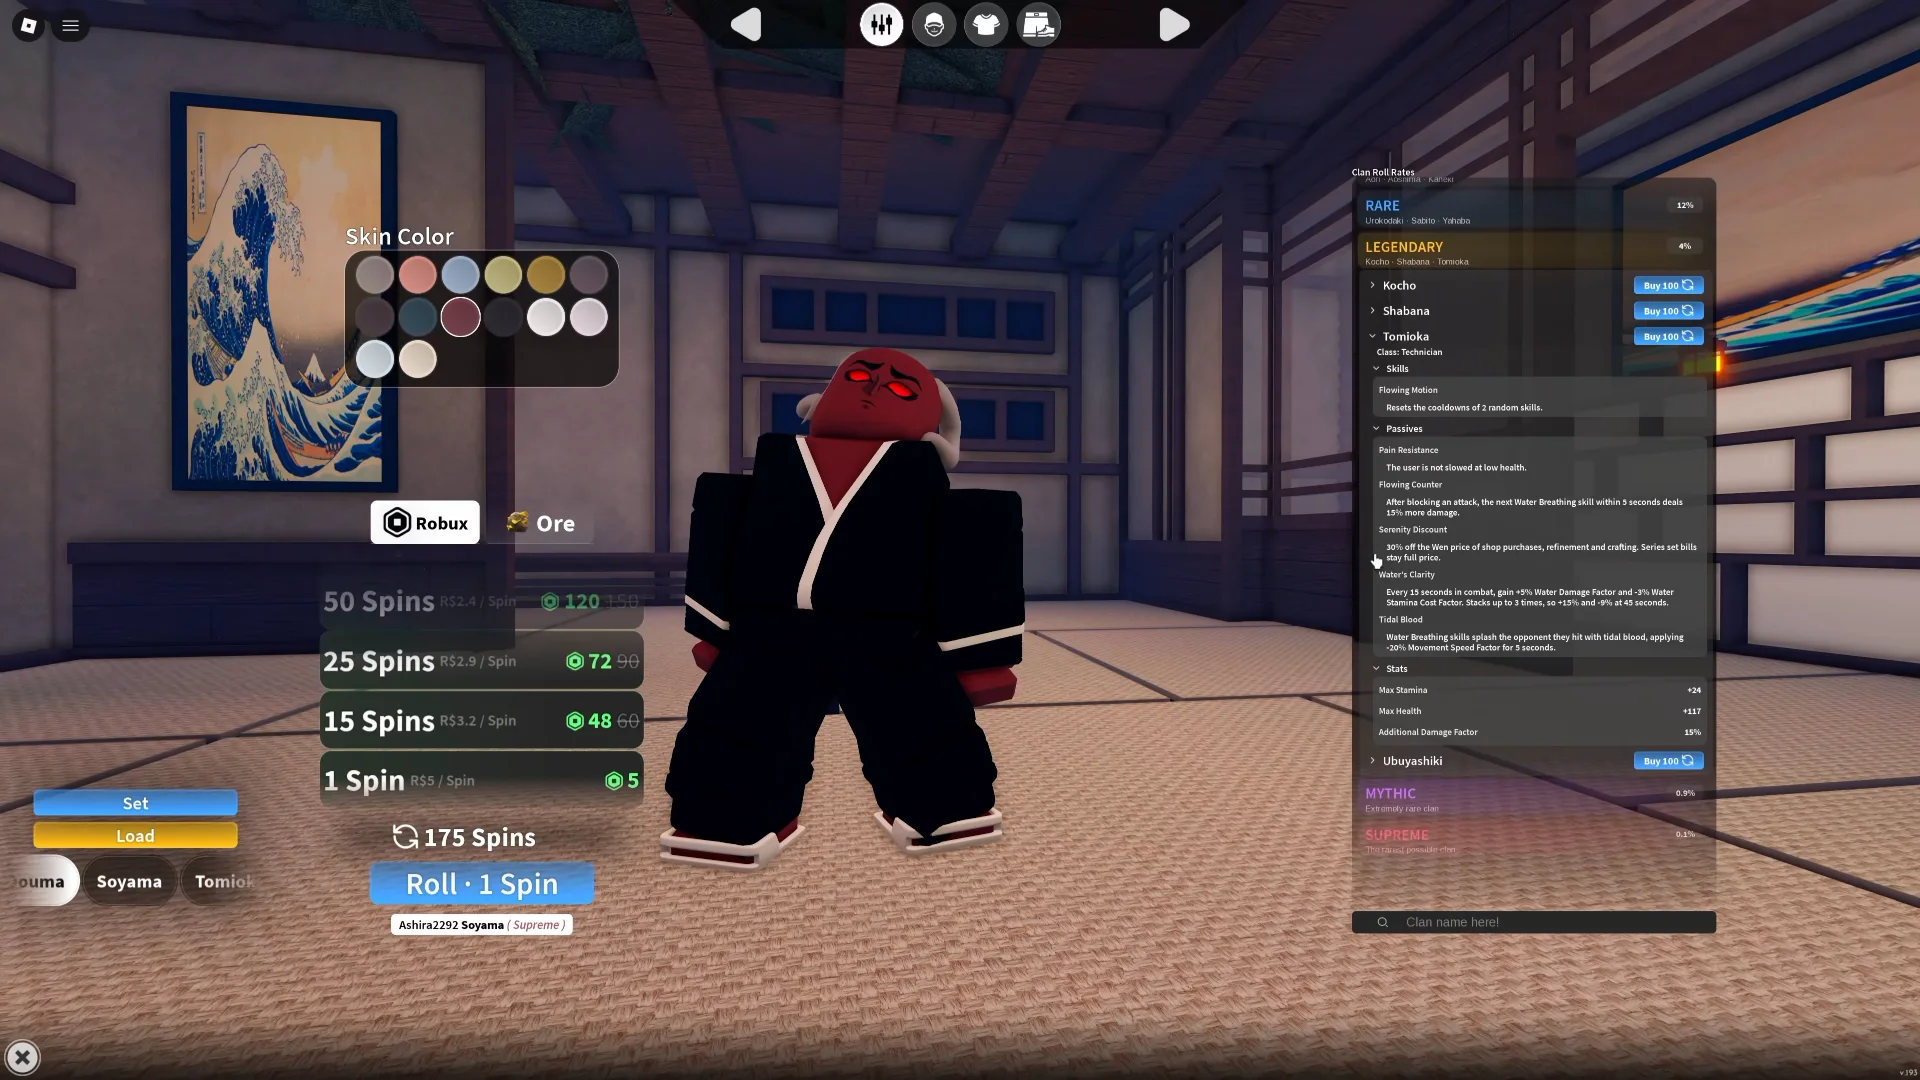
Make your Wen last longer with Tomioka
Tomioka's Serenity Discount reduces eligible Wen costs for shop purchases, refinement and crafting by 30%. A covered purchase normally costing 100,000 Wen would cost 70,000 Wen, saving 30,000.
Series set bills stay full price. Check the actual charge instead of assuming every expensive endgame upgrade qualifies. If you already have Tomioka, use its discount where it applies; you do not need to roll this clan just to begin farming.
For most active progression, pair boss quests with chest collection and batch pouch sales. Use Tower when you also need its materials, and fishing when deliveries fit your current setup. Improving consistency and avoiding unnecessary spending can reduce the amount of farming needed for your next upgrade.

Slayer 2 Tower Mode Guide: Best Cards, Builds and Rewards
Unlock Tower Mode at level 65, prepare a balanced build, choose useful cards, survive the later floors and spend dungeon points on weapons and Ouwigahara Chests.
10 min readRead guide →
Slayer 2 Demon Build: Blood Manipulation and Damascus Sickles
Become a demon, unlock Blood Manipulation, farm both weapon skills, and work toward Damascus Sickles with the right equipment, titles, and clan priorities.
8 min readRead guide →