

QUICK ROUTE
Do it in this order
What the build is trying to do
This PvE setup combines a Tier 3 Poison Katana or Poison Beast Katanas, the full Tier 3 Poison outfit, Beast Breathing and Rengoku. Use skill openings and connected basic attacks to trigger its damage effects.
In Ashira’s demonstration, this upgraded setup reached over 1,000 peak DPS and about 500 average DPS against ordinary enemies.
Upgrade Nightfall before converting to Poison
Upgrade the Nightfall Katana to Tier 3 first, then take it with one Venom Vial to Ouwland for the Tier 3 Poison conversion. Converting at Tier 1 or 2 makes later Poison upgrades consume more Vials. Follow the same order for Nightfall Top and Bottom before converting the outfit.
Venom Vials come from Brother Spider chests in Mt. Natagumo: rates are 2.5% from the regular chest and 5% from the Hard chest, unaffected by Luck. Save Vials for the final conversion rather than spending them on earlier tiers.
Tier and refinement are separate. Tier 3 unlocks Venom Bloom; refinement improves weapon stats. The showcased refined Katana had +22.43 Additional Damage and about +17.94% Additional Damage Factor. These are example upgraded values, not base crafting stats.
Poison weapon and outfit effects
Venom Bloom leaves venom through strikes and skill hits, reducing the affected target’s healing by 30%. A fifth consecutive strike on the same target triggers an additional damage burst. Stay on the boss during safe openings rather than constantly resetting your target.
Equip both Poison Top and Poison Bottom at Tier 3 to activate Enfeebling Venom. Venomed enemies deal less damage to you, and the full outfit grants 10% more damage against them in PvE. That 10% applies once for the set; the Venom Rune has its own separate effect.
Supporting equipment
Use Stone Haori, Bamboo Muzzle and Nightfall Mask around the Poison outfit. Stone Haori drops from Gyorei at Stone Sanctuary at a listed 3% chance and has base +2 Additional Damage and +2% Additional Damage Factor, alongside health and stamina.
Bamboo Muzzle drops from Nezura at a listed 3% chance. Find Nezura below the cliff near the Rengoku boss area. Its base offensive bonuses are +2 Additional Damage and +1.5% Additional Damage Factor.
Nightfall Mask is crafted at Ouwland and has base +2 Additional Damage and +1.7% Additional Damage Factor. Armor Penetration is for player combat; the flat damage and factor are the useful offensive lines for this boss setup. Keep enough health and stamina to stay active between attacks.
Three runes and useful rolls
Use Pumpkin, Venom and Blade. Pumpkin costs 250 banked candy at Candy Keeper Kabocha in upper-left Duskweb Hollow while the Halloween shop is available. It has fixed Health and Crit Chance lines plus three random lines. Every sixth landed hit has a 50% chance to heal you and a 50% chance to deal extra damage.
Venom comes from Brother Spider, with health and Additional Damage Factor among its fixed stats; its Mythic passive applies poison through basic attacks. Blade comes from the Headless Demon encounter in the raid’s first section, with health and flat Additional Damage; its Mythic passive adds damage every fifth hit. Farm Medium or Hard for Mythic raid runes.
At the Rune Keeper in northeast Duskweb Hollow, a little north of the Beast Trainee, break unwanted runes into Dust and reroll the ones you plan to use. Prioritize Additional Damage and Damage Factor, then Crit Chance and Critical Damage Factor. Locking lines increases the reroll cost, so fill all three slots with useful rolls before chasing maximum values.
If Pumpkin is unavailable, use another suitable damage rune rather than delaying the entire build for an event item.
Base Stats and Bounty passives
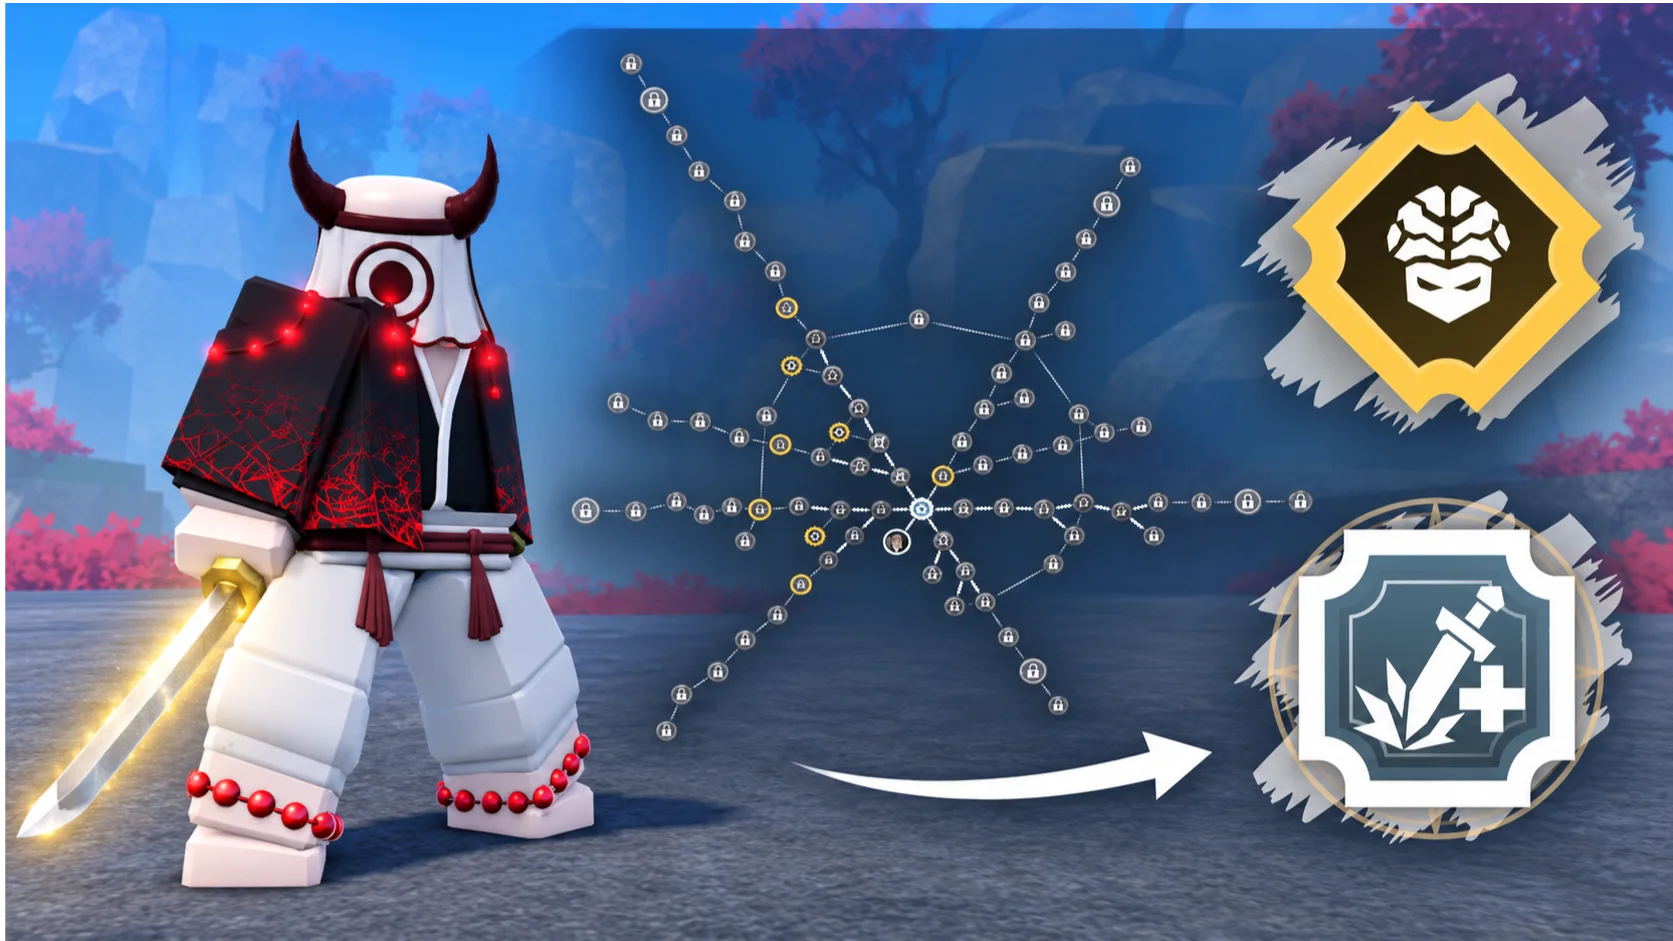
Take the six flat-damage nodes for +4 total, three normal critical-chance nodes for three percentage points, and Keen Focus for another four percentage points during its five-second window after four clean hits. Lethal Precision improves critical-hit damage by 25%.
Onslaught rewards connected M1s, Sunder gives 8% more damage against the exposed target for five seconds after a skill, and Rend applies bleed every sixth hit. Overwhelm gives 12% more damage against enemies with more maximum health than you. Ascended Blade I and II each add 2% damage; only one Ascension path can be selected.
Bounty Hunting through the Mercenary raises Hunter Rank and supplies Bounty-tree points. The four damage nodes used here each give 1% more damage. First Blood gives 20% more damage on your first hit after eight seconds without landing a hit; do not deliberately stop a good attack window just to retrigger it.
Executioner adds 12% damage against enemies below 30% health and restores 10% maximum health on a killing blow. This is a finishing bonus, separate from Overwhelm’s maximum-health condition.
Damage titles and mastery
Bonebreaker requires 500,000 total damage and gives +1 Additional Damage in a boost slot. Devastator requires 2.5 million and gives +1.5. Annihilator requires 10 million and gives +2. Their separate unlocked collection bonuses are +0.15, +0.2 and +0.25, totaling +0.6 without occupying boost slots.
Twilight is a longer goal: own 23 Firstlight and Nightfall pieces, excluding Lost Shotgun from that requirement. Its boost bonuses include +2 Additional Damage, +4.5% Additional Damage Factor and +30 health; its collection bonus is +15 health.
Use your strongest available damage titles while progressing, and keep improving weapon and Breathing mastery, refinement and rune rolls.
Rengoku or Soyama
Rengoku is the main clan choice for this build. Its base stats include +26% Additional Damage Factor. While active, Heart Ablaze grants +22% Additional Damage Factor, +10% movement speed, +20% stamina-regeneration speed and +20% burn damage factor.
Ignition Hit makes the first M1 of a new string ignite the enemy for three seconds; that burn does not stack with itself. Heart Ablaze can also burn enemies that hit you, but avoiding a damaging interruption is more valuable than deliberately taking hits for retaliatory burn.
Soyama rewards planning around Combat Intuition. Against NPCs, its 12-second storage phase stores half the damage you deal; 10% of that stored amount becomes Damage Potential added to weapon and Breathing or Evil Art damage for seven seconds. Press again to end storage early or let it finish. Bell Splitter’s 35% factor is specifically for fists, so do not count it toward this Katana setup.
Beast Breathing and the attack sequence
Learn Beast from the trainer on the stone pillar above Inozu’s area in Duskweb Hollow. Bring ten Spirit Horns, complete the training and defeat the Beast Trainee. A regular Katana works with Beast, so you do not need double Katanas before trying the build. Farm Inozu for Devouring Rush after unlocking its preceding skill.
Throwing Strike pulls enemies back with the blades, Crazy Cutting supplies a counter, and Slice and Dice provides movement and a connected-hit Pierce follow-up with a guard break. Use Palisade Bite and Devouring Rush when you have an opening to land their important hits.
Activate Heart Ablaze when available, open with a skill to apply venom and Sunder, then connect basic attacks safely. Rengoku burn, the Poison weapon’s fifth-hit burst, Blade’s fifth-hit effect, Pumpkin’s sixth-hit proc and Rend’s bleed have separate conditions and counters. Continue through safe windows, then defend or reposition when the boss threatens to interrupt you.
What the demonstrated boss times mean
In Ashira’s demonstration, Hairo had roughly 15,000 health and took about 51 seconds. Wolves repeatedly interrupted the fight, making control and repositioning important. The Spider World Boss had roughly 25,000 health and took about 1 minute 27 seconds.
Clear times vary with party scaling, equipment, interruptions, movement and respawning. A short uninterrupted combo can reach much higher DPS than the average across a full boss fight.
Build toward Tier 3 Poison weapon and outfit effects first, then improve refinement, useful rune rolls, mastery, Bounty nodes and titles. Continue farming with the upgrades you have rather than waiting for every final item.
Slayer 2 Base Stats Skill Tree Guide
Build a damage-focused Base Stats tree, compare node requirements, and budget points for offense, health and stamina while leveling.
4 min readRead guide →
Slayer 2 Slayer Progression Guide: Final Selection and Build
Become a Slayer through Final Selection, unlock your breathing technique, and build toward stronger katanas, equipment, titles, and clans.
10 min readRead guide →
Slayer 2 Tower Mode Guide: Best Cards, Builds and Rewards
Choose Tower cards, level Climber Rank efficiently, use Stride and shortcuts correctly, and spend Normal points or Roguelike Tokens on useful upgrades.
17 min readRead guide →